Showers and Bathtubs
Masonry shower enclosure: what to build the wall from, shape, fall, waterproofing, and light
A masonry shower enclosure replaces a glass screen with a wall covered in wall tiles or plaster. You don't have to clean glass, and the shower feels like part of the bathroom. However, you need a longer space, a well-anchored wall made of moisture-resistant material, a fall to the drain, thorough waterproofing at all joints, and light that illuminates even behind the wall.
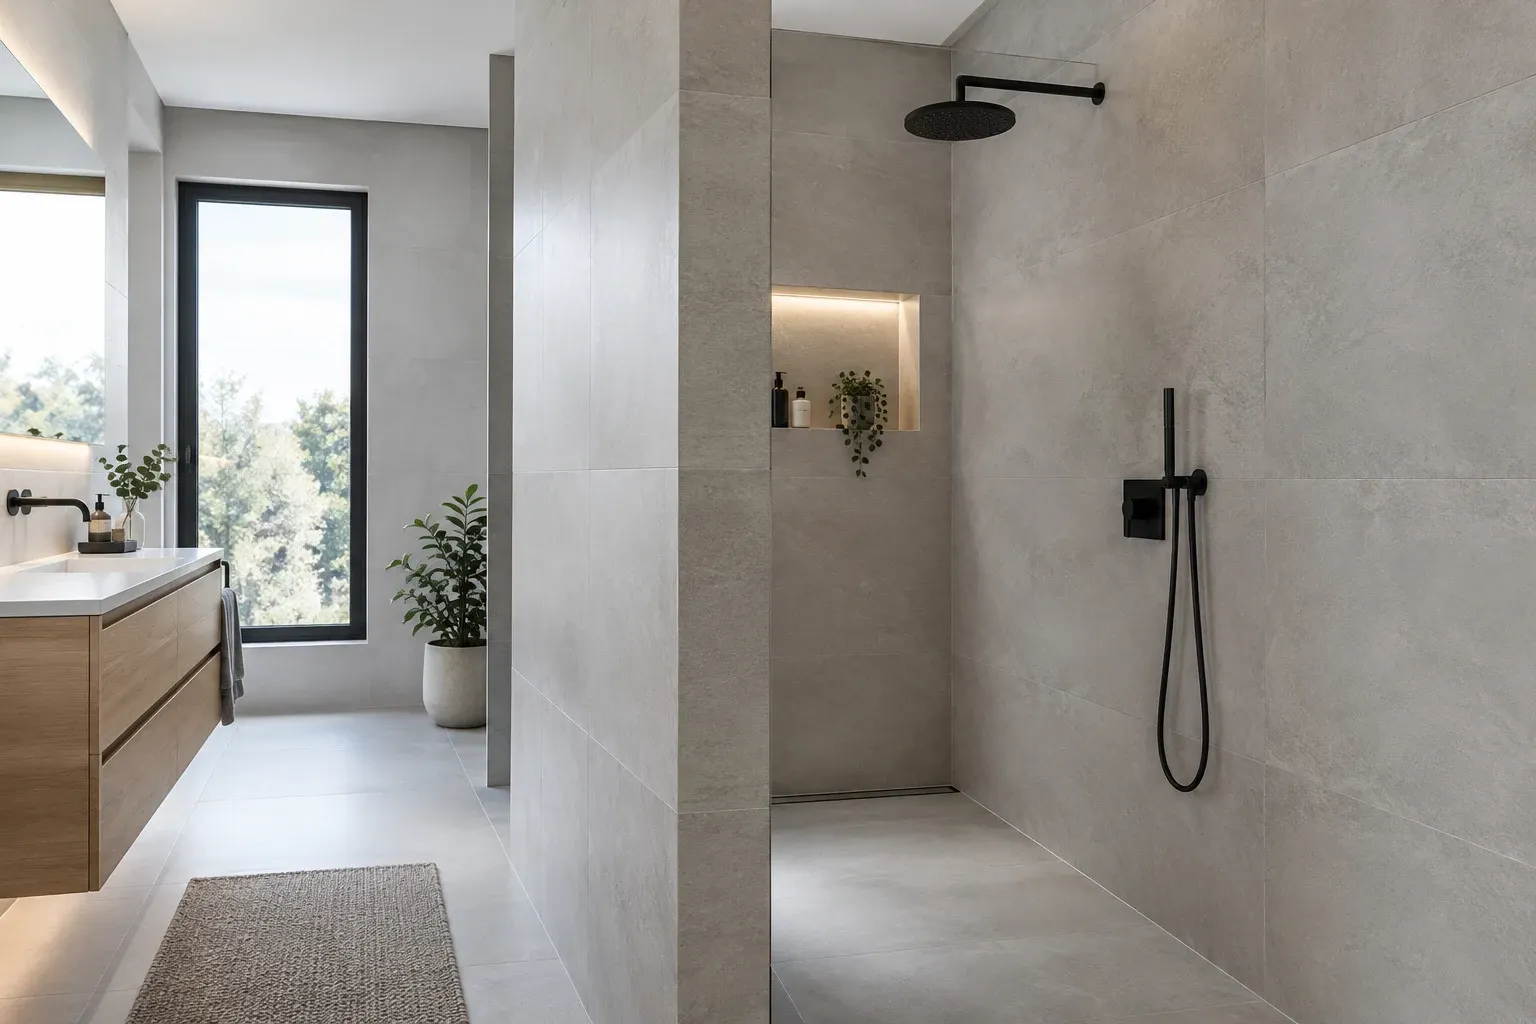
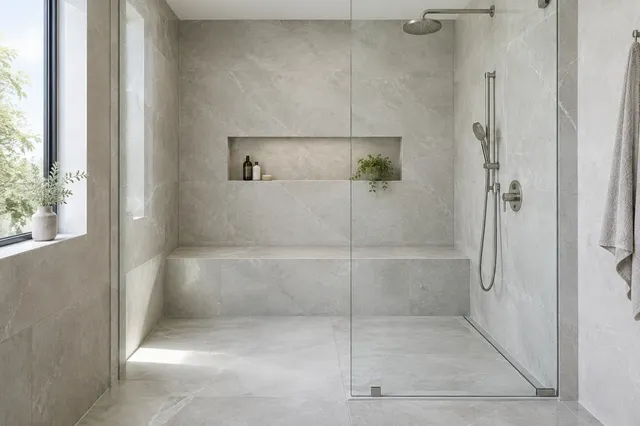
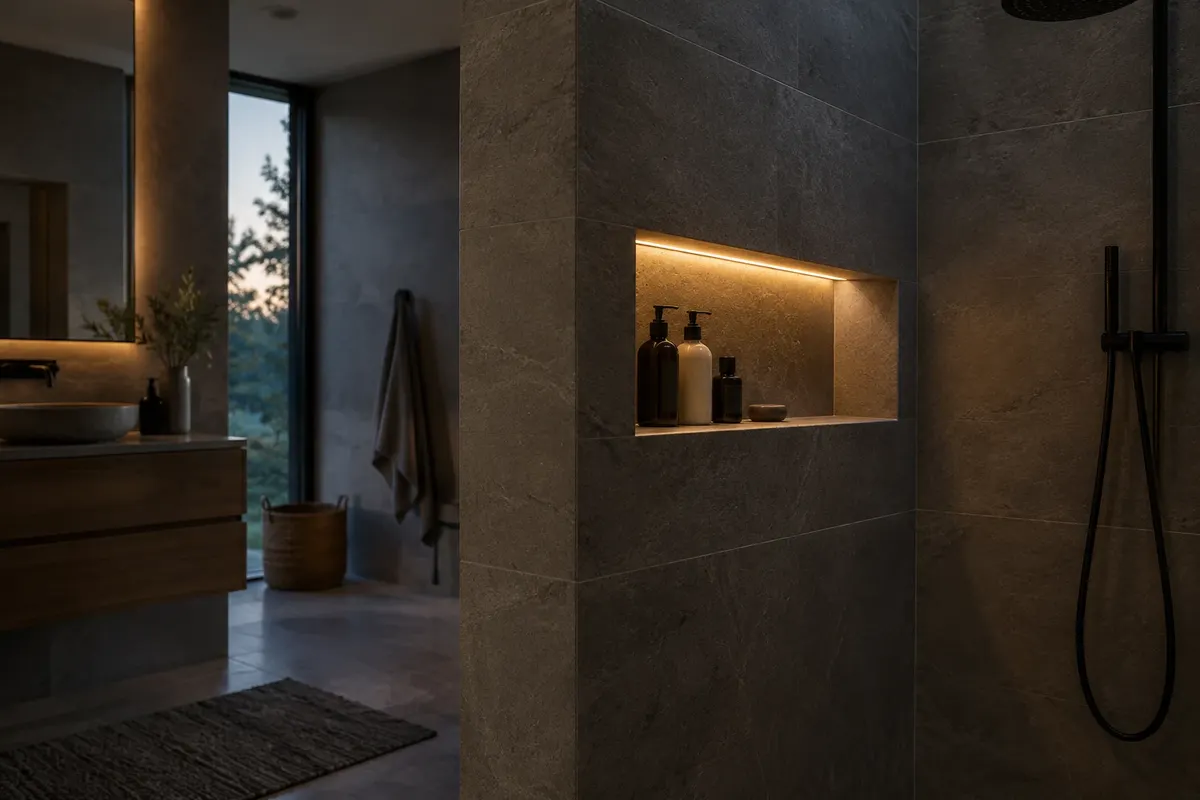
Illustrative image: shower behind a brick wall tiled with grey wall tiles with niche and drain at the back wall
The basic dimensions of a masonry shower, options with a low wall and glass, and the procedure are briefly described in the article Shower enclosure with or without a tray. This article goes into detail: what to build the wall from, what shape to choose, how to anchor and insulate it, and how to solve lighting.
When a masonry shower is worth it
A masonry shower is suitable when you have a longer bathroom and do not want a large glass area. The wall separates the shower from the toilet or sink, hides the mixer, and provides space for a niche or bench. Plan for at least 90 × 120 cm of space. In a shorter bathroom, glass is more practical – it takes up less space and lets in light.
Wall shape
| Shape | When it suits | What to consider |
|---|---|---|
| straight wall, entrance alongside it | longer and narrower bathroom | length of the wall and width of the entrance to prevent water from splashing out |
| L-shaped wall | shower in the middle or by the door, more privacy | the entrance must not be too narrow, more corners for insulation |
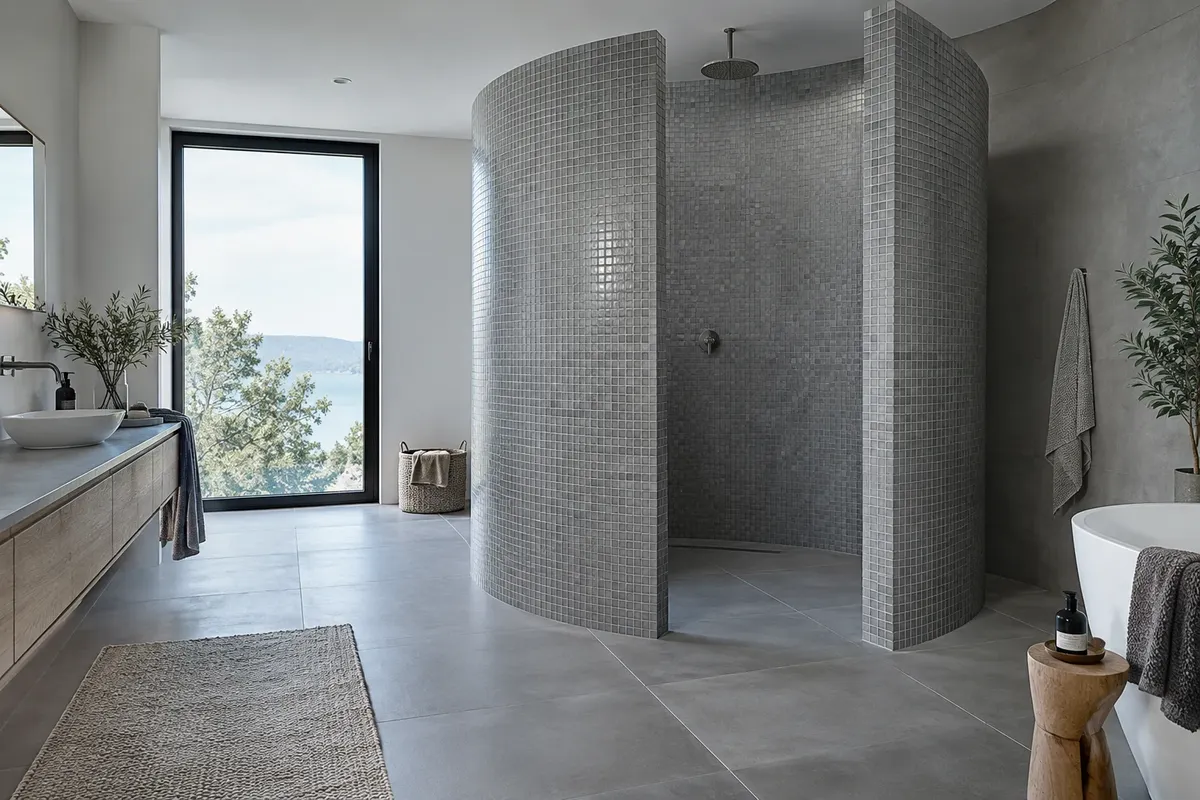
| curved wall (snail) | larger bathroom, level-access shower | more space, rounded shape can be tiled with mosaic or plaster |
| low wall and glass above it | you want light and privacy | top edge of the wall sloping into the shower, anchoring the glass according to the manufacturer |
What to build the wall from
| Material | Properties | What to consider |
|---|---|---|
| aerated concrete blocks, for example, 75 or 100 mm thick | easy to cut and build | they are absorbent – primer and waterproofing on the entire side in the shower |
| construction boards made of extruded polystyrene with a cement layer | light, water-resistant, thinner walls and curved shapes | joints are sealed with tape and anchored according to the manufacturer's system |
| glass blocks (luxfer) | let in light | are built into a profile system or reinforced according to the manufacturer, many joints |
The thickness of the wall also determines the niche – a thin wall results in a shallow niche. If you want a deep niche for bottles, plan for a thicker wall or a niche in the perimeter wall.
Anchoring and outlets
- Anchoring – the wall is supported only on one side, so it must be anchored to the load-bearing wall with anchors or strips according to the material manufacturer and securely connected to the floor.
- Top edge – with a low wall, it must be solid, insulated, and tiled with a fall into the shower to prevent water from standing on it.
- Battery outlets – if the mixer is to be on the masonry wall, the pipes must be run in the wall or floor before masonry. The concealed body is installed in the wall during masonry.
- Bench – if you want one, build it at the same time as the wall. Heights and procedures are described in the article Shower with a bench.
Fall, drain and entrance
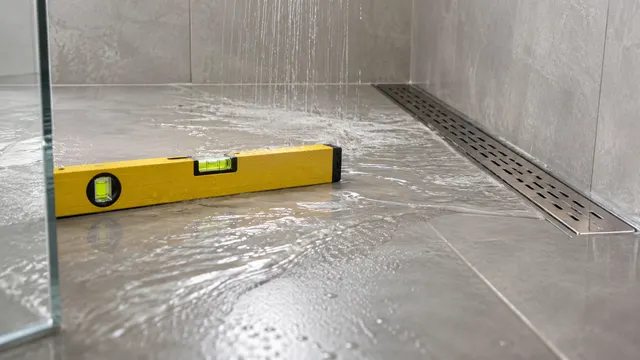
The shower floor needs a fall of 1 to 2 % towards the drain – Alcadrain states 2 %, that is 2 cm per meter. Place the drain against the back wall or along the masonry wall, not at the entrance – otherwise, water will accumulate where you walk. The shower head should point away from the entrance. You can find the height difference table in the article Creating a fall in the shower floor, and the choice of drain in the article Linear shower drain or point drain. You can find drains in the online shop in the category Drainage channels and strips.
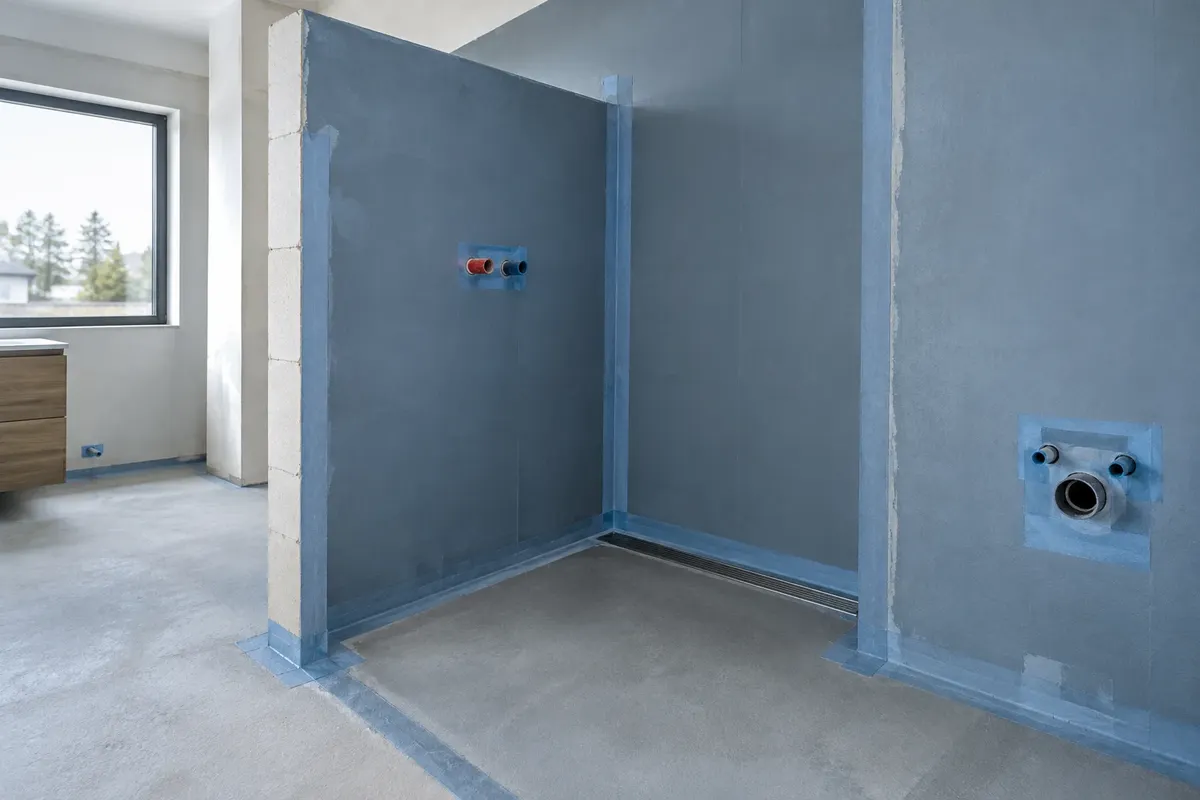
Waterproofing: junctions
In a masonry shower, there are more places where different materials meet and where water likes to find a way.
- Primer for absorbent substrates, especially aerated concrete.
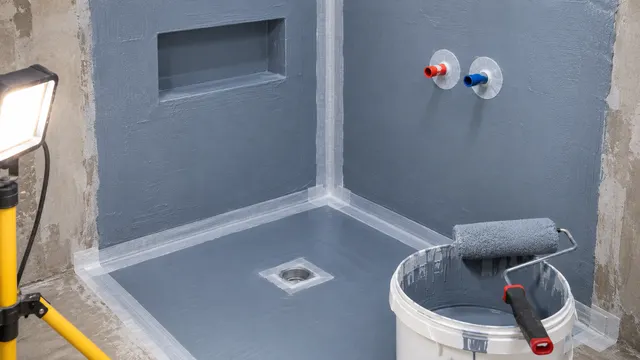
- Sealing tapes in all corners – also at the junction of the masonry wall with the floor and with the bathroom wall.
- Sleeves around the battery outlets and drain.
- Nika and top edge – fully insulated, with a fall into the shower.
- Two layers of liquid waterproofing membrane according to EN 14891 and inspection before tiling.
We describe materials, consumption, and drying in the article Liquid waterproofing, and errors in the shower in the article Waterproofing the shower enclosure.
Wall surface
A flat wall is tiled in the same way as the bathroom wall – with large formats, there are fewer joints. A curved wall is easier to tile with mosaic or to create from the membrane, as large tiles cannot bend into a curve. Finish the outer edges of the wall with a trim or by cutting the tiles at an angle to avoid sharp edges.
Light and ventilation
There is less light behind a masonry wall. A light directly above the shower or an LED strip in the niche will help. Strict rules apply for lighting in the shower – lights in zones 0 and 1 must have covers suitable for the respective zone, and placement is determined by the electrician according to STN 33 2000-7-701. In a shower without doors, warm steam cannot be retained, so a warm bathroom and a fan to remove moisture are important.
Masonry wall or glass
| Masonry wall | Glass wall | |
|---|---|---|
| Thickness | depending on the material approximately 8 to 13 cm including tiles | for walk-in, most often 8 mm |
| Lighting | less behind the wall | passes through |
| Cleaning | joints or membrane | glass and limescale |
| Niche and faucet | can be built directly into the wall | only on the bathroom wall |
| Installation | masonry, insulation, and tiling – several days of work | installation of finished glass after tiling |
| Change later | demolition | replacement of glass |
Common mistakes
- Unanchored wall – will move over time, causing cracks in joints and waterproofing.
- Autoclaved aerated concrete without primer – the membrane does not adhere well and the substrate absorbs water.
- Faucet outlets addressed only after masonry – unnecessary cutting.
- Too narrow entrance at an L-shaped wall.
- Drain at the entrance and the head facing out.
- Dark shower without light behind the wall.
Sources: installation manual Alcadrain (fall 2 %), EN 14891 (waterproofing membranes), STN 33 2000-7-701 (zones and coverage in the bathroom), technical sheets from manufacturers of autoclaved aerated concrete, building boards, and glass blocks; our articles Shower enclosure with or without a tray, Creating a fall in the shower, Waterproofing the shower enclosure, and Walk-in shower.
Terms in the dictionary: Shower tray · Fall · Primer · Waterproofing · Linear shower drain · Floor drain (point drain)
Frequently Asked Questions
How much space does a masonry shower enclosure need?
At least 90 × 120 cm; for a wall without a door, preferably more. In a shorter bathroom, glass is more practical as it takes up less space.
What to build the shower wall from?
Most commonly from aerated concrete blocks or from construction boards made of extruded polystyrene with a cement layer. Glass blocks allow light to pass through. Aerated concrete needs to be primed and insulated.
Does the masonry wall need to be anchored?
Yes. The wall is only supported on one side, so it must be anchored to the load-bearing wall according to the manufacturer's instructions and securely connected to the floor.
Where to place the drain in a masonry shower?
At the back wall or along the masonry wall, not at the entrance. The floor should have a fall of 1 to 2% towards the drain, and the shower head should point away from the entrance.
Can the tap be installed on a masonry wall?
Yes, but the pipes and concealed body must be planned and installed during the masonry work, not afterwards.
Is a masonry enclosure better than glass?
You don't have to clean glass, and you can embed a niche and tap into the wall. However, it takes up more space, there is less light behind the wall, and later changes mean demolition.
AI Advisor
Have a question on the topic? Ask the advisor – they will respond based on TGB Kúpeľne articles.
AI advisor – answers are generated by artificial intelligence from TGB Kúpeľne articles and may contain errors.
Bathroom design
These are tips. We will draw your bathroom for you.
In the 3D bathroom planner, you can design your bathroom yourself for free. We will prepare a custom visualisation with specific wall tiles for you in the studio – free of charge with your purchase.
Online design for free Custom visualisation
TGB Kúpeľne Studio · Bratislavská 71, Senec · Map