Showers and Bathtubs
Wet room: the entire bathroom as a shower – fall, waterproofing and when to do it
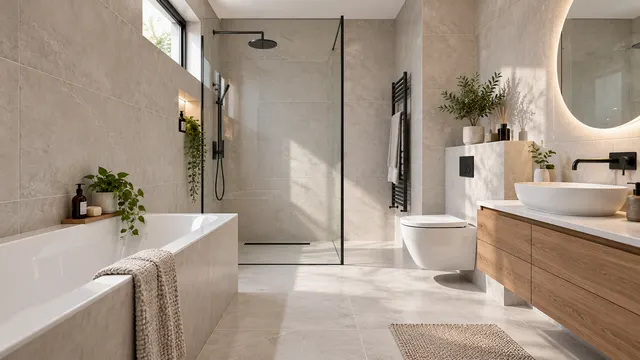
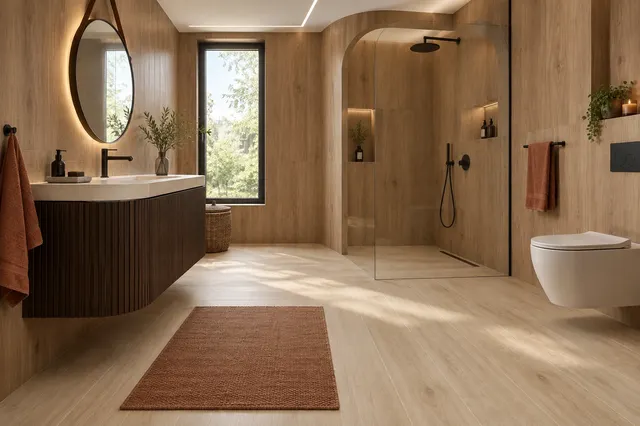
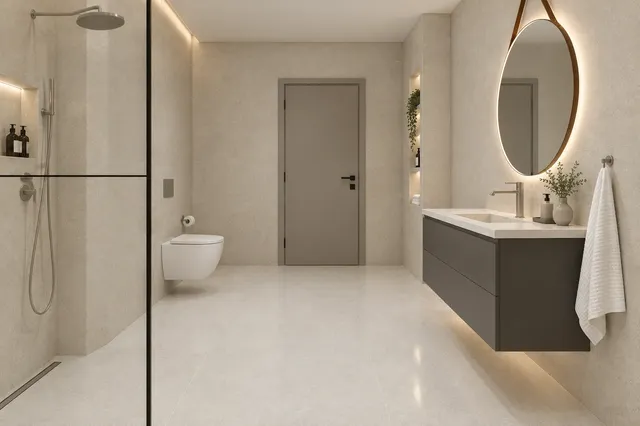
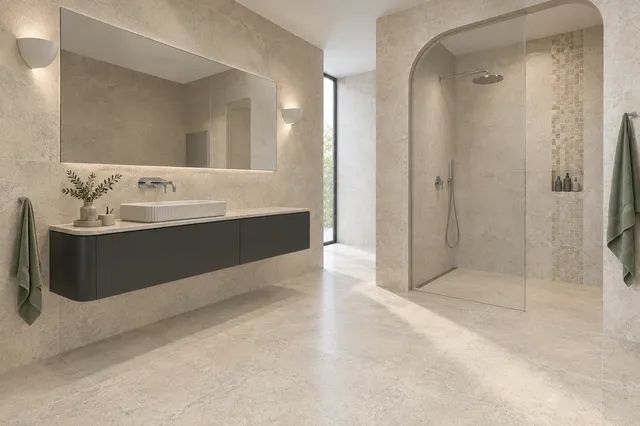
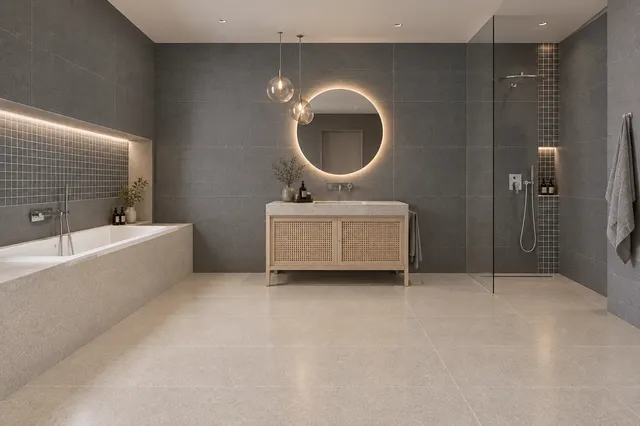
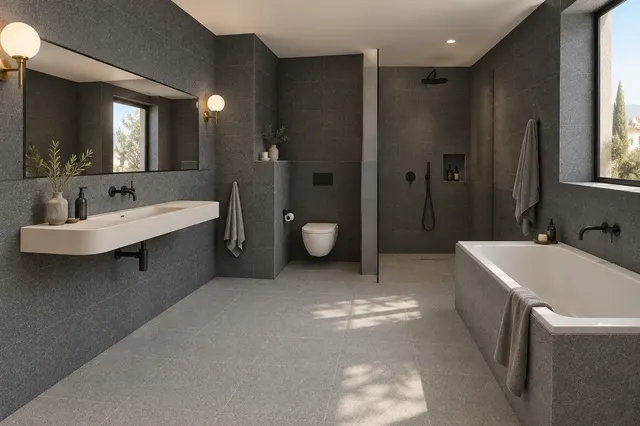
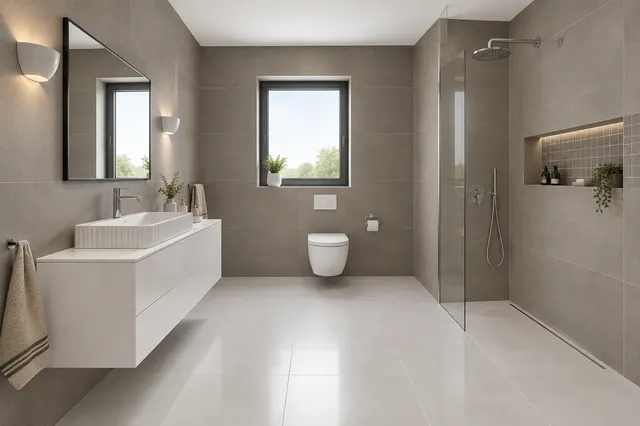
A wet room, in English a wet room, has no shower enclosure or tray – the floor is one continuous surface sloping towards the drain and waterproofing protects the entire floor and the walls around the shower. It works when there is enough height in the floor for the fall and drainage, the bathroom has good ventilation, and is not too small. In a prefab block of flats, it is challenging – more often, a level-access shower with a glass wall or a flat tray is done there.
In the UK and Scandinavia, a wet room is common: no shower enclosure doors, no tray, just one floor tile from the door to the wall with the shower and a drain in the floor. In Slovakia, this solution mainly appears in new houses and in bathrooms for seniors. It looks clean and is easy to clean. At the same time, it is the most demanding bathroom to prepare – water gets everywhere and everything under the tiles must be designed to get wet. In the article, you will find how a wet room differs from a walk-in shower, when it is worth it, how to achieve the fall, drainage and waterproofing, and what to consider regarding electricity and ventilation.
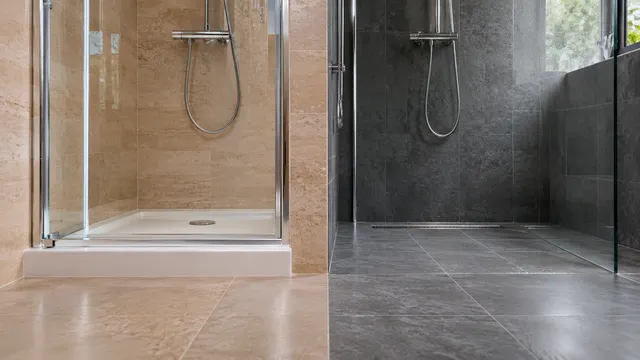
Wet room and walk-in shower: difference
| Walk-in shower | Wet room | |
|---|---|---|
| shower | defined by a glass wall, fall only in the shower | open, at most a short glass wall |
| floor | fall in the shower, flat outside of it | entire floor sloping towards the drain or two zones with a slope |
| waterproofing | in the shower and at its edges | entire floor and walls around the shower |
| wet after showering | in the shower | often the larger part of the bathroom |
| suitable size | even a smaller bathroom | preferably a larger bathroom or a separate WC |
In practice, both solutions are encountered – a wet bathroom can have a short glass wall that protects the WC and sink from splashes. The dimensions of the walk-in shower and the shower without doors are described in the article Walk-in sprcha.
When a wet bathroom is worth it and when it is not
| Yes | Preferably not |
|---|---|
| new build or renovation of a house where the floor can be lowered | prefab block of flats where the ceiling cannot be recessed and the floor height is low |
| bathroom for seniors or for wheelchair access – no threshold or edge | very small bathroom where a towel, paper, and washing machine would get wet |
| separate WC outside the bathroom | WC in the same small room without a glass wall |
| good ventilation, ideally with a window and fan | bathroom without a fan or with poor ventilation |
| you want a minimalist look and easy cleaning | you want a warm cloud of steam – without doors, it cannot be created |
For seniors and for wheelchair access, a level-access floor is a great advantage – more in the chapter Bezbariérová kúpeľňa. In a prefab block of flats, a flat shower tray is often a more sensible solution, a comparison can be found in the article Sprchový kút s vaničkou alebo bez.
Fall and drainage
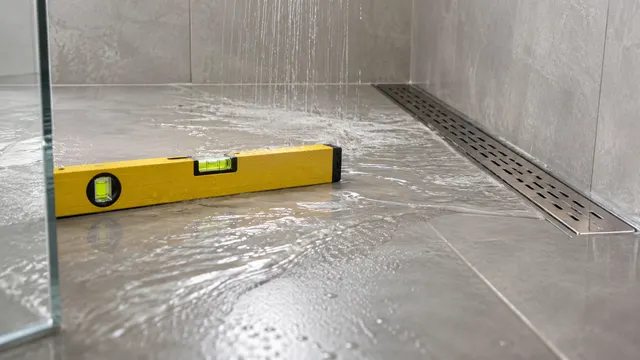
Without the correct fall, a wet bathroom does not work – water remains stagnant and seeps under the door. The shower area is usually designed with a fall of approximately 1 to 2% towards the drain. In a wet bathroom, you need to plan where the water drains from the entire floor:
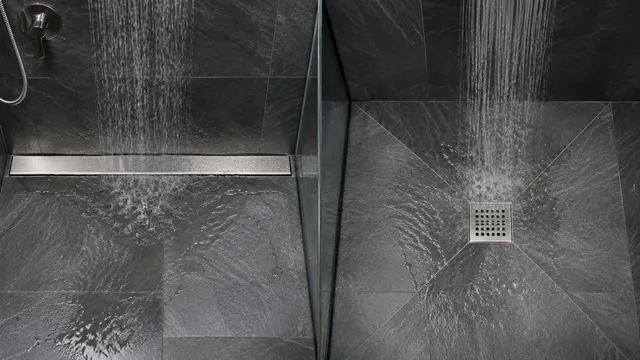
- Linear drain at the wall with the shower – a one-way fall is sufficient and large format can be laid. The most common solution.
- Point drain – fall from four sides, floor tiles are cut to the perimeter. Suitable for smaller formats or mosaics.
- Two zones – shower area with a fall towards the drain and the rest of the floor with a slight fall towards it, so that water never flows towards the door.
The highest point of the floor is always at the door. The drain or outlet needs space for the waste trap underneath – for low models, around 7 to 10 cm of floor build-up. In a house, this can be prepared in the project, while in a renovation, you need to find out how much height the floor has. The calculation of the fall and height can be found in the article Spádovanie podlahy v sprche, the choice of drain in the article Sprchový žľab alebo bodový odtok.
Waterproofing according to water load
The German standard DIN 18534-1, which manufacturers of waterproofing and drains also follow, divides areas in the interior into four classes according to how much water acts on them:
| Class | Load | Example in the household |
|---|---|---|
| W0‑I | low | walls above the sink, floor of the WC without a shower |
| W1‑I | moderate | bathroom floor, walls by the bath and shower with a screen |
| W2‑I | high | shower floor at floor level and areas where water often stands |
| W3‑I | very high | showers in fitness centres and public buildings |
In a wet bathroom, the shower floor is class W2‑I. Manufacturers derive practical rules from this:
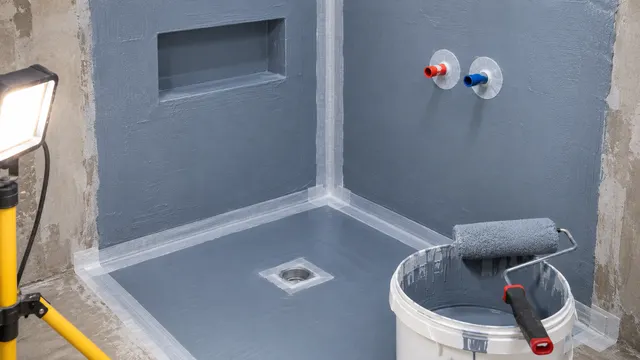
- Type of waterproofing: dispersion waterproofing is used on walls in W2‑I according to drain manufacturers. For the floor, a cement flexible screed or reactive resin is required. For example, Ceresit recommends CL 50 waterproofing instead of dispersion CL 51 for showers with a recessed drain.
- Drain with flange: the drain or outlet must have a flange for connecting the waterproofing – in classes W0‑I to W2‑I at least 30 mm, in W3‑I at least 50 mm.
- Tapes and sleeves: in corners, at the wall–floor transition, around pipes and at the drain.
- Doors: waterproofing continues behind the frame so that water does not seep under the doors.
Waterproofing is done by the tiler according to the manufacturer's technical data sheet and a tightness test is performed before tiling. The procedure and zones in the bathroom are described in the chapter Hydroizolácia and the article Hydroizolácia sprchového kúta.
Electricity, ventilation and heating
- Zones: in a shower without a tray, zone 1 is within 120 cm of the centre of the fixed water outlet and zone 0 up to 10 cm above the floor within its range. Sockets and switches must be outside the zones. The boundaries in a specific bathroom will be determined by a qualified electrician – more in the chapter Elektrina a zóny.
- Ventilation: a fan with a timer or hygrometer is mandatory. Wet floors and walls must dry quickly, otherwise mould will appear.
- Underfloor heating: helps the floor to dry and is more pleasant for bare feet. Expansion joints in the screed must also be transferred to the tiles.
- Residual current device: all circuits in the bathroom are protected by a residual current device of no more than 30 mA.
Floor tiles and equipment for the wet bathroom
- Floor tiles: anti-slip, in the shower R10 to R11. For point drains, use smaller formats or mosaics; for linear drains, larger formats are suitable.
- Grout: in the shower, use a more durable grout, such as epoxy. Corners and transitions should be sealed with silicone – more in the section Grout and silicone.
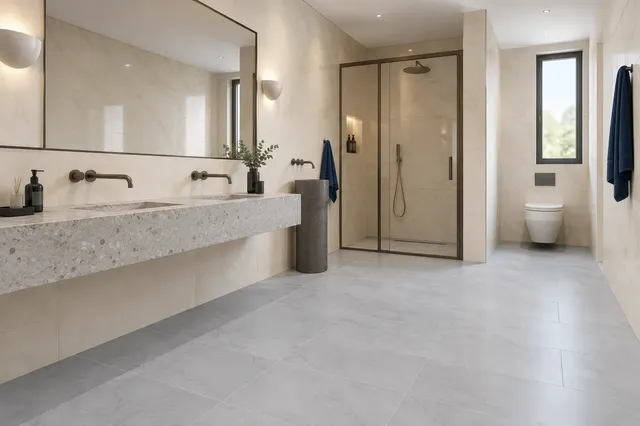
- Short glass wall: protects the toilet, sink, and towels from splashes even in a wet bathroom.
- Wall-hung toilet and furniture: nothing stands on the wet floor, making cleaning simple.
- Towels and paper: kept out of the shower's reach, toilet paper stored in a cabinet or with a cover.
- Thermostatic mixer: provides a constant temperature in an open shower, appreciated especially by children and seniors.
Summary of steps
- Design: where the shower, drain, glass wall will be, and how the floor will be sloped.
- Check the height of the floor and the waste route – already in the house project.
- Install the drain or inlet with a flange and sloped screed.
- Waterproofing of the entire floor and walls around the shower, including tapes, sleeves, and behind the door frame.
- Leak test and drying time according to the technical data sheet.
- Wall and floor tiles, grouting, silicone in the corners.
- Installation of the mixer, glass, toilet, and furniture, check the drainage with a bucket of water.
Water and waste plumbing and electrical work should always be done by a professional. You can find the entire sequence of works for the renovation in the article Bathroom renovation step by step.
Common mistakes
- fall towards the door or a flat floor outside the shower,
- dispersive waterproofing on the shower floor at floor level,
- drain without a flange or sealing sleeve,
- waterproofing ends before the door frame,
- socket or switch in zone 1,
- missing fan,
- toilet, paper, and towels without splash protection in a small bathroom.
We will design your wet bathroom at our studio in Senec, and you can try out how it would look without a shower enclosure in the 3D bathroom planner. You can see drainage channels and anti-slip floor tiles live at the store – schedule a visit. You can also find channels in the category Drainage channels and strips on vkupelni.sk.
Related: Walk-in shower · Creating a fall in the shower · Waterproofing the shower enclosure · Drains and falls · Barrier-free bathroom
Sources: DIN 18534-1 (water load classes W0‑I to W3‑I) according to manufacturers Dallmer, ACO, and TECE, Hornbach (waterproofing behind the door frame), technical data sheet Ceresit CL 51, STN 33 2000-7-701 (zones), chapters from the guide Bathrooms from A to Z.
Terms in the glossary: Shower tray · Walk-in shower · Fall · Waterproofing · Barrier-free shower · Linear shower drain
Frequently Asked Questions
What is a wet room?
A bathroom without a shower enclosure and tray, where the floor is one continuous surface sloping towards the drain. Waterproofing protects the entire floor and the walls around the shower. In English, it is called a wet room.
What fall should a wet room have?
The shower area should have a fall of approximately 1 to 2 % towards the drain or outlet. The rest of the floor should slope slightly towards the shower, so water never flows towards the door – the highest point is at the door.
Can a wet room be made in a prefab block of flats?
Only if there is enough height in the floor for the fall and drainage with a waste trap – for low drains, around 7 to 10 cm. You cannot recess into the ceiling in a prefab block of flats, so a flat tray or shower with a glass wall is usually more sensible.
What waterproofing for a wet room?
For the shower floor at floor level, which is according to DIN 18534-1 class W2‑I, a cement flexible screed or reactive resin with tapes and cuffs. Dispersion waterproofing is only used on walls in W2‑I according to manufacturers.
Where to place sockets in a wet room?
Outside the zones. With a level-access shower, zone 1 is within 120 cm of the centre of the fixed water outlet. The exact boundaries of the zones will be determined by a qualified electrician.
Is a wet room suitable for seniors?
Yes, a level-access floor makes entry easier even with a walker or wheelchair. Add anti-slip floor tiles R10 to R11, a foldable seat, grab bars, and a thermostatic mixer.
AI Advisor
Have a question on the topic? Ask the advisor – they will respond based on TGB Kúpeľne articles.
AI advisor – answers are generated by artificial intelligence from TGB Kúpeľne articles and may contain errors.
Bathroom design
These are tips. We will draw your bathroom for you.
In the 3D bathroom planner, you can design your bathroom yourself – for free and without registration. If you want assurance, we will prepare a photorealistic custom visualisation based on actual dimensions and specific tiles in the studio. It's free with a purchase.
Online design for free Custom visualisation
TGB Kúpeľne Studio · Bratislavská 71, Senec · Mon–Fri 8:00–12:00 and 12:30–17:00, Sat 9:00–12:00 · Map