Tiles
Relief wall tiles for the bathroom: 3D, slats and stone texture
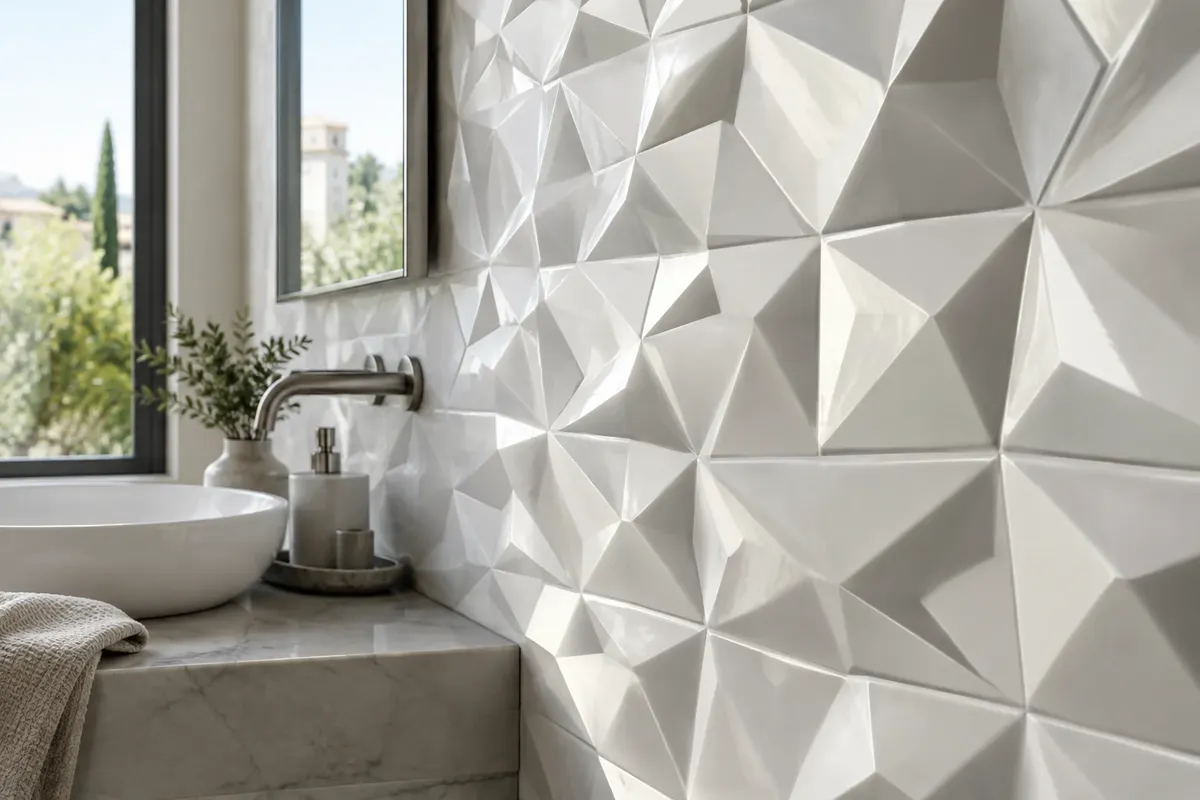
A relief wall tile has a texture on the surface – slats, waves, geometric 3D patterns, or drawings of stone and wood. It looks best on one wall, for example, behind the sink, bath, or close-coupled toilet, with side or overhead light. In the shower, a gentle texture is suitable; deep relief retains more water and limescale. Plan the corners and edges in advance, as the relief cannot be easily cut to fit a trim.
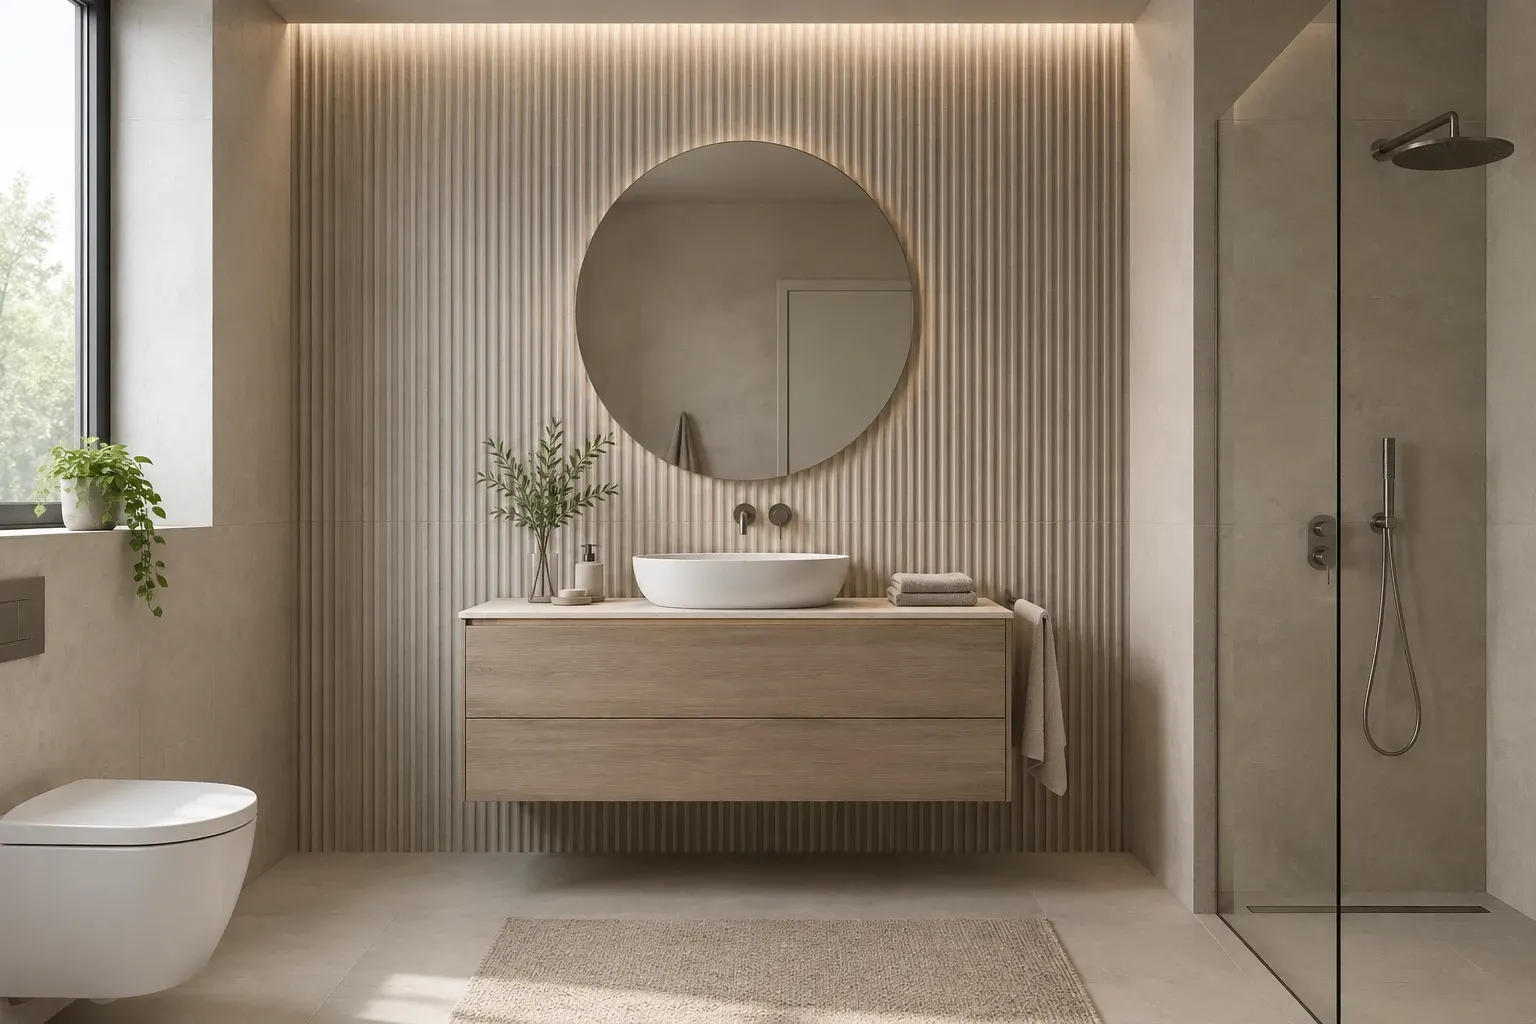
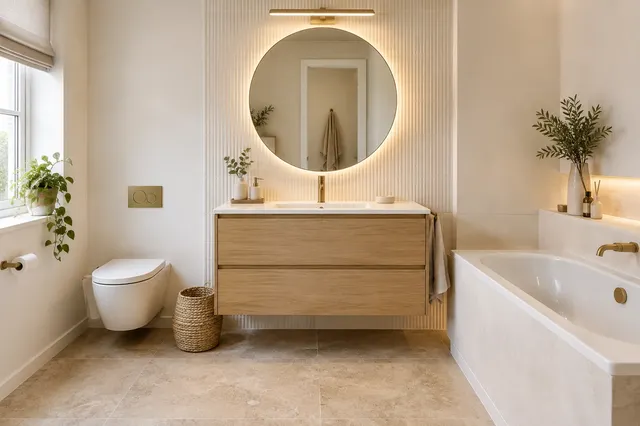
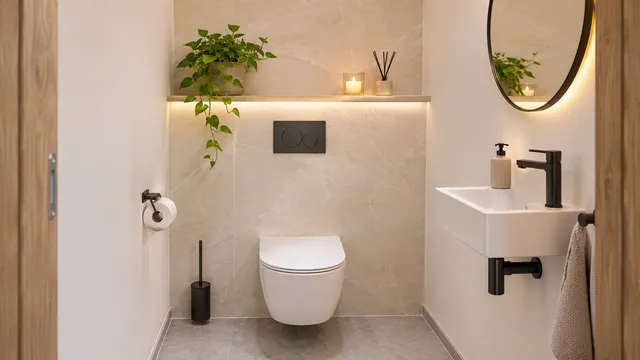
Illustrative image: Bathroom with light relief wall tiles with slats behind the vanity unit, illuminated from above by an LED strip
A relief wall tile adds depth to the bathroom without additional colour or pattern. Just one wall with texture can make a simple bathroom feel sophisticated. The key is to ensure the relief has something to stand out against – good lighting and a calm environment. Below you will find types of relief wall tiles, where to place them, how to light them, and what to watch out for during installation and cleaning.
Types of relief wall tiles
| Type | What does it look like | Where it fits |
|---|---|---|
| slats and grooves | vertical or horizontal ribbing, often in sizes 30 × 60 or 40 × 120 cm | behind the sink, bath, close-coupled toilet, modern style |
| waves and arches | soft, flowing texture | accent wall, smaller areas, gentle and playful bathrooms |
| geometric 3D pattern | triangles, rhombuses, pyramids | one wall, niche, contrast to smooth floor tiles |
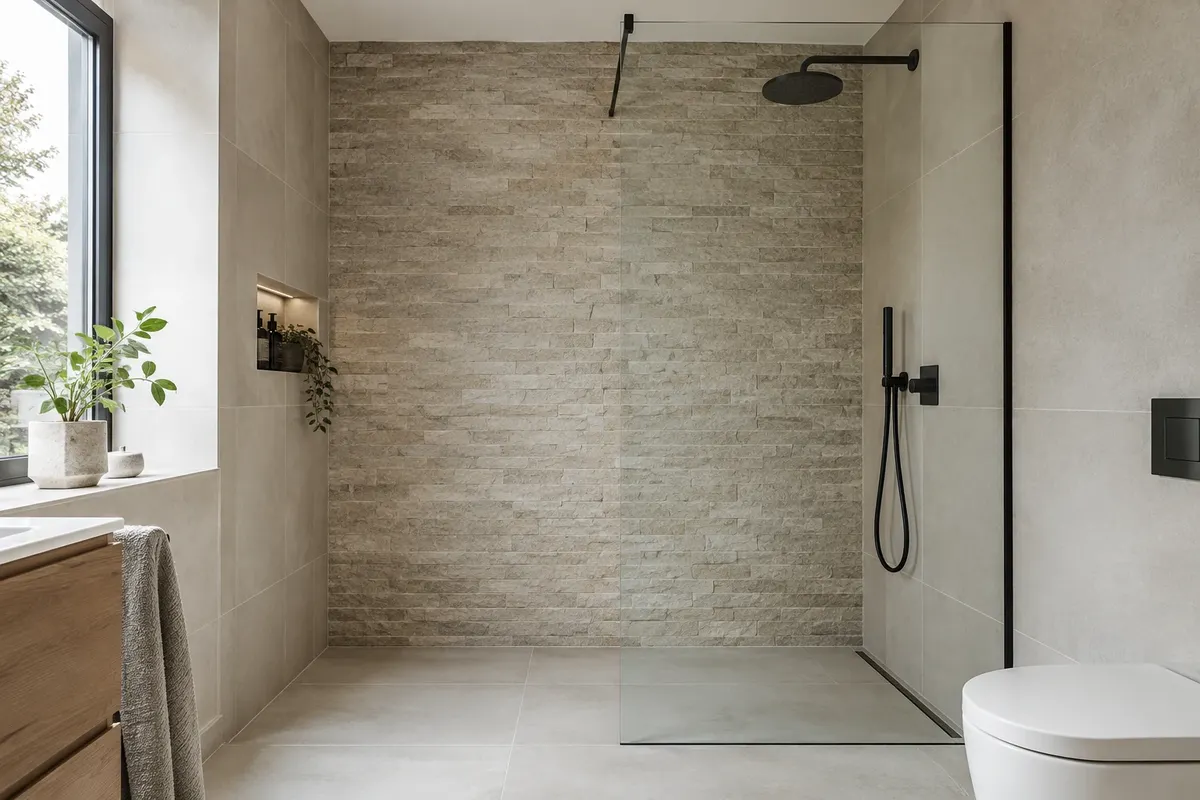
| stone structure | surface like split or sanded stone | natural style, shower, larger bathroom |
| wood structure | tangible growth rings and fibres | warm bathroom, combination with smooth white |
| decor with gentle relief | print with slightly raised drawing | almost everywhere including the shower |
Manufacturers often offer relief as a decor to smooth wall tiles from the same series. Smooth and relief tiles then have the same colour and format and complement each other beautifully. You can also find relief wall tiles from manufacturers in the style of Patterns and Decors.
Where to place relief wall tiles
- Behind the sink – the wall you see every day. A mirror is often placed above the sink, so plan the relief around it.
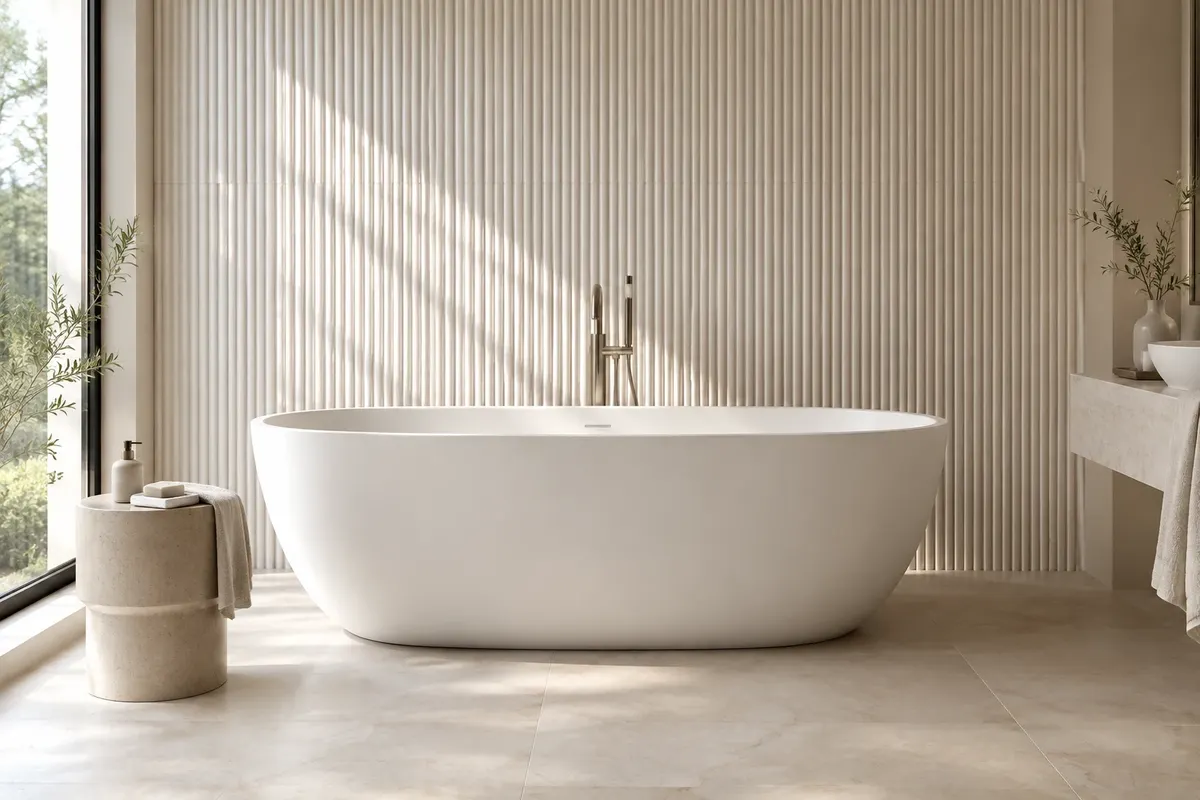
- Behind the bath – for both freestanding and built-in baths. Relief adds a frame to the bath.
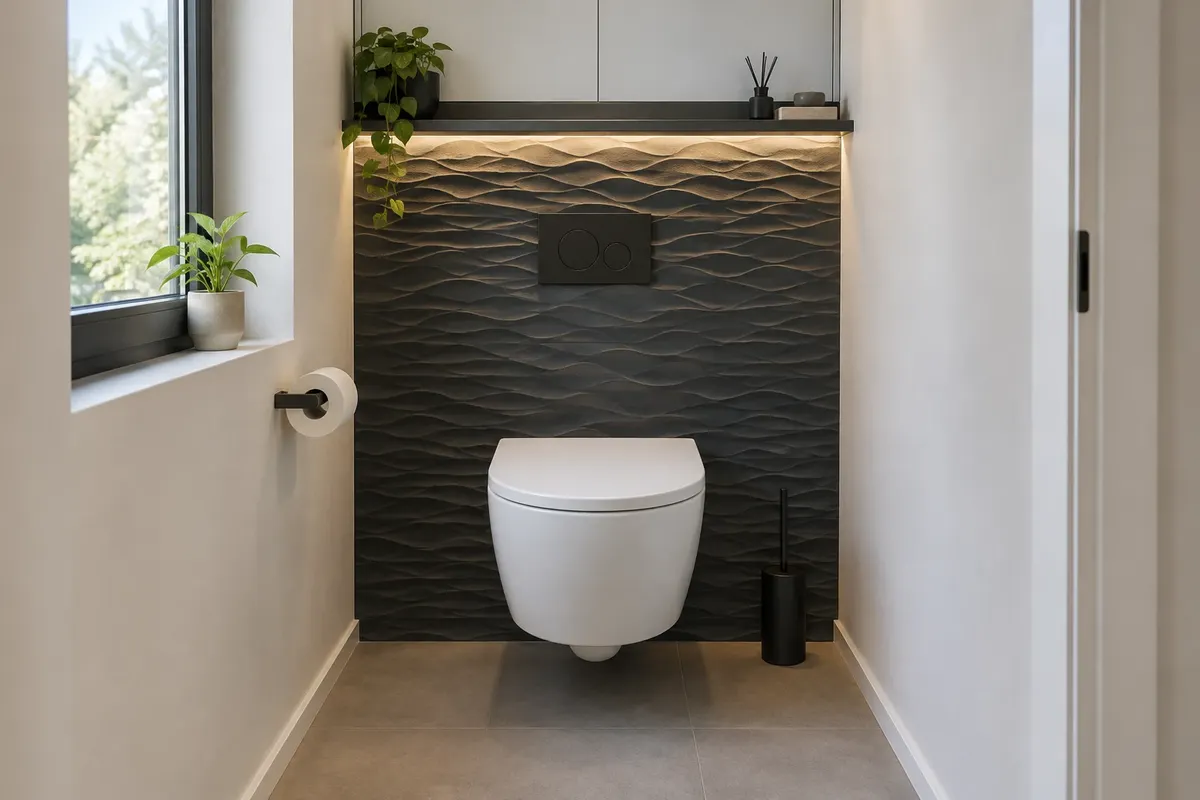
- Behind the WC – the wall you see immediately upon opening the door. In a small WC, relief is sufficient only on the installation wall. More in the article Wall tiles for WC.
- In the niche – the relief on the back wall of the niche with an LED strip is a small detail with a big impact.
- On the front of the bath or bench – the slats on the bath cladding look like furniture.
It's best to place the relief on one wall. If there is too much, the bathroom feels restless and the relief loses its effect. Leave the other walls smooth, in the same or a similar shade.
Light transforms relief into relief
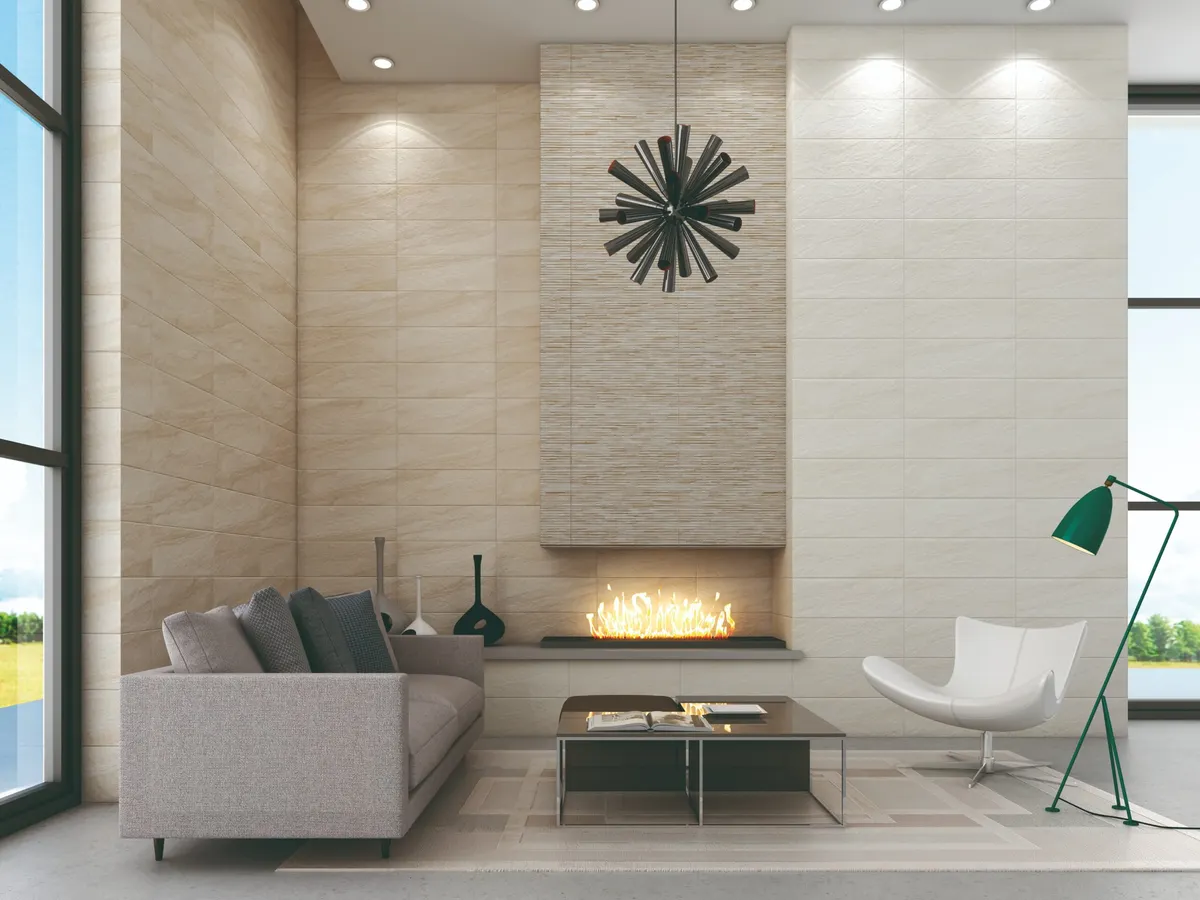
A relief tile without good lighting looks ordinary. The structure stands out when light hits the wall at an angle – from the side or from above along the wall. Each groove casts a shadow, bringing the wall to life.
- LED strip in the ceiling or in the cornice along the wall, shining downwards.
- Light in the niche from above or the side.
- Wall lights on either side of the mirror.
- Spotlights in the ceiling closer to the wall, not in the middle of the room.
Light from the front, such as from a ceiling light in the middle of the bathroom, 'flattens' the relief. Lights in the bathroom must have protection according to the zone – the exact placement should be designed by an electrician. More in the article Bathroom lighting.
Relief tiles in the shower
Relief can be used in the shower, but it needs to be chosen wisely. Deep grooves and sharp edges retain water, soap, and limescale, making them harder to clean. Therefore, suitable options for the shower include:
- fine texture with a shallow relief,
- matte or satin finish, where limescale is less visible,
- vertical slats, where water runs off, instead of horizontal grooves where it remains,
- a wall out of the direct flow – for example, a side wall or niche.
Under the tiles in the shower, there must be waterproofing just like with smooth tiles. The process is described in the chapter Waterproofing.
Laying, corners, and finishing
Relief tiles are laid similarly to smooth ones, but some things need to be resolved beforehand:
- External corners and edges. Relief cannot simply be cut to a trim. The solution is to finish the relief in the corner, place a smooth tile from the same series on the edge, use a metal trim with sufficient height, or let the relief end at a flat wall finish.
- Connection to smooth tiles. Relief is often thicker. Draw the height and direction of the transition – best in the corner or under a shelf.
- Adhesive. With deep relief, the adhesive must be under the entire tile, without voids. The tiler selects the adhesive based on the format and substrate.
- Grouting. Grout must not be smeared into the relief. With deep grooves, grouting is done carefully and cleaned immediately with a soft sponge. Choose the colour to match the tiles.
- Switches and outlets. The frames do not sit flat on the relief. Place them outside the relief or account for precise cutting.
We clearly describe trims, adhesives, and grouts for tiles in the article Adhesive, grout, and trims.
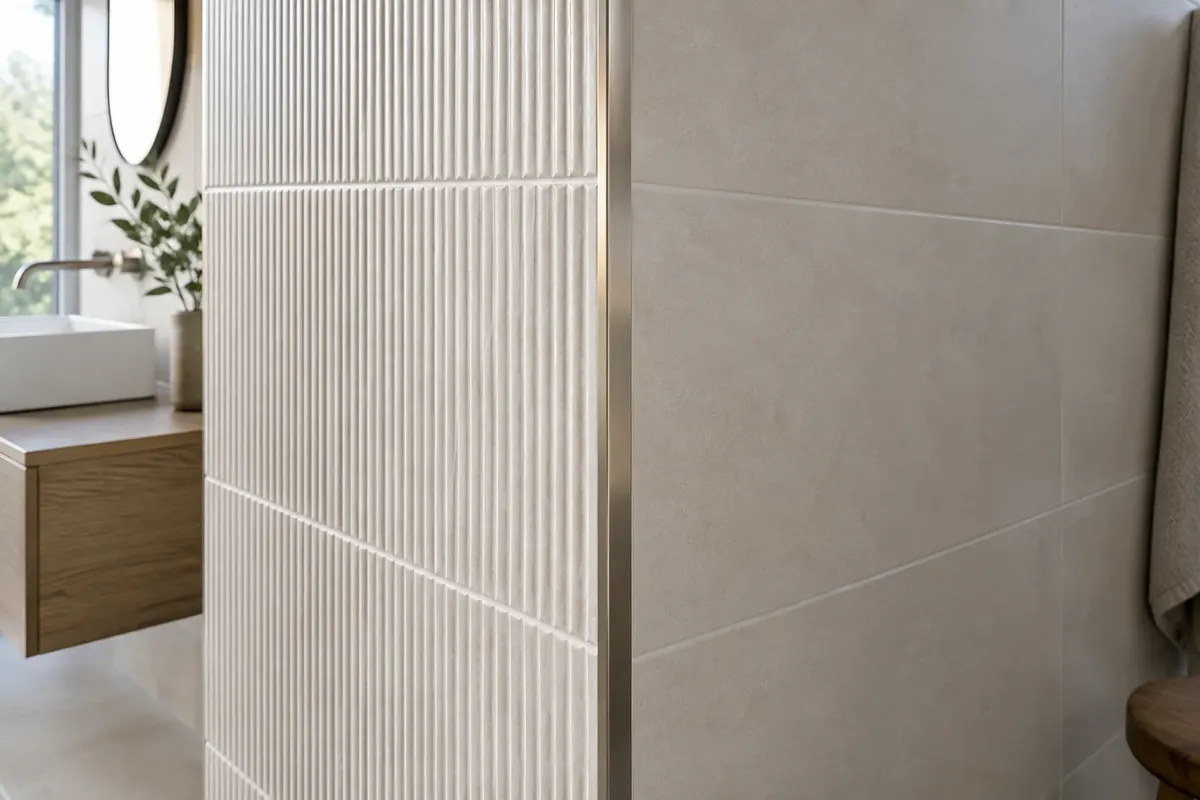
Height or width
The direction of the relief changes the impression of the room just like the direction of rectangular floor tiles:
- Vertical slats visually raise the ceiling. They are suitable for low bathrooms, attics, and behind tall mirrors. Water runs off them well in the shower.
- Horizontal grooves visually widen a narrow room, such as a narrow WC. They are less suitable for the shower, as water and soap remain in the grooves.
- Geometric 3D pattern has no direction – it acts like a picture on the wall, so place it where you look at it.
Relief in a small bathroom and WC
In a small bathroom, relief is sufficient on a smaller area – on the installation wall behind the WC, in the niche, or on a strip behind the sink up to the ceiling. Choose a light shade and fine texture that blends with the wall in daylight and comes to life in the evening with the LED strip. A dark and deep relief in a small room feels heavy. More tips for small spaces can be found in the articles Small WC and Small bathroom.
How much relief tile to buy
Relief is harder to cut than smooth tiles, and there is often more waste when cutting in corners and around outlets. Therefore, plan for a larger reserve and buy everything from one batch – purchased relief may differ in shade and depth of texture. How to calculate the quantity and reserve can be found in the article How much tile to buy.
Relief, furniture, and fittings
When there is relief on the wall, the furniture and fittings should be simple. Smooth furniture without handles and slim fittings go well with slats, while wood and matte metal suit stone textures. A prominent relief and prominent furniture together feel cluttered. Match the colour of the fittings and furniture – for example, black fittings with dark slats or brass with light relief.
Maintenance of relief tiles
- Clean with a soft brush or microfiber and a gentle ceramic cleaner.
- Harsh sponges and abrasive powders scratch the glaze and leave dull marks in the grooves.
- In the shower, a squeegee and wiping after showering helps – limescale does not settle in the grooves.
- With white and light relief, check that the cleaning agent does not stain the grout.
- Dust settles in the grooves even on a dry wall – occasionally, it is enough to vacuum with a soft brush attachment or wipe with a dry duster.
Relief and colour
Relief stands out best on a solid-coloured tile – white, light grey, green, or dark. A strong pattern and relief compete with each other. White relief is timeless and also suits a small bathroom, while dark relief feels luxurious but requires strong light. Colour ideas can be found in the articles Green bathroom and Bathroom tile colours.
How to choose relief: a short guide
- Select the wall – the one you look at most often, and which is not in the direct flow of water.
- Decide on the direction – vertical slats for a low bathroom, horizontal for a narrow one, geometric pattern as a picture.
- Choose the depth of the relief – shallow for the shower, deeper for a dry wall.
- Plan the lighting – LED strip or spotlights by the wall, the cable needs to be prepared before tiling.
- Resolve the edges – where the relief starts and ends, what trims or smooth tiles will be on the edges.
- View the sample at home in side light and compare it with smooth wall tiles and furniture.
How to start
Choose the wall you want to highlight and view the sample of the relief in side light – for example, with a mobile light held against the wall. Then try the relief in the 3D bathroom planner or check out our completed visualisations. You can find wall tiles and decors in the photo gallery of wall and floor tiles and on vkupelni.sk in the category Decors, listels and skirting boards.
Leave the installation of the relief wall tiles, waterproofing, and electrical installation for the light in the niche or ceiling to a qualified tiler and electrician.
Resources: the offer of relief wall tiles and decors from manufacturers in the photo gallery of wall and floor tiles, our articles on Bathroom Lighting, Waterproofing, and Adhesive, grout and profiles.
Terms in the dictionary: Freestanding bath · Installation wall · Waterproofing · Grout · Calibre and shade (batch)
Frequently Asked Questions
Where to place relief wall tiles in the bathroom?
Best on one wall – behind the sink, bath, or WC, or possibly in a niche. Leave the other walls smooth.
Can relief wall tiles be used in the shower?
Yes, if they have a fine texture and a matte surface. Deep horizontal grooves retain water and limescale.
How to light relief wall tiles?
With light from the side or above along the wall, for example, with an LED strip in the ceiling or in the niche. Light from the front flattens the relief.
How to clean relief wall tiles?
With a soft brush or microfiber cloth and a gentle ceramic cleaner. Rough sponges and abrasive powders will scratch the glaze.
How to finish a corner with relief wall tiles?
Plan a smooth wall tile from the same series, a metal trim with sufficient height, or finish the relief in the corner before installation.
Is a relief wall tile suitable for a small bathroom?
Yes, in white or light colour on one wall. It creates a gentle effect and adds depth to the bathroom without additional colour.
AI Advisor
Have a question on the topic? Ask the advisor – they will respond based on TGB Kúpeľne articles.
AI advisor – answers are generated by artificial intelligence from TGB Kúpeľne articles and may contain errors.
Bathroom design
These are tips. We will draw your bathroom for you.
In the 3D bathroom planner, you can design your bathroom yourself – for free and without registration. If you want assurance, we will prepare a photorealistic custom visualisation based on actual dimensions and specific tiles in the studio. It's free with a purchase.
Online design for free Custom visualisation
TGB Kúpeľne Studio · Bratislavská 71, Senec · Mon–Fri 8:00–12:00 and 12:30–17:00, Sat 9:00–12:00 · Map