Tiles and cladding for the whole house
Brick wall tiles in the interior: kitchen, living room and bathroom
A brick wall can be created in the interior in three ways: with ceramic wall tiles shaped like bricks, clinker strips made from fired clay, or lightweight plaster or concrete strips. In the kitchen behind the counter and in the bathroom, ceramics or clinker with low water absorption are suitable – they can be wiped clean and withstand water and heat. Plaster and concrete look beautiful in the living room, bedroom, and hallway, but require sealing and are not suitable for the shower or behind the sink.
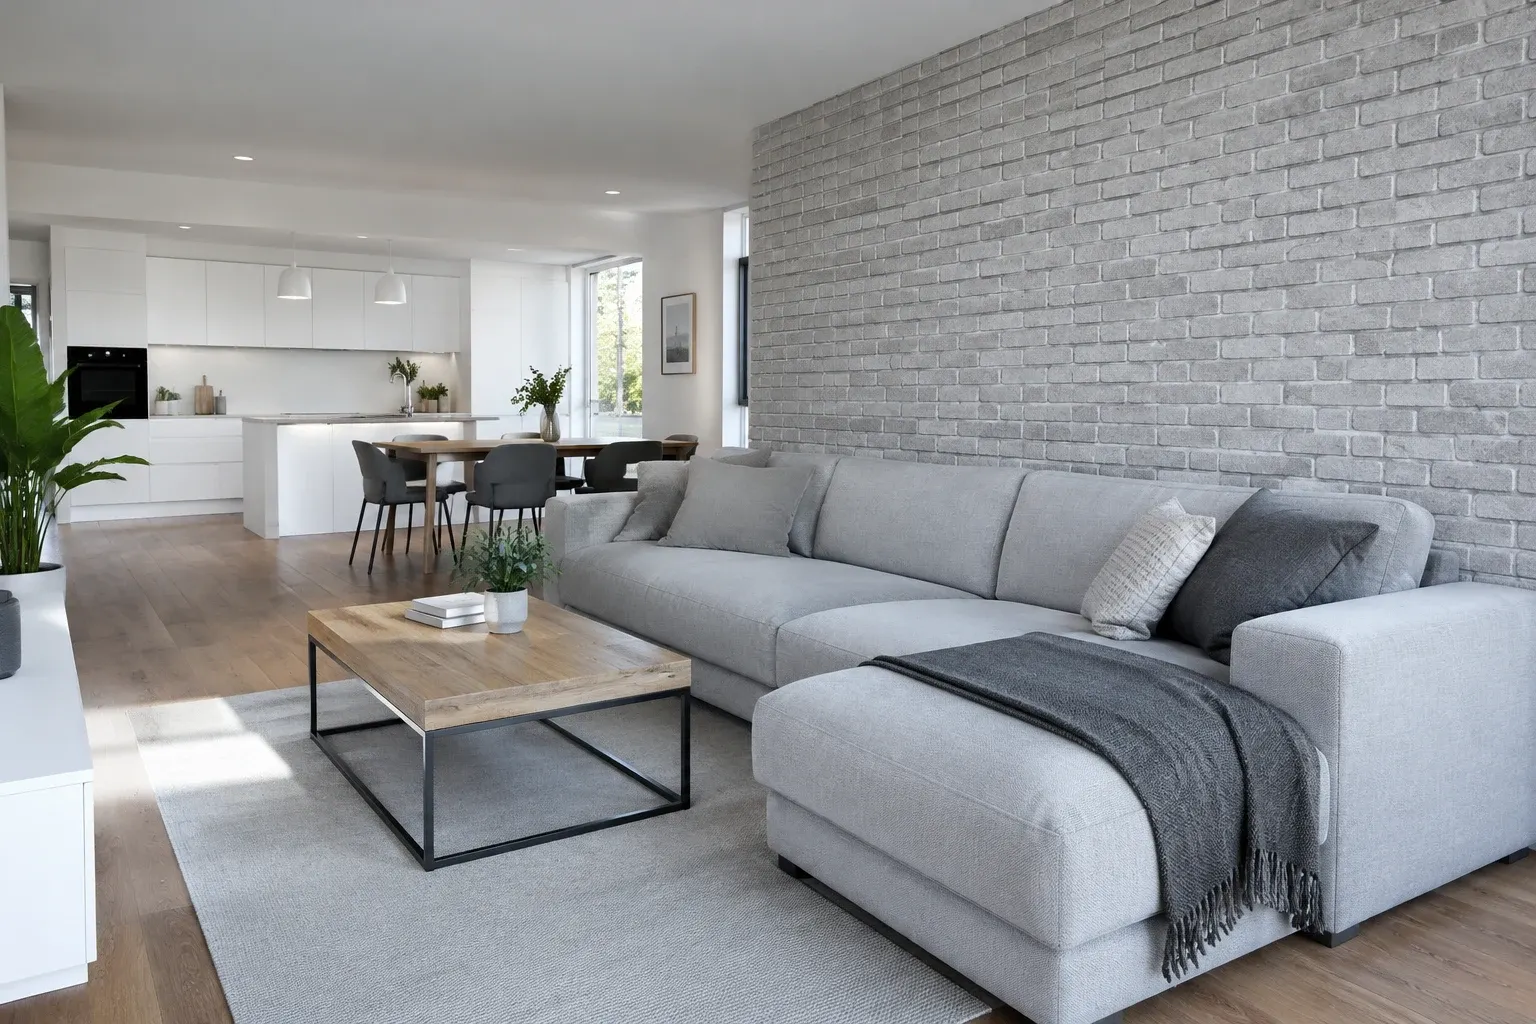
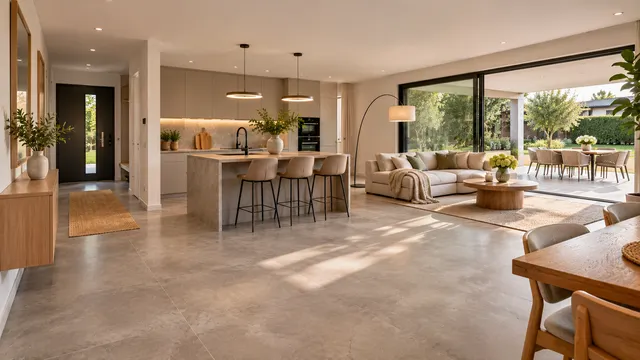
Illustrative image: living room with one wall clad in light grey brick strips, behind it an open kitchen
A brick wall adds character to a room, reminiscent of an old factory, a city apartment, or a country house. There’s no need to expose the original masonry or build a new wall – in the interior, a wall tile thickness of 7 to 14 mm is used. The key is where you place it. The same "brick" that looks beautiful above the sofa can be problematic behind the stove or in the shower. In the article, you will find an overview of materials, dimensions from manufacturers' technical sheets, quantity calculations, and installation procedures.
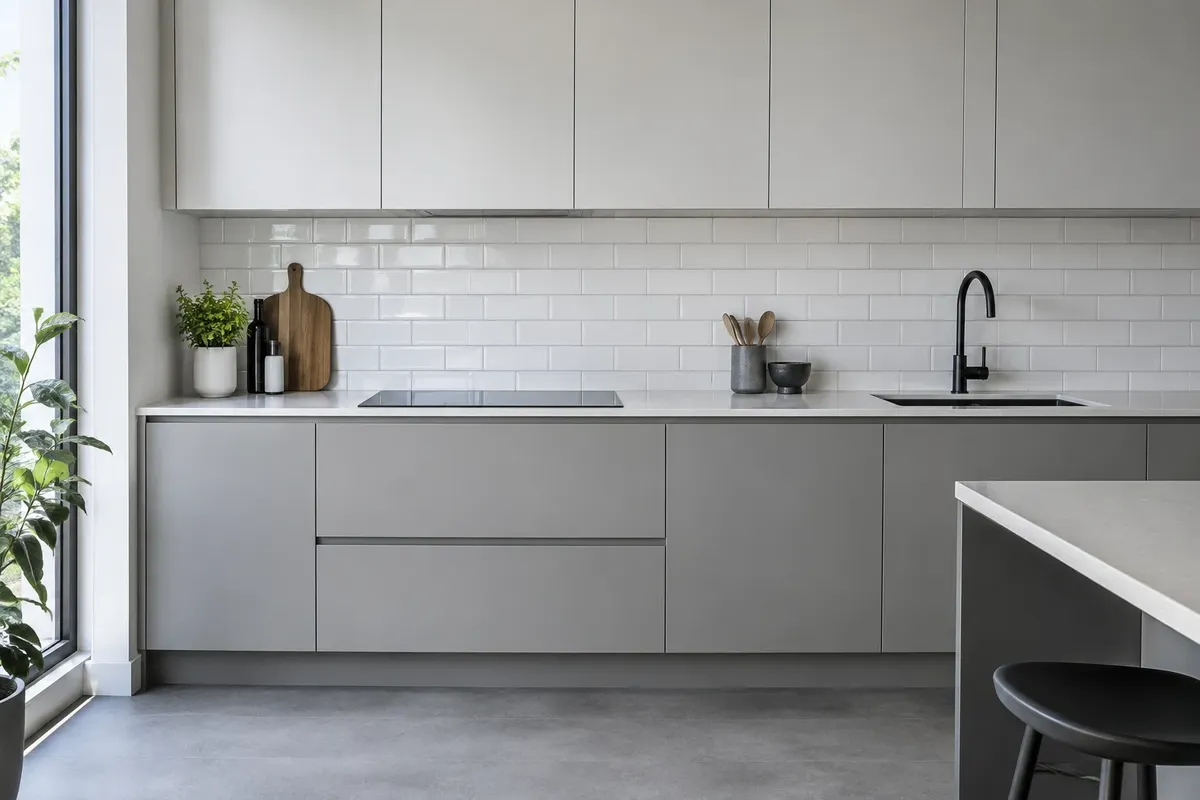
Three types of brick wall tiles
| Material | Example from technical sheets | Kitchen behind the counter | Bathroom | Living room, hallway |
|---|---|---|---|---|
| ceramic wall tiles or gres in brick shape | Cerrad Loft Brick 6.5 × 24.5 cm (clinker); Paradyż 24.5 × 6.6 cm, thickness 7 mm | yes | yes, glazed and suitable for the shower on waterproofing | yes |
| clinker strips made from fired clay | Feldhaus NF 240 × 71 × 9 mm, water absorption up to 3 %; Röben NF 240 × 71 × 14 mm | yes, with treated grout | not in the shower | yes |
| plaster strips | Stegu – synthetic hardened plaster, plaster adhesive for enclosed spaces | no | not within reach of water | yes, with sealing |
| concrete strips | lightweight cement mixture, manufacturers recommend sealing | only away from the sink and hob | not within reach of water | yes, with sealing |
Ceramic wall tiles in brick format are produced by tile and floor tile manufacturers. Cerrad has a Loft Brick series in the format 6.5 × 24.5 cm, designed for loft and industrial interiors as well as facades. Paradyż mentions the use of its "elewacja" strips 24.5 × 6.6 cm with a thickness of 7 mm for facades, hallways, kitchens, bathrooms, and living rooms, and recommends a grout joint of at least 5 mm. The glazed surface can be wiped clean like a standard wall tile and does not absorb grease.
Clinker strips are thin slabs made from fired clay that look like real facing bricks. Feldhaus does not produce them by cutting whole bricks but presses and fires them directly in a thin thickness. For the NF format 240 × 71 × 9 mm, it states a water absorption of up to 3 %, fire reaction class A1 (non-flammable), and suitability for walls in both interior and exterior. Röben produces strips NF 240 × 71 × 14 mm, also for interior and exterior use.
Plaster and concrete strips are the lightest and can be cut with a saw. Stegu produces them from synthetic hardened plaster and offers plaster adhesive Gipsolep designed for enclosed spaces. After installation, the surface and grout joints are sealed – Stegu states that the sealing Stone Care (silicone water repellent) should be applied at least 7 days after completion of the work.
Brick wall tiles for the kitchen
The most common place is the wall between the lower and upper cabinets. Here, water from the sink, grease from cooking, and heat are present. Therefore, choose glazed ceramic wall tiles or clinker with low water absorption. There must be a non-flammable material behind the hob – ceramics and clinker in class A1 are fine, self-adhesive and plastic "bricks" are not.
- Grout is wider with brick wall tiles than with standard wall tiles, making it easier to get dirty. Use epoxy grout or cement grout with sealing behind the counter. More in the article Adhesive, grout, and trims.
- Deep relief behind the hob is difficult to clean. A flatter surface is suitable behind the stove, while a more pronounced texture can be on the rest of the wall.
- Glass in front of the brick – if you want plaster or concrete behind the stove, a tempered glass panel protects them. The rest of the wall can remain without glass.
Other options behind the kitchen counter – large format, slab without joints, and metro tiles – are compared in the article Wall tiles for the kitchen.
Living room, bedroom, and hallway
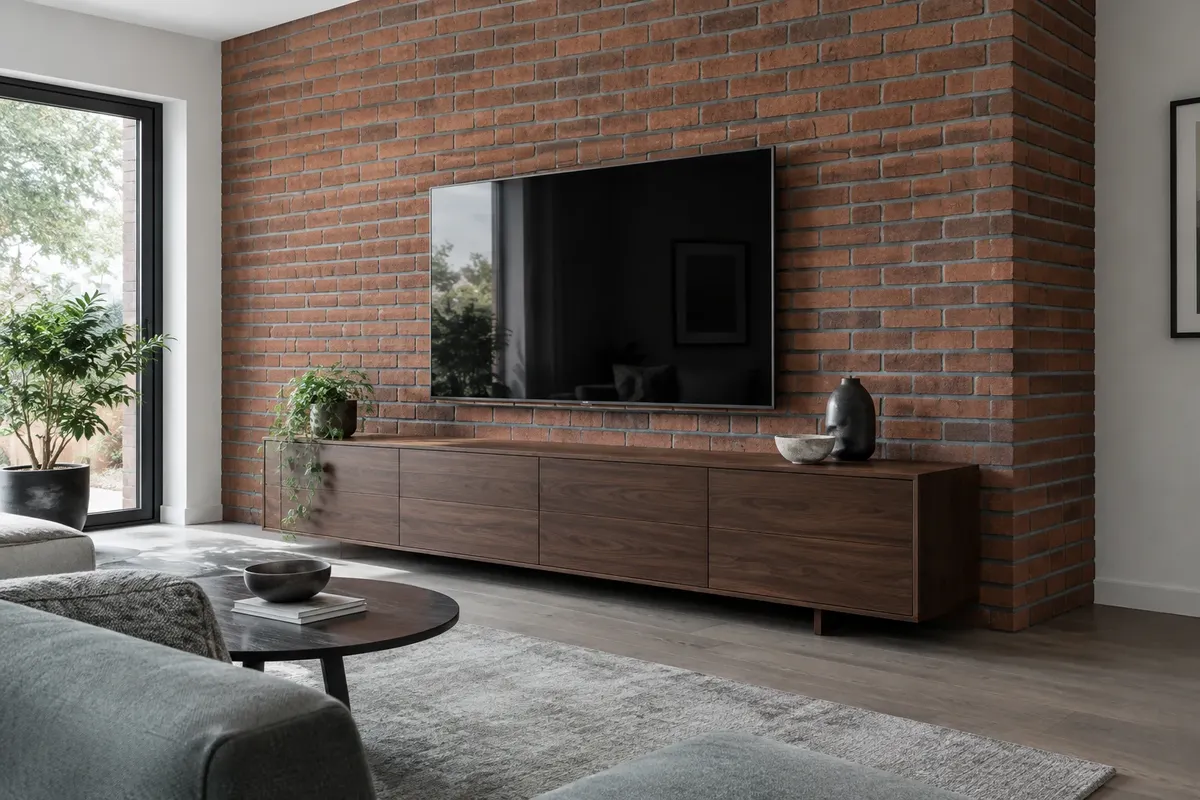
In dry rooms, you can use all three types. Brick is most often placed on one wall: behind the TV, behind the sofa, behind the bed, or on a column in an open kitchen with a living room. Just one wall is enough – four brick walls can feel heavy and dark.
- Hallway and entrance – walls here are worn by bags and prams. Ceramics and clinker endure the most, protect plaster with sealing, and choose a light shade that does not show dust.
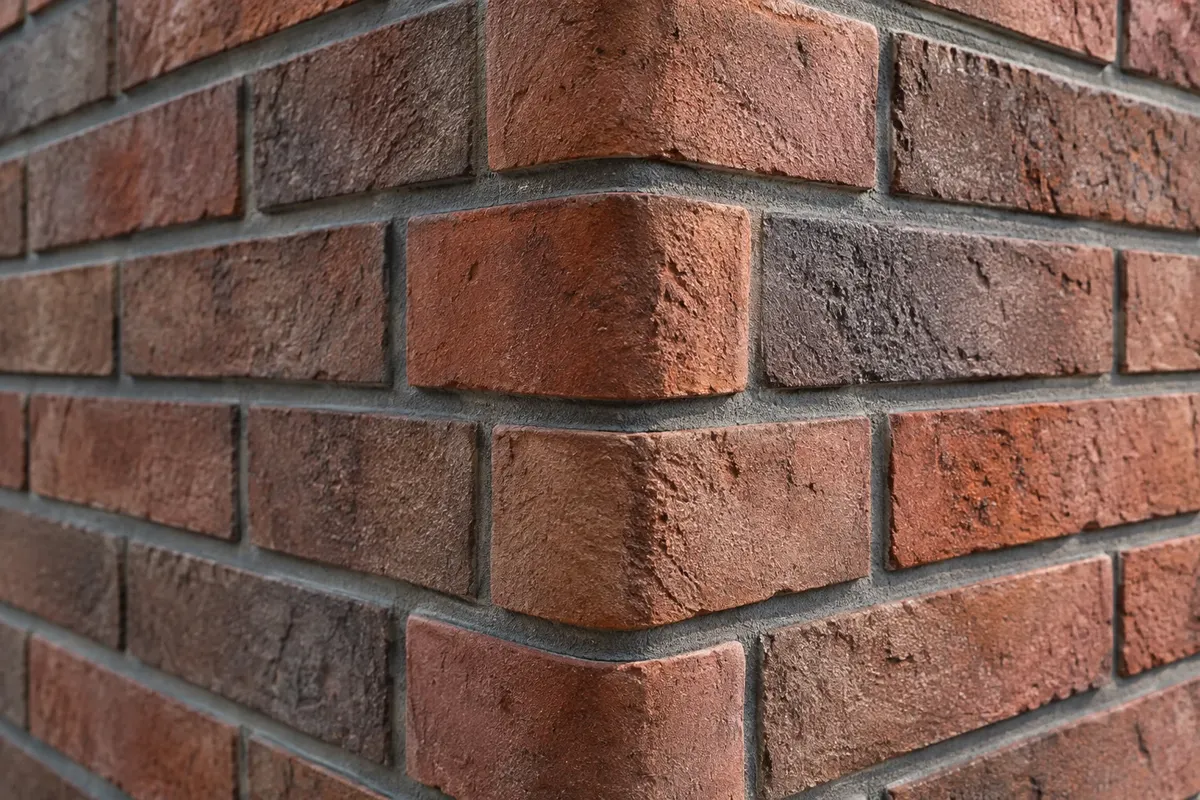
- External corners – use corner strips in L shape. Feldhaus produces them in the format (240 + 115) × 71 mm from the same firing as the straight strips, so the corner looks like masonry.
- Fireplace – for the fireplace insert and flue, adhere to the materials and distances prescribed by the fireplace manufacturer. Have the cladding near the fireplace assessed by the installation company or chimney sweep.
Brick wall tiles in the bathroom
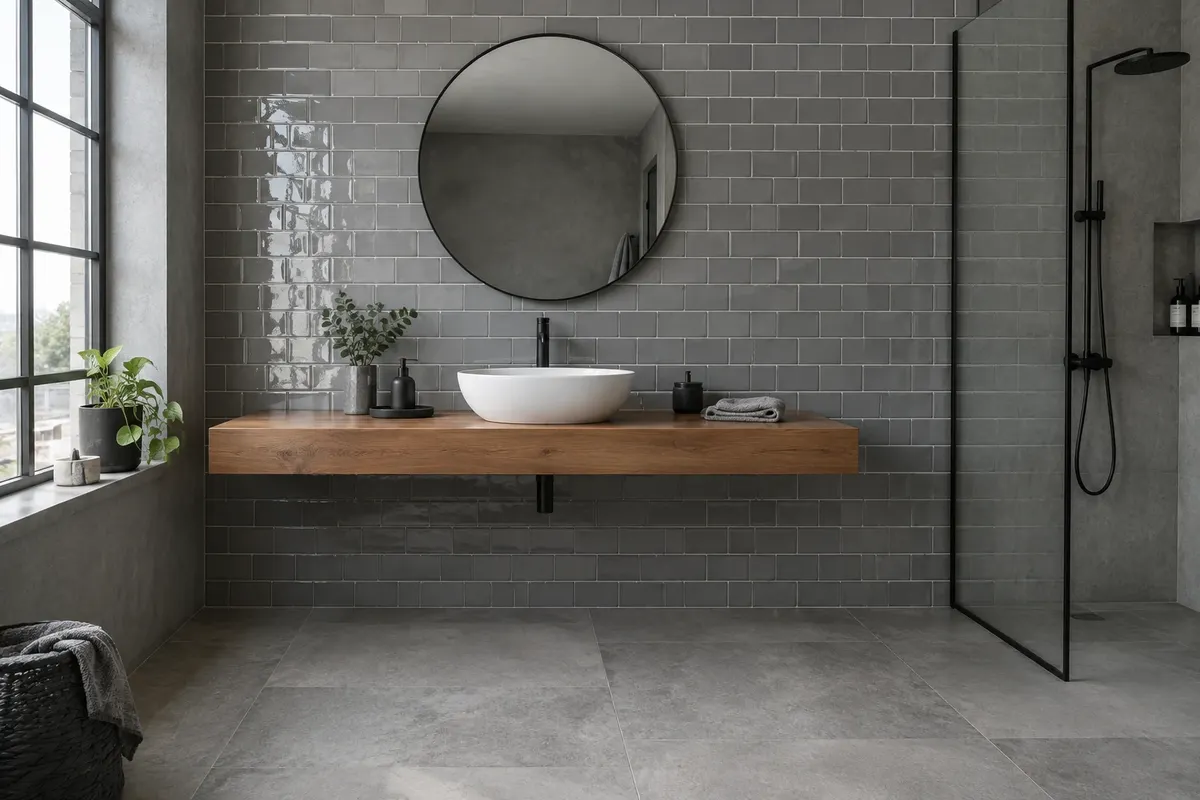
In the bathroom, the direction of water spray is crucial. In the shower and when using a bath with a shower, only glazed wall tiles or gres can be used, with a liquid waterproofing membrane underneath. Use clinker strips on walls outside the shower, for example behind the sink or toilet. Do not use plaster and concrete in areas where water may reach, even if they are sealed.
Brick is suitable for retro and loft bathrooms – with black fixtures, wood, and concrete floor tiles. The appearance of brick is exemplified by the Stargres Tribeca series, which the manufacturer describes as a glossy wall tile in a rectangular brick format with worn edges. You can see how it looks in a bathroom in our visualisation of Stargres Tribeca. More ideas can be found in the articles Retro Bathroom and Concrete Look in the Bathroom.
Colour of the brick and grout
| Colour of the brick | Where it fits | Grout joint |
|---|---|---|
| white, light grey | Scandinavian style, small rooms, hallway | White or light grey, brick looks painted |
| Red, brick | Loft, kitchen with wood, living room | Grey or anthracite – a striking 'brick' wall |
| Brown, multicoloured | Country and industrial style, fireplace | Darker grey that blends with the brick |
| Anthracite, black | Modern kitchen, TV wall | Dark grout, the wall appears as a single surface |
A light grout with red brick highlights every strip. A dark grout calms the wall. Before grouting, make a test piece on cardboard or a leftover board.
How much tile to buy
- Measure the area of the wall and subtract windows and doors.
- Add a reserve of 10% for cuts, and up to 15% for bonding and many cuts.
- Calculate in pieces. For the NF format 240 × 71 mm and a grout joint of about 10 mm, you will need around 48 strips per m² – the same number is provided by Feldhaus.
- Corner strips should be counted separately for the linear metres of the edge. For a strip height of 71 mm and a grout joint of 10 mm, this is about 12 pieces per metre.
Example: A TV wall of 3.0 × 2.6 m has 7.8 m². With a 10% reserve, that is 8.6 m², or about 413 NF strips. If the wall ends on both sides with an external corner 2.6 m high, add 2 × 2.6 m × 12 pieces, which is about 62 corner strips. When using ceramic wall tiles in boxes, round the area to whole packages. The calculation for the entire bathroom can be found in the article How much tile to buy.
Installation step by step
- The substrate must be solid, dry, and level. Remove any peeling old paint and treat absorbent substrates with a primer.
- Adhesive should be chosen according to the tiles: for ceramics and clinker, use cement-based flexible adhesive (for Feldhaus strips, class C2 TE S1 according to EN 12004), and for plaster strips, use plaster adhesive as per the manufacturer's instructions.
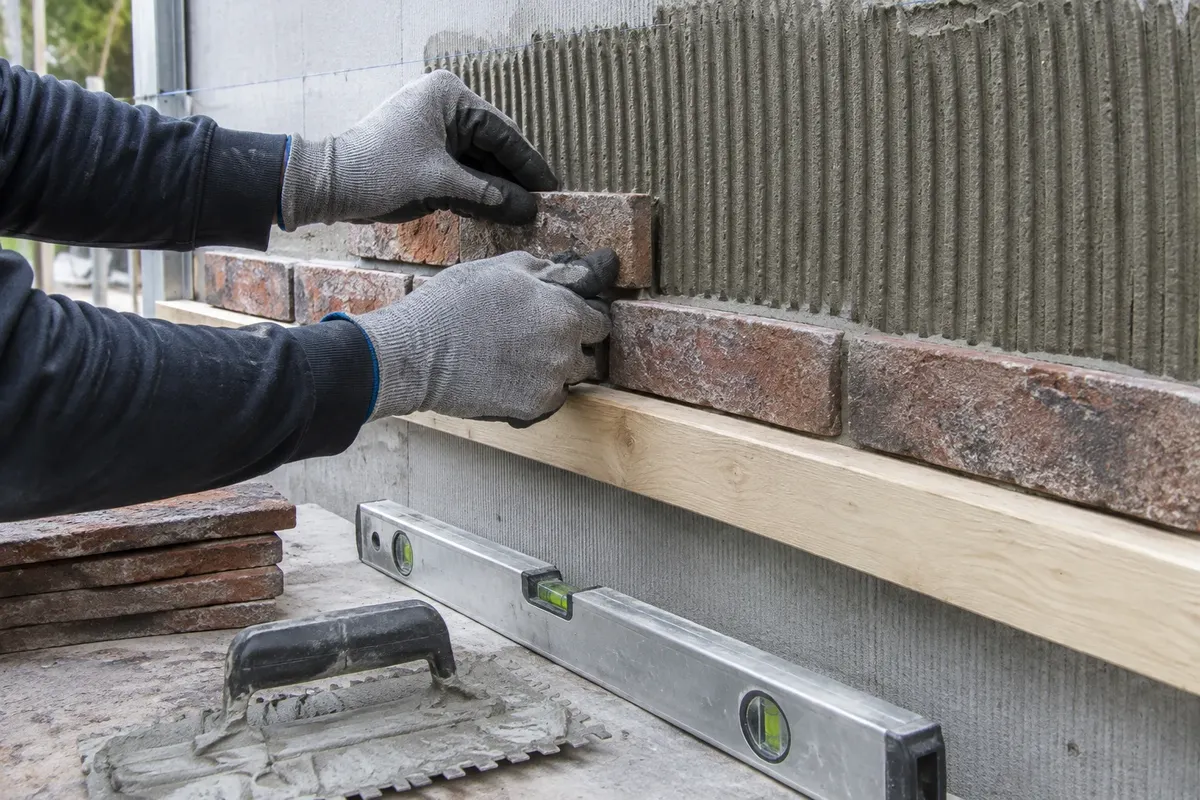
- The first row should be laid on a horizontal support batten and adhered from the bottom up – as described in the Stegu installation manual.
- Bonding – shift each subsequent row by half a strip. Mix strips from several boxes to distribute shades evenly.
- Grouting – press the grout into the joints and smooth them after they have set. Remove any adhesive that has squeezed into the joints immediately.
- Sealing of plaster, concrete, and unglazed strips according to the manufacturer's instructions, including the joints.
If there are electrical sockets or switches in the wall, account for the fact that the tiles will thicken the wall by 1 to 2 cm including adhesive. The boxes need to be pushed out so that the covers sit on the tiles. Leave electrical adjustments to an electrician.
Common mistakes
- Plaster strips behind the sink, behind the hob, or in the shower.
- Sealing omitted or done before the tiles and joints have dried.
- Straight strips on the outer corner without corner pieces – the corner will reveal that it is a tile.
- Brick on all walls of a small room makes it feel dark.
- Strips from one box placed next to each other – colour differences will cluster in one spot.
- Joint the same width as with regular tiles – brick without a wider joint does not look like brick.
You can try a full wall of brick tiles in our 3D bathroom planner or in bathrooms with patterns and decors. Wall tiles for the entire flat – from kitchen to hallway – can be found in the overview Wall and floor tiles for the whole house. You can view wall tiles at vkupelni.sk in the Wall Tiles category or live at the TGB Kúpeľne studio in Senec.
Sources: Cerrad Brick & Stone catalogue (Loft Brick 6.5 × 24.5 cm, clinker, frost-resistant), technical data from Paradyż (strips 24.5 × 6.6 cm, thickness 7 mm, suitable for use in kitchens and bathrooms, minimum joint 5 mm), technical sheet from Feldhaus Klinker (NF strips 240 × 71 × 9 mm, water absorption up to 3%, EN 14411, class A1, corner strips (240 + 115) × 71 mm, 48 pcs/m²), Röben parameter declaration (NF strips 240/14/71 for interior and exterior), Stegu installation manual and technical sheets (plaster tiles, Gipsolep adhesive, Stone Care sealing only after 7 days, adhesive from the bottom up), description of the Stargres Tribeca series.
Terms in the dictionary: Gres (porcelain stoneware tiles) · Waterproofing · Water absorption · Sealing (impregnation) · Sanitary silicone · Epoxy grout (RG)
Frequently Asked Questions
Can brick wall tiles be placed in the kitchen behind the counter?
Yes, if it is a glazed ceramic tile or clinker with low water absorption. There must be a non-combustible material behind the hob. Do not place plaster and concrete strips behind the sink and stove, or protect them with tempered glass.
Can brick wall tiles be used in the bathroom?
Yes. Only glazed tiles or gres in the shape of bricks should be used in the shower on waterproofing. Clinker strips can be placed on the wall outside the shower, plaster and concrete only where water cannot reach.
What size are brick strips?
The most common format is NF 240 × 71 mm with a thickness of 9 or 14 mm. Ceramic tiles in the shape of bricks often measure 6.5 × 24.5 cm with a thickness of around 7 to 8 mm.
How many strips are needed for 1 m²?
For the format NF 240 × 71 mm and a grout joint of around 10 mm, about 48 pieces. Add 10 to 15% for reserve and corner strips for standard edge metres.
Do brick wall tiles need sealing?
Plaster, concrete and unglazed strips do need sealing, including the grout joints – according to the manufacturer's instructions, for example, Stegu at least 7 days after installation. Glazed ceramic tiles do not require sealing, but the grout in the kitchen does if it is not epoxy.
What grout joint is suitable for brick wall tiles?
Wider than a standard wall tile, Paradyż recommends at least 5 mm, while NF strips are typically around 10 mm. A grey grout with red brick creates a masonry effect, while white with white brick looks calm.
AI Advisor
Have a question on the topic? Ask the advisor – they will respond based on TGB Kúpeľne articles.
AI advisor – answers are generated by artificial intelligence from TGB Kúpeľne articles and may contain errors.
Bathroom design
These are tips. We will draw your bathroom for you.
In the 3D bathroom planner, you can design your bathroom yourself – for free and without registration. If you want assurance, we will prepare a photorealistic custom visualisation based on actual dimensions and specific tiles in the studio. It's free with a purchase.
Online design for free Custom visualisation
TGB Kúpeľne Studio · Bratislavská 71, Senec · Mon–Fri 8:00–12:00 and 12:30–17:00, Sat 9:00–12:00 · Map