Tiles and cladding for the whole house
Floor tiles around the pool and on outdoor steps: slip resistance, frost and step tiles
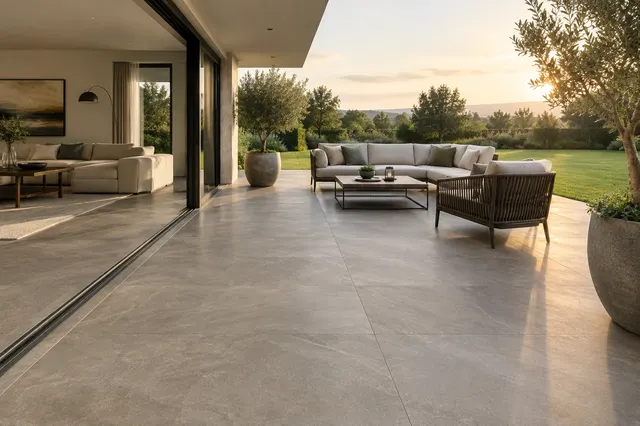
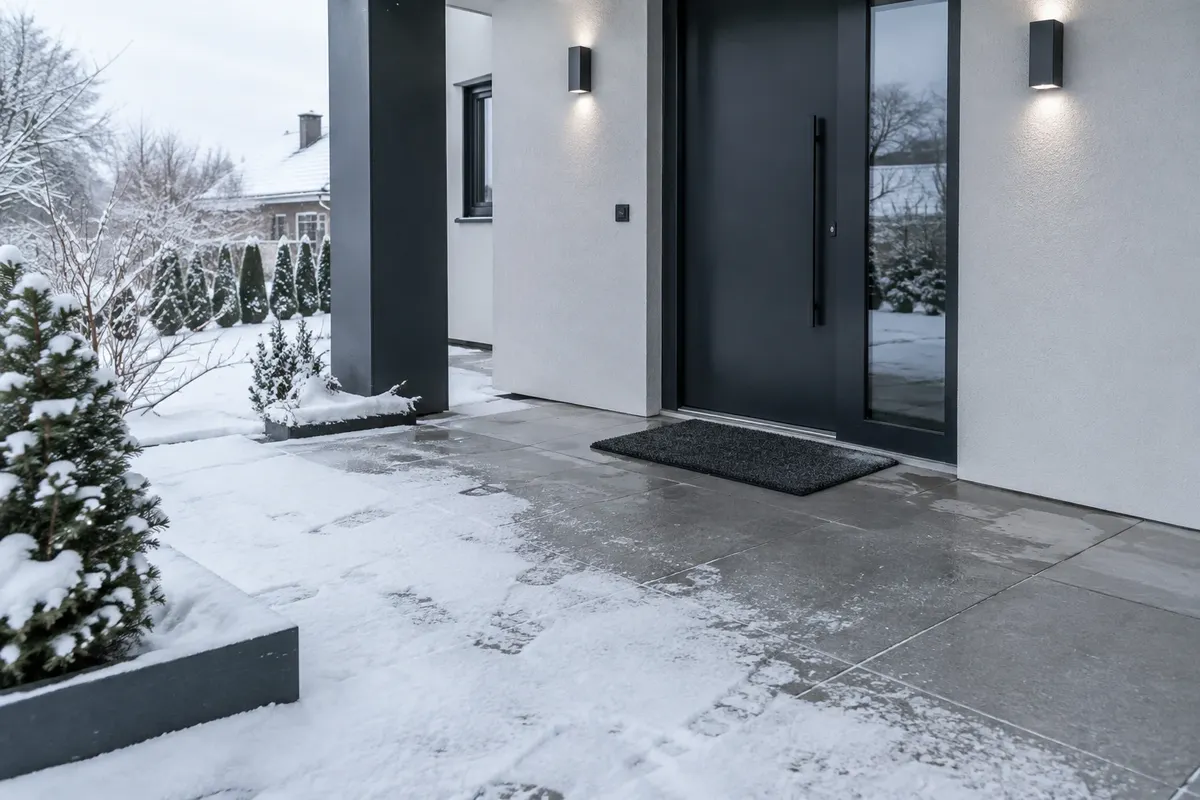
Around the pool, you walk barefoot and on wet surfaces, so the slip resistance class for barefoot feet matters: at least B for the pool area, C for steps into the water. For outdoor steps and terraces, at least R11 is required. The tiles must be frost-resistant – porcelain stoneware with water absorption up to 0.5 %. For steps, step tiles with rounded or grooved noses are suitable, and a comfortable step size according to the rule 2 × height + width ≈ 63 cm.
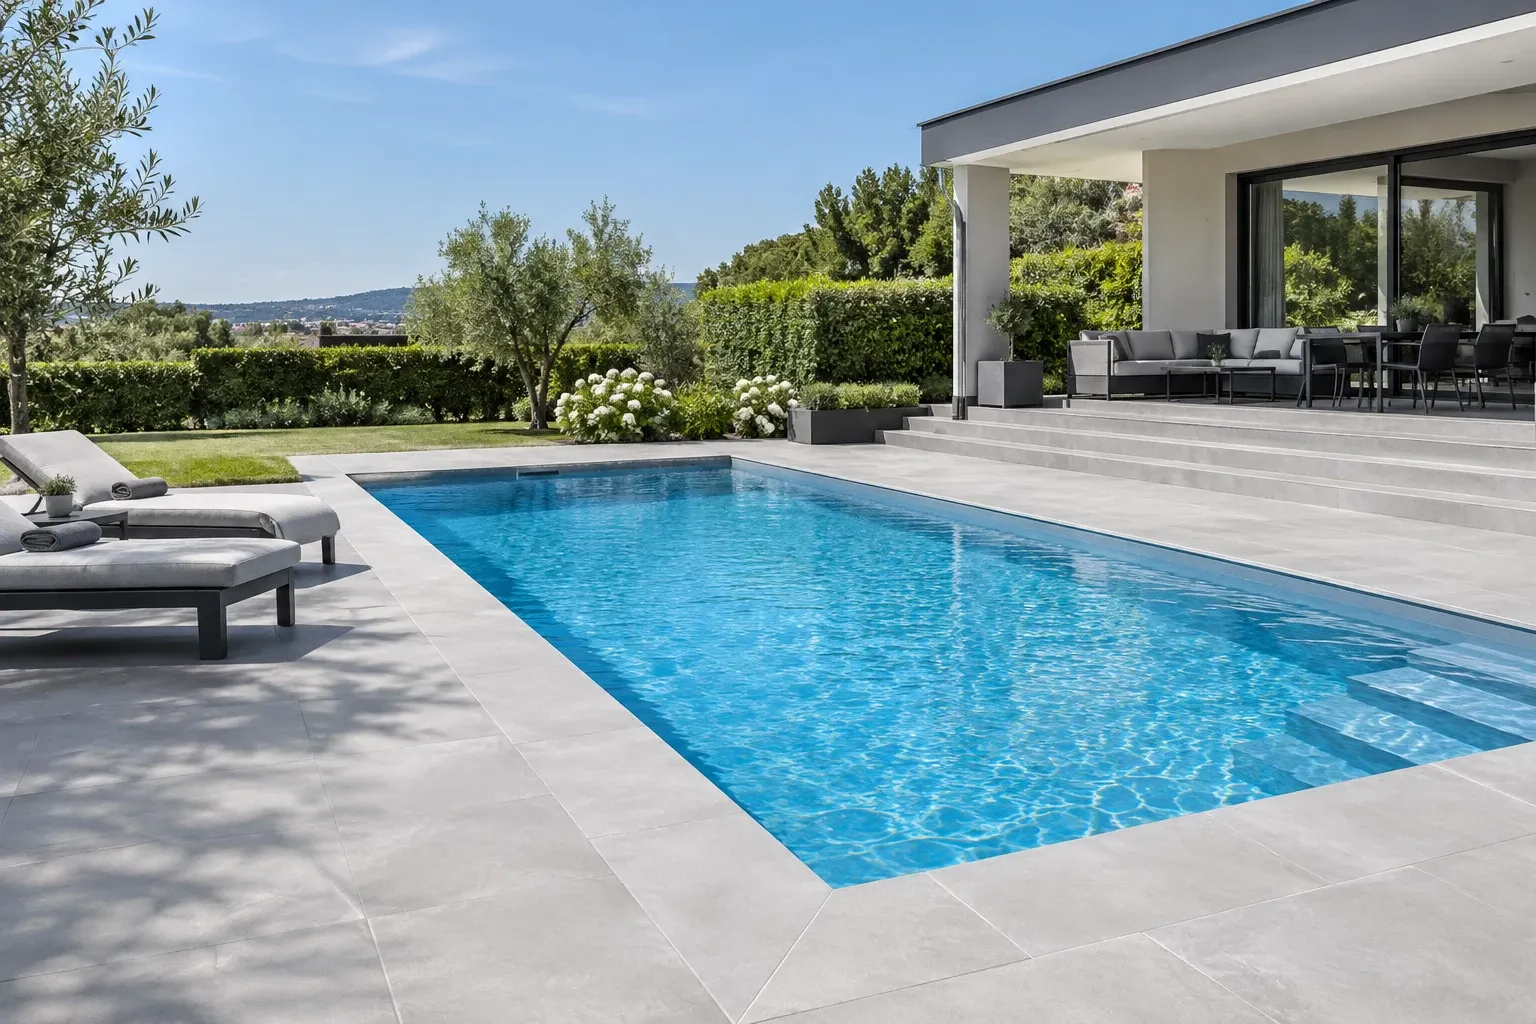
Illustrative image: garden pool edged with light grey slip-resistant floor tiles and low outdoor stairs made of the same tiles
The pool and outdoor steps are places where the most people slip on the tiles. Around the pool, the tiles are wet and walked on barefoot, while leaves, frost, and snow accumulate on the steps leading to the water. Therefore, not only appearance matters here, but three parameters: slip resistance, frost resistance, and the shape of the step edge. In the article, you will find which classes to choose, how to design comfortable steps, and what to consider during installation.
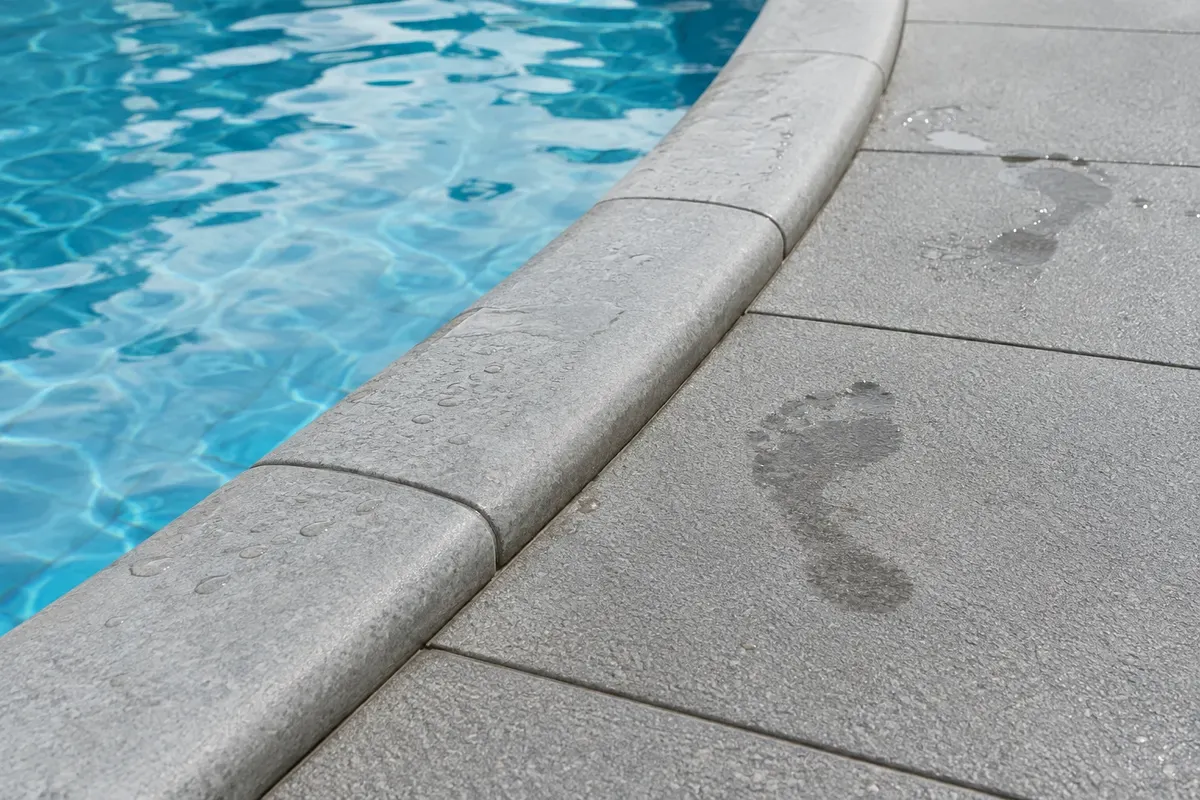
Two slip resistance tests: in shoes and barefoot
On the box of the tiles, you will find two different markings. Both are tested on a sloped board – the greater the slope the test person can withstand without slipping, the higher the class.
- R9 to R13 (test according to DIN 51130) – walking in work shoes on an oiled board. Applies to areas where shoes are worn: terrace, entrance, steps.
- A, B, C (test according to DIN 51097) – walking barefoot on a soapy board. Applies to areas where people walk barefoot: pool surroundings, showers, saunas.
| Location | Recommended class | Why |
|---|---|---|
| walkway and terrace around the pool | B (at least 18°), outside at the same time R11 | wet and bare feet |
| steps into the pool, sloped areas underwater, edge of the pool | C (at least 24°) | constantly underwater or in a water flow |
| outdoor steps and entrance to the house | R11 (19 to 27°) | rain, leaves, frost, walking in shoes |
| outdoor terrace | R11 | rain and walking in shoes |
| shower by the pool | B | soap and bare feet |
The outdoor 2 cm tiles from RAKO have a slip resistance of R11/B, meeting both requirements for terraces and pool surroundings. We explain both tests in detail in the article Parameters of floor tiles: slip resistance, PEI and water absorption.
Frost resistance: water absorption up to 0,5 %
Water that enters the tile freezes in winter, expands, and cracks the tile. Therefore, outdoor tiles should absorb almost no water: gres (porcelain stoneware) with water absorption of up to 0.5%, in accordance with EN 14411 group BIa. Manufacturers state frost resistance based on the EN ISO 10545-12 test. Ceramic wall tiles that absorb more than 10% water are only suitable for interior walls. Learn more about the material in the article Porcelain stoneware tiles.
As important as the tile is the method of laying. If there is a void under the tile, water can seep in and frost can detach the tile. Therefore, outdoor tiles should be adhered over the entire surface – adhesive is applied to both the substrate and the back of the tile. At pools and on stairs, tiles are most often adhered to concrete, or the terrace around the pool is built on pedestals (see the article Tiles on pedestals).
Pool surroundings: what to consider
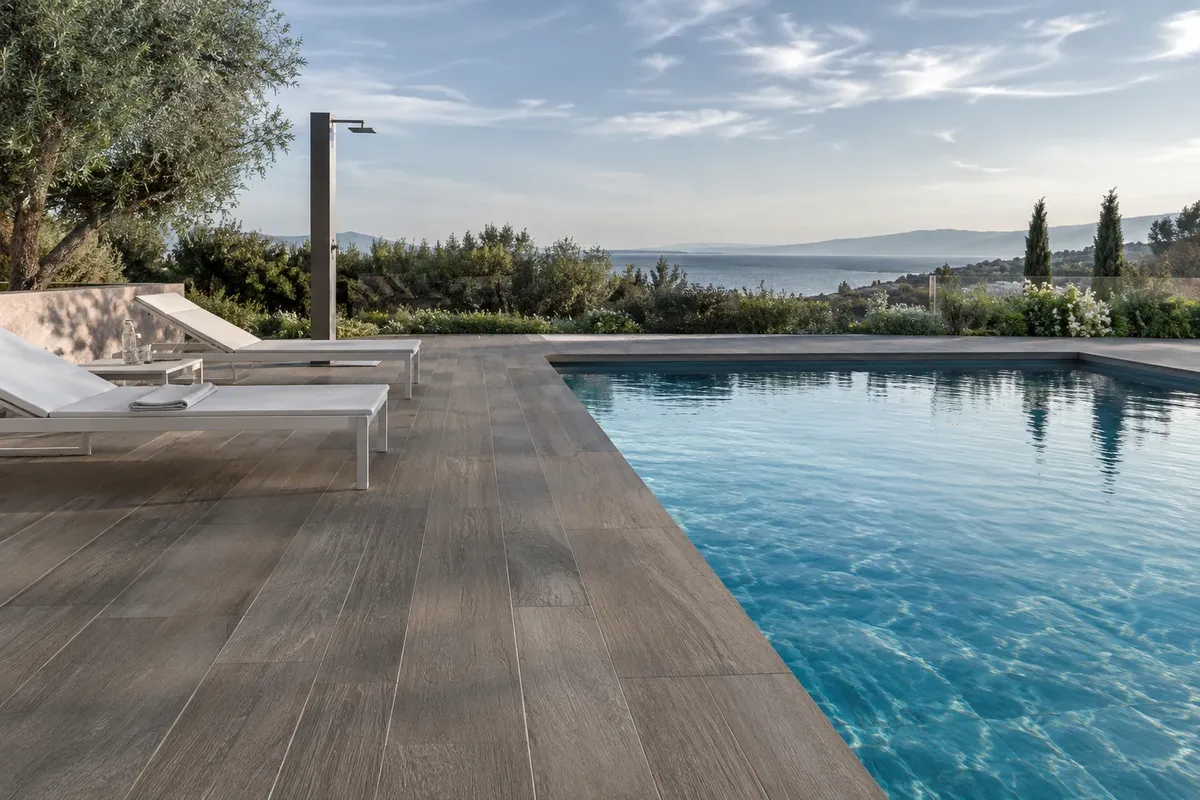
- Slip resistance B and higher – for the walkway around the pool and the shower.
- Lighter colour – dark tiles heat up much more in the sun and are uncomfortable to walk on barefoot. Light grey, sandy grey, or light stone imitation remain cooler.
- Fall from the pool – water from splashing and rain should drain away from the pool, not back into the water. For overflow pools, this is different – the drainage is addressed by the pool project.
- Chemical resistance – gres is resistant to common pool chemicals. The weak point is the grout, which is why epoxy grout is often used around pools.
- Pool edge – the edge should have special shapes or stone designated by the manufacturer for this purpose. The edge must not be sharp and must not wobble.
- Large format – fewer joints mean fewer places for algae and dirt. However, for formats of 60 × 120 cm and larger, the substrate must be very even.
Outdoor stairs: dimensions
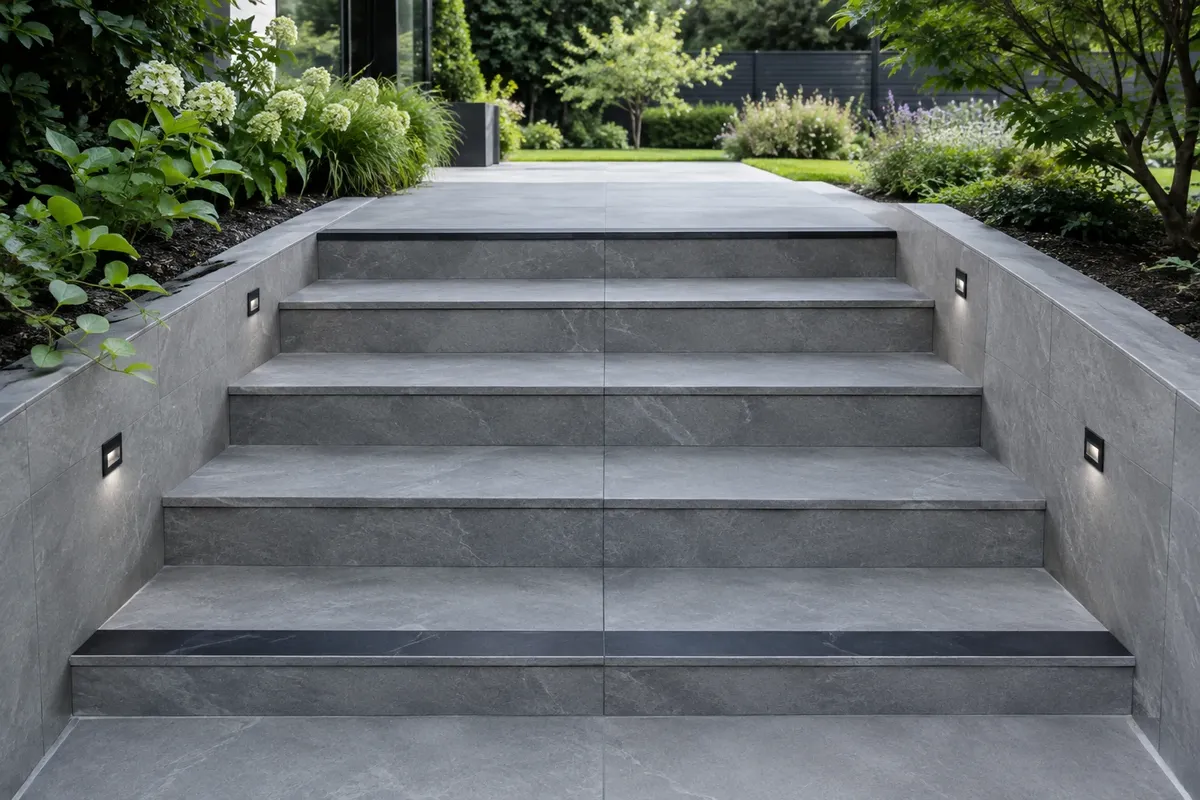
Stairs are comfortable when the height and width of the step correspond to the length of a human stride. There is a simple rule known by designers and builders:
2 × step height + step width ≈ 630 mm (acceptable 600 to 650 mm).
| Step height | Step width according to the rule | How to walk |
|---|---|---|
| 150 mm | 330 mm | comfortably, suitable for outdoor stairs and seniors |
| 160 mm | 310 mm | comfortably |
| 170 mm | 290 mm | standard staircase |
| 180 mm | 270 mm | steeper, less pleasant outdoors |
The step height must be the same for the entire staircase – including the first and last steps. An uneven step is the most common cause of tripping. In one flight, there can be a maximum of 16 steps (18 is tolerated in a family house). For outdoor stairs, also consider that the tiles and adhesive will add approximately 2 to 3 cm to each step – heights should be recalculated during concreting.
Tread and step edge
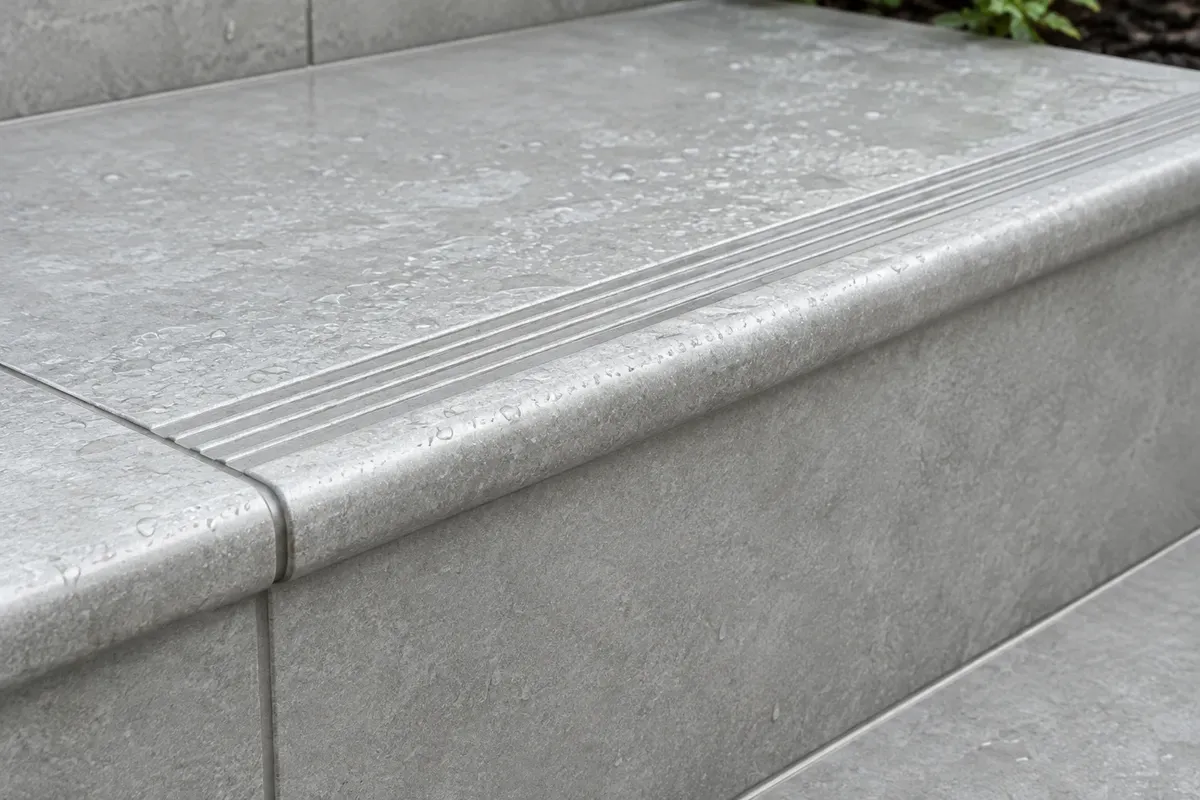
A tread is placed on the edge of the step – a tile with a modified front edge (nose). It can be rounded, with grooves, or with a slip-resistant strip. Many series have treads in the same design as the tiles, and outdoor series even in a thickness of 2 cm – for example, RAKO offers 2 cm treads 60 × 60 cm for outdoor series. If the series does not have a tread, the edge is resolved with a metal or aluminium stair profile.
- Tread (horizontal part) – the entire tread or tread plus cut tile.
- Riser (vertical part) – a lower strip of tile, often from the same series.
- Gentle slope forward – the tread should have a slight slope towards the edge to prevent water from standing on the step.
- Contrast strip on the first and last steps – better visibility in low light. Regulations for barrier-free use require it for public buildings, and at home, it is a good safety measure.
- Lighting – low lights in the wall or riser significantly increase safety at night.
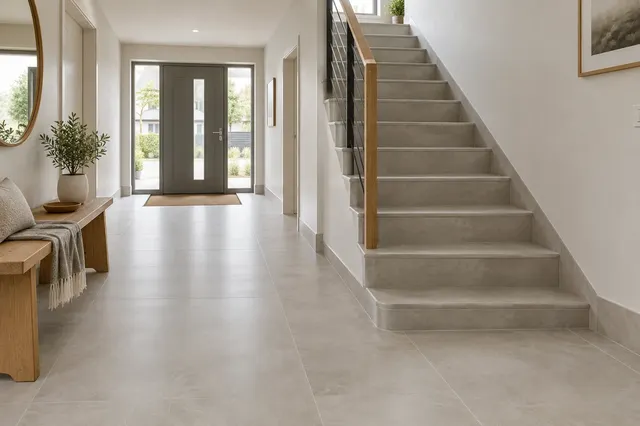
For stairs indoors and in corridors, you can find more tips in the article Tiles for corridors and stairs.
Laying outdoors step by step
- Substrate – concrete with a slope, cured and without cracks. Stairs have a concrete structure with the same step heights.
- Waterproofing – for terraces above rooms, at pools, and where water can penetrate the structure, a liquid waterproofing membrane and strips in corners and joints are placed under the tiles.
- Adhesive – flexible, designed for outdoor use (class C2 according to EN 12004, and for large formats also S1). It is applied to both the substrate and the tile to avoid voids.
- Expansion joints – around the perimeter, at walls, and in the surface according to the project. Outdoors, tiles expand more due to temperature than indoors.
- Grouting – frost-resistant grout, often epoxy at pools. For walls and in expansion joints, permanently flexible sealant.
- Finishing – terrace edges with a metal profile or skirting, stairs with treads.
How to choose tiles in the store
- Ask about both classes – R for walking in shoes and A, B, C for bare feet. At the pool, R11 alone is not enough.
- Check frost resistance in the technical sheet, not just in the series name.
- Test the surface by hand – slip-resistant tiles are rougher. At the pool, they should not be sharp to avoid damaging feet.
- Look at the series as a whole – to see if it has treads, skirtings, and 2 cm tiles in the same design as the tiles in the house.
- Order a reserve – when dealing with stairs and cutting around the pool, allow for a larger cut than with a flat surface and ensure everything comes from the same batch.
Maintenance
Slip-resistant floor tiles have a textured surface that tends to hold dirt a bit more. Simply sweep it and wash it occasionally with a brush or pressure washer – outdoor 2 cm tiles can withstand high-pressure cleaning. At the pool, remove algae and limescale with products designed for ceramics. In spring, check the joints by the stairs and the flexible seals by the walls and repair any damaged areas before water seeps in.
You can find outdoor floor tiles in the e-shop vkupelni.sk in the Outdoor Floor Tiles category. To see how tiles that imitate stone, concrete, or wood look in large formats, check out the gallery of wall and floor tiles.
Sources: DIN 51130 and DIN 51097 (slip resistance tests, classes according to our article Parameters of Floor Tiles), EN 14411 (group BIa, water absorption up to 0.5 %), EN ISO 10545-12 (frost resistance), EN 12004 (adhesive classes), RAKO – brochure Outdoor 2024 and product catalog (2 cm tiles R11/B, frost resistance, high-pressure cleaning, 2 cm step tiles 60 × 60 cm), relation 2h + b = 630 mm and a maximum of 16 (18) degrees in the arm according to the principles of stair design (ČSN 73 4130, TZB-info), Baumit – bonding method by applying to the substrate and tile.
Terms in the glossary: Slip resistance R9 to R13 · Slip resistance A, B, C · PEI (abrasion resistance) · Water absorption · Gres (porcelain stoneware tiles) · Ceramic wall tiles (earthenware)
Frequently Asked Questions
What slip resistance should the floor tiles around the pool have?
Around the pool, you walk barefoot, so the class according to DIN 51097 matters: at least B for the walkway around the pool and C for the steps into the pool and areas underwater. Outside, it's good to have R11 as well.
What floor tiles to use on outdoor steps?
Frost-resistant porcelain stoneware with water absorption up to 0.5 %, slip resistance at least R11 and step tiles with rounded or grooved noses. If the series of step tiles does not have this, use a step profile.
What should be the height of the outdoor step?
Comfortable is 150 to 170 mm. The width of the tread can be calculated using the relation 2 × height + width ≈ 630 mm, for example, 160 mm and 310 mm. All steps must have the same height.
Why does the floor tiles crack outside?
Most often due to voids under the tile, where water seeps in and freezes, or due to tiles that absorb water. Outside, it should be adhered over the entire surface with flexible tile adhesive and frost-resistant porcelain stoneware should be used.
Is dark floor tiles suitable around the pool?
Rather not. It heats up more in the sun than light tiles and is uncomfortable to walk on barefoot. Lighter and medium grey shades are more practical around the pool.
What material to use for grouting the tiles by the pool?
Frost-resistant grout, often epoxy grout at the pool and in areas with standing water, which does not absorb water and withstands chemicals better. For walls and in expansion joints, a flexible sealant is used.
AI Advisor
Have a question on the topic? Ask the advisor – they will respond based on TGB Kúpeľne articles.
AI advisor – answers are generated by artificial intelligence from TGB Kúpeľne articles and may contain errors.
Bathroom design
These are tips. We will draw your bathroom for you.
In the 3D bathroom planner, you can design your bathroom yourself – for free and without registration. If you want assurance, we will prepare a photorealistic custom visualisation based on actual dimensions and specific tiles in the studio. It's free with a purchase.
Online design for free Custom visualisation
TGB Kúpeľne Studio · Bratislavská 71, Senec · Mon–Fri 8:00–12:00 and 12:30–17:00, Sat 9:00–12:00 · Map