Heating and ventilation
Electric underfloor heating: installation, protection, thermostat, measurement, and faults
Electric underfloor heating is the simplest way to achieve a warm floor in the bathroom. For it to function for years, several factors must be correct: appropriate power, a separate circuit with a residual current device, grounded cable sheathing, a floor sensor in a protective tube, and resistance measurement before and after laying. Installation and inspection are carried out by a qualified electrician.
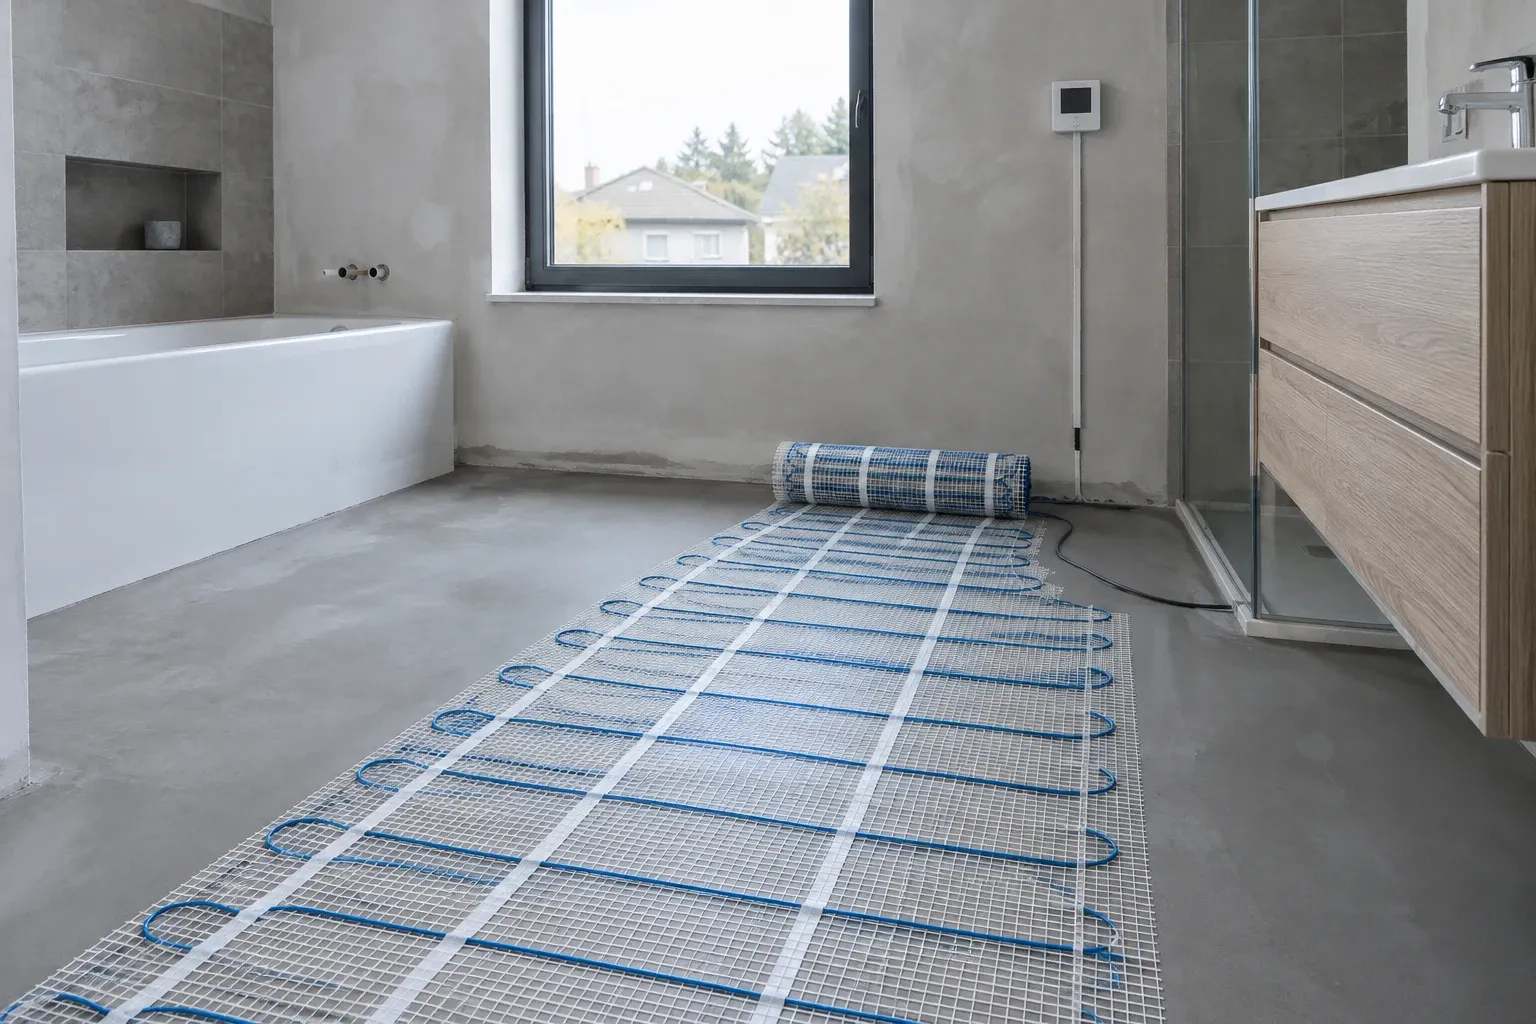
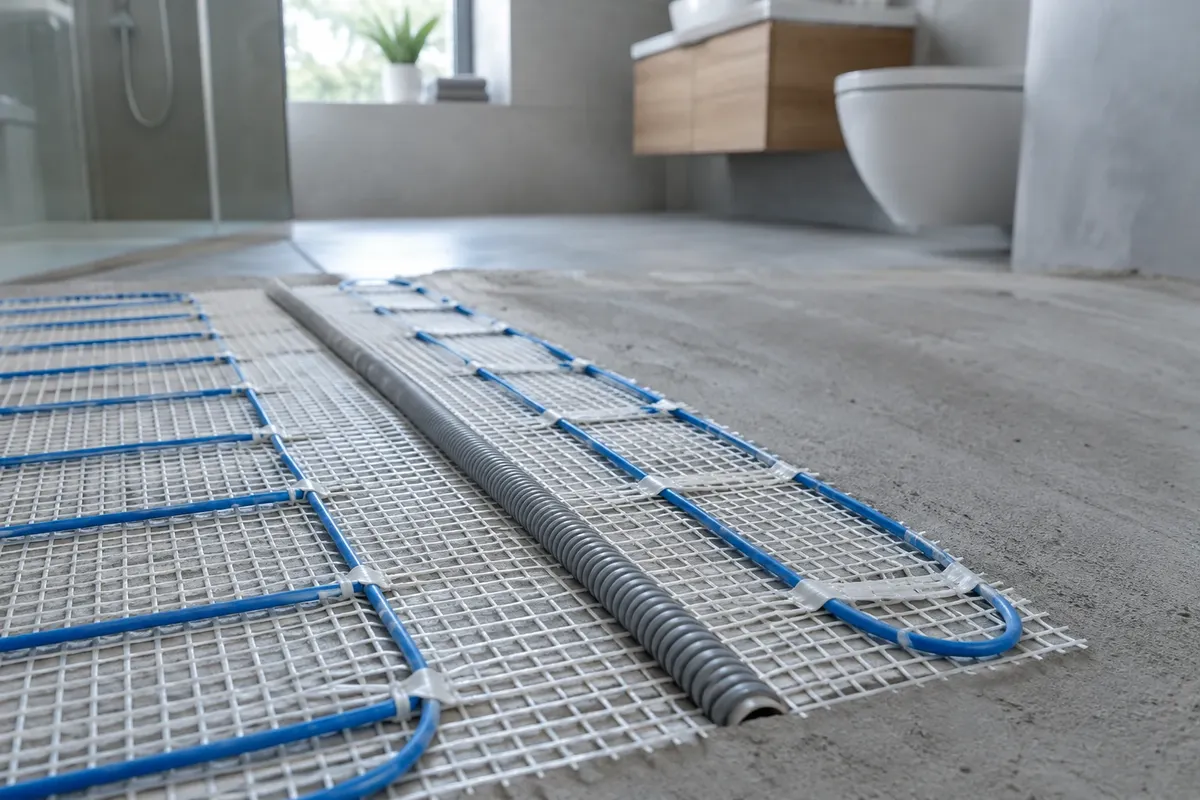
Illustrative image: heating mat laid out on the bathroom floor before laying the floor tiles, thermostat on the wall
Whether underfloor heating is suitable for your bathroom, whether electric or water-based, what power and how much it consumes, is described in the article Underfloor heating in the bathroom. This article goes deeper into the electrical part: how to choose, connect, check the system and what to do when it stops heating.
Mat or cable: practical differences
In both cases, the heat source is the heating cable. The method of installation and where it goes differs.
| Heating mat | Heating cable | |
|---|---|---|
| Installation | cable sewn onto a mesh, laid in adhesive under the floor tiles | loose loops, most commonly in screed or self-levelling compound |
| Power | specified by the manufacturer, for example 160 W/m² | determined by the loop spacing |
| Floor height increase | only the thickness of the mat and adhesive | according to the thickness of the screed or compound |
| Heat ramp-up | fast, thin layer | slower, screed accumulates heat |
| When | reconstruction, tempering floor tiles | new build, new screed |
For the cable, the power per square meter is calculated simply: divide the cable power per meter by the loop spacing in meters. For example, a cable of 10 W/m with a spacing of 6.25 cm gives 160 W/m². Manufacturers recommend 160 W/m² for bathrooms and poorly insulated floors, and 100 W/m² for other rooms.
Electrical connection and protection
- Separate circuit – underfloor heating is protected separately. Fenix recommends a residual current device with a tripping current of no more than 30 mA and suggests a separate device for each heating circuit.
- Under the level-access shower – the mat can be placed in zone 0 according to the manufacturer, provided the connector and cable end are outside it. Fenix then requires a residual current device of 10 mA.
- Shielding – the metal shielding of the cable connects to the protective conductor PE, i.e., to the protective earthing.
- Standards – heating cables and built-in heating systems are addressed by STN 33 2000-7-753, bathrooms and their zones by STN 33 2000-7-701. The new edition was released in 2025, and the previous edition from 2007 can be used until 6. 12. 2027.
- Inspection – a new electrical installation is checked by an inspection technician before being put into operation and a report is issued.
Connecting the mat, thermostat and protection is done by a qualified electrician. Neither the mat nor the cable should be placed in walls – only in the floor.
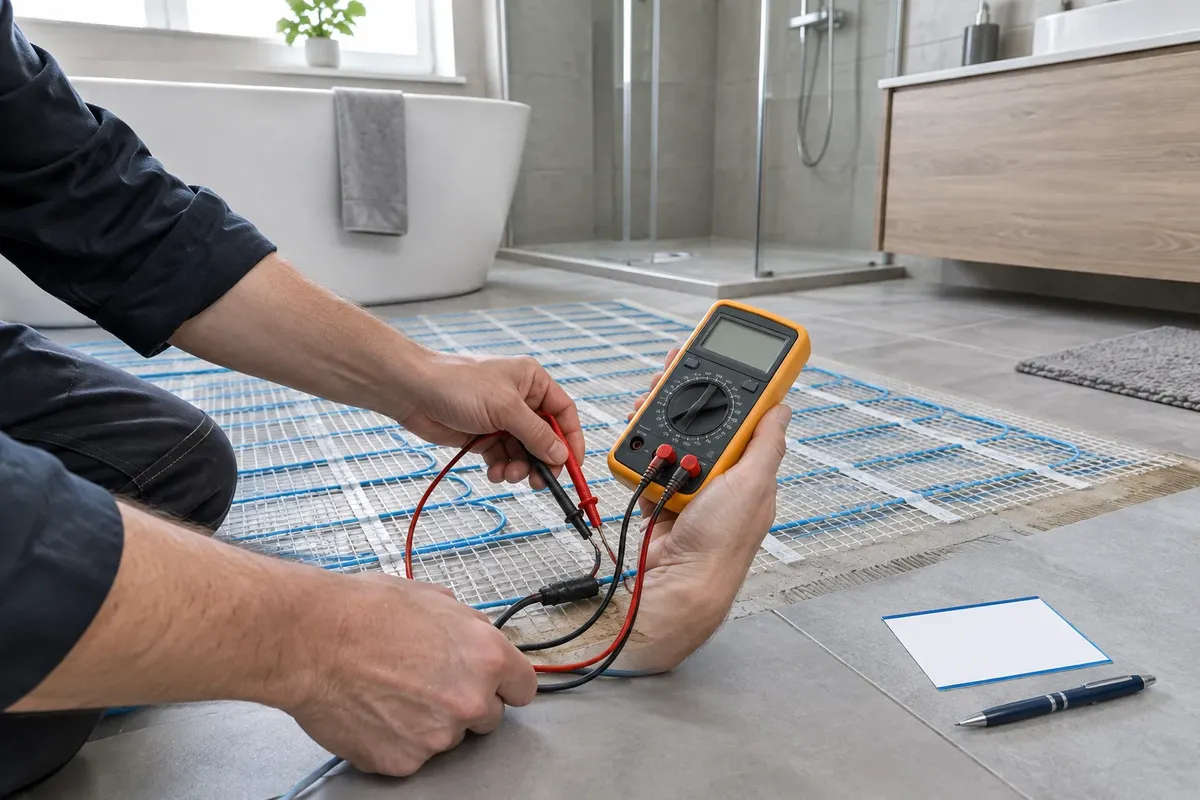
Resistance measurement: three checks
- Before laying – the electrician measures the resistance of the heating circuit and compares it with the manufacturer's data.
- After laying – the measurement is repeated. The values must match; otherwise, the cable was damaged during laying.
- Before tiling – the final check while the mat is still accessible.
Measured values are recorded in the warranty document. Without them, it is difficult to prove when the cable was damaged in case of a fault. Also, take a photo of the entire installation with a scale – it will be useful when you later drill into the floor, for example, when anchoring furniture.
Laying rules
- The cable is not cut or shortened – only the mesh is cut for the mat, and the mat is turned.
- Loops do not cross and do not touch, otherwise the cable overheats.
- Bending radius – Fenix specifies at least 8 times the diameter of the cable.
- Not under fixed objects – bath, shower tray, WC, cabinets on the floor. Heat would accumulate underneath them.
- Connector and end are laid in adhesive or screed like the cable, outside zone 0.
- Substrate – solid, level and clean. On a cold substrate, such as above an unheated cellar, a thin insulating underlay designed for floor tiles will help.
Thermostat and sensor
Without a thermostat, the mat would heat at full power. The floor sensor is placed in a protective tube that ends in the thermostat box – if the sensor fails, it can be pulled out and replaced without breaking the floor tiles. The tube runs between two wires of the cable, equidistant from both. The surface temperature is limited by standard EN 1264 – in the bathroom, a maximum of 33 °C.
- Thermostat with floor sensor – regulates according to the floor temperature, the simplest option.
- Thermostat with air and floor sensor – regulates according to the air and the floor sensor monitors the maximum floor temperature.
- Programmable or app-controlled – the floor heats only in the morning and evening when you use the bathroom.
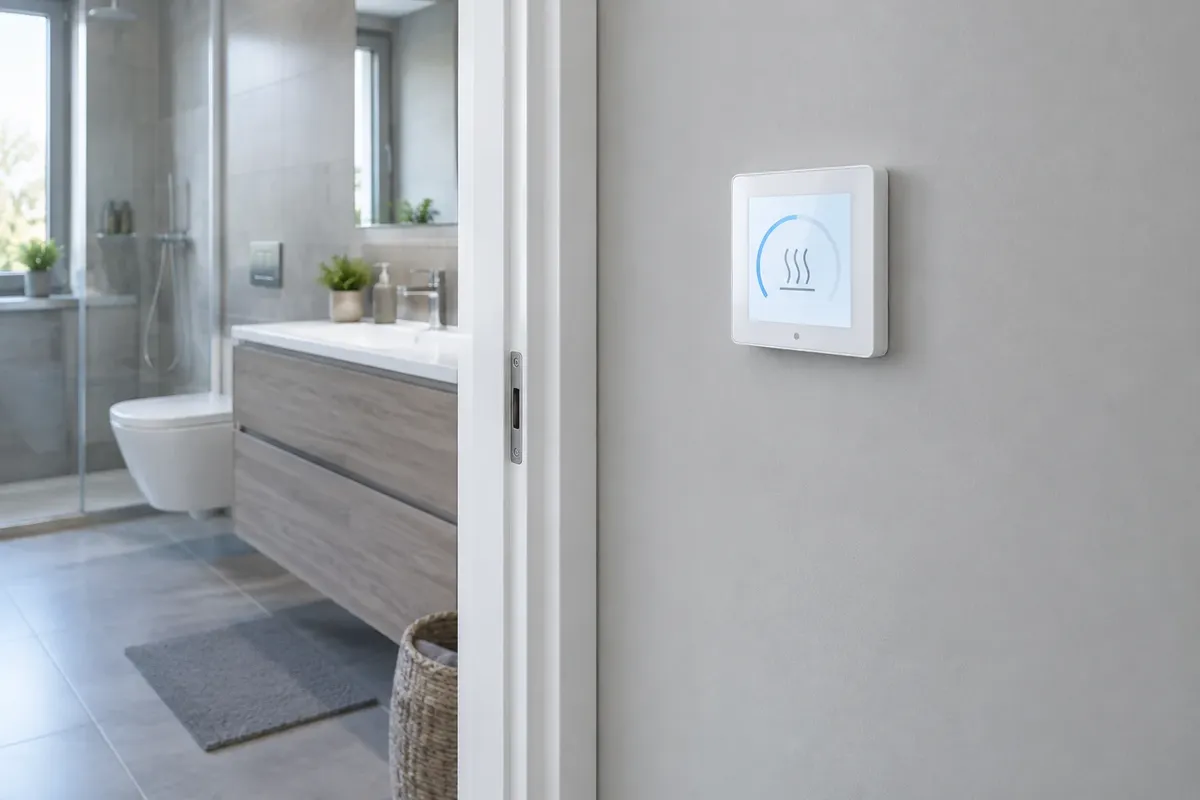
Place the thermostat out of reach of splashing water, most often by the door or outside the bathroom. The exact location according to zones STN 33 2000-7-701 will be determined by an electrician.
Renovation: heating on old floor tiles
If the old floor tiles are solid and level, new ones can often be glued on top – after preparing the substrate according to the adhesive manufacturer's instructions. The mat is then laid in a layer of adhesive on the old floor tiles. The floor will be raised by the thickness of the mat, adhesive, and new floor tiles, so check the doors and the transition to the hallway. The renovation process without breaking is described in the article Renovation without breaking, the amount of adhesive can be calculated using the adhesive and grout calculator.
Malfunctions: what to do when the floor is not heating
| Symptom | Possible cause | What to do |
|---|---|---|
| thermostat not lighting | circuit breaker off, thermostat malfunction | check the circuit breaker, then call an electrician |
| thermostat lights, floor not heating | settings, sensor error, broken cable | check the settings and error message according to the manual, electrician will measure resistance |
| circuit breaker trips | damaged insulation, moisture in the connection | do not reset the breaker repeatedly, call an electrician |
| floor is constantly heating at full power | broken or poorly installed sensor, incorrect thermostat mode | check the mode, replace the sensor through the protective tube |
| heating unevenly | different thickness of adhesive, cold substrate | compare with the installation plan, service will assess |
If the cable is broken, the service will locate the fault using a device, only a small part of the floor will be opened and the cable will be repaired with a manufacturer's connector. Therefore, it is worthwhile to have a warranty document with measured values and photos of the installation.
Mats, cables, and thermostats can be found in the e-shop under the category Electric underfloor heating. If you need to heat the bathroom as well, not just temper the floor, check out the heated towel rail or the electric radiator. You can find everything about heating in the section Heating and ventilation of the bathroom.
Which flooring is suitable for underfloor heating and what are its temperature limits? We compare them in the article Flooring for underfloor heating.
Common mistakes
- No resistance measurement – in case of a fault, no one knows when the cable was damaged.
- Sensor without protective tube – in case of a fault, tiles need to be broken.
- Shortened or crossed cable.
- Mat under the bath, WC or cabinet.
- Common circuit breaker with other circuits or connection without an electrician.
- No installation plan – later someone drills directly into the cable.
Sources: installation manuals for Fenix heating mats and cables (160 W/m² for bathrooms, 100 W/m² for other rooms, circuit breaker maximum 30 mA and 10 mA under zone 0, resistance measurement, PE braid, not in walls, bending radius), Gira thermostat manual (sensor in protective tube), STN 33 2000-7-753, STN 33 2000-7-701, EN 1264 (surface temperature of the floor); our article Underfloor heating in the bathroom.
Terms in the glossary: Underfloor heating · Screed · Leveling clips and wedges · Shower tray · Electrical zones in the bathroom (zone 0, 1, 2) · Grout
Frequently Asked Questions
What residual current device is needed for underfloor heating?
Fenix recommends a residual current device with a tripping current of no more than 30 mA, ideally separate for each circuit. If the mat is under a level-access shower, it requires 10 mA.
When is the resistance of the mat measured?
Before laying, after laying, and before tiling. The values must match the manufacturer's specifications and are recorded in the warranty document.
Can I shorten the heating mat?
No. Only the mesh can be cut to allow the mat to be turned. The heating cable itself must not be shortened or crossed.
Where should the underfloor heating thermostat be placed in the bathroom?
Out of reach of splashing water, most often by the door or outside the bathroom. The exact location according to the zones of STN 33 2000-7-701 will be determined by the electrician.
How to find out where the fault in the underfloor heating is?
The electrician will first measure the resistance. If the cable is broken, the service will locate the fault with a device and repair it with a connector – only a small part of the floor will be opened.
Can underfloor heating be laid on old tiles?
Often yes, if the old tiles are solid and level, and the substrate is prepared according to the adhesive manufacturer's instructions. The floor will be raised by the thickness of the mat, adhesive, and new tiles.
AI Advisor
Have a question on the topic? Ask the advisor – they will respond based on TGB Kúpeľne articles.
AI advisor – answers are generated by artificial intelligence from TGB Kúpeľne articles and may contain errors.
Bathroom design
These are tips. We will draw your bathroom for you.
In the 3D bathroom planner, you can design your bathroom yourself for free. We will prepare a custom visualisation with specific wall tiles for you in the studio – free of charge with your purchase.
Online design for free Custom visualisation
TGB Kúpeľne Studio · Bratislavská 71, Senec · Map