Tiles
Bathroom without grout joints: large slabs, narrow grout joint, plaster or panels
Completely without grout joints is only screed, such as microcement, or a wall made of large panels. With ceramics, you can't avoid grout joints, but you can have very few: large slabs 120 × 280 cm and more, rectified tiles with a grout joint of around 2 mm, and grout in the colour of the floor tiles. In the shower, good waterproofing and properly sealed corners matter more than the number of grout joints.
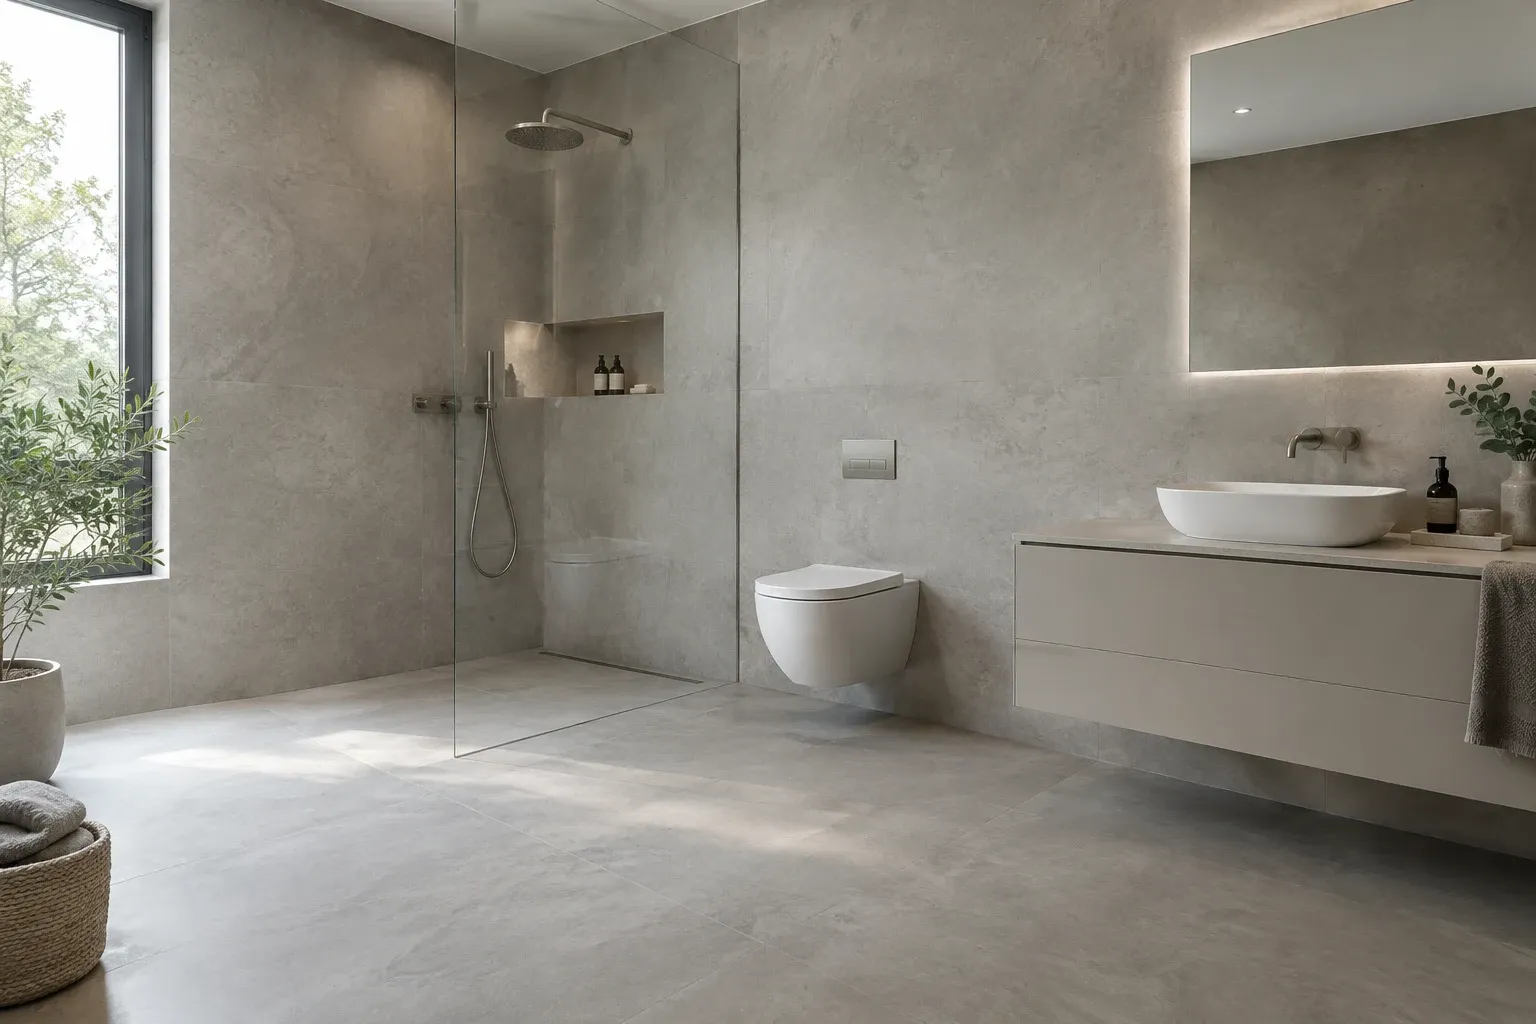
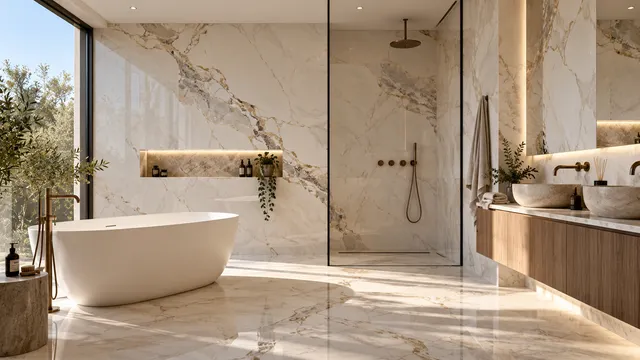
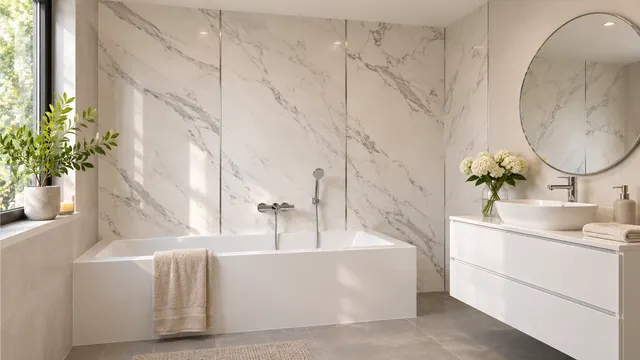
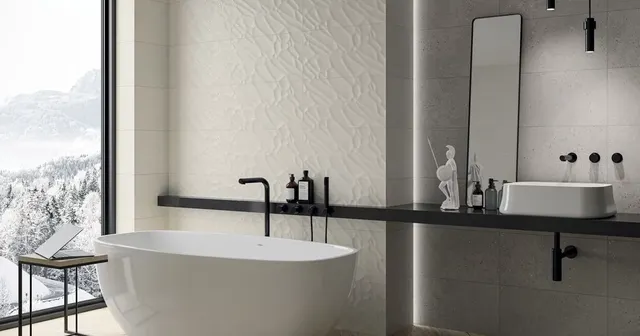
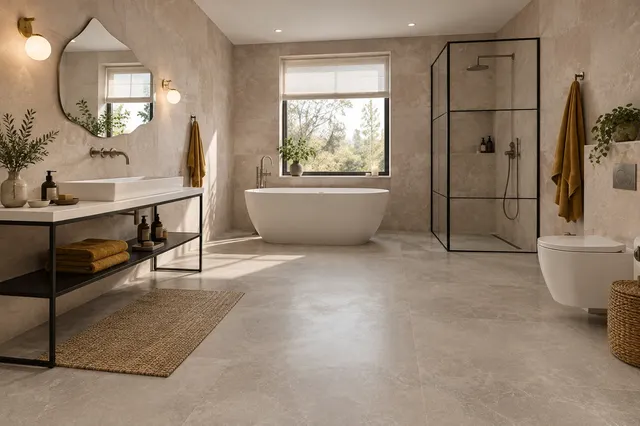
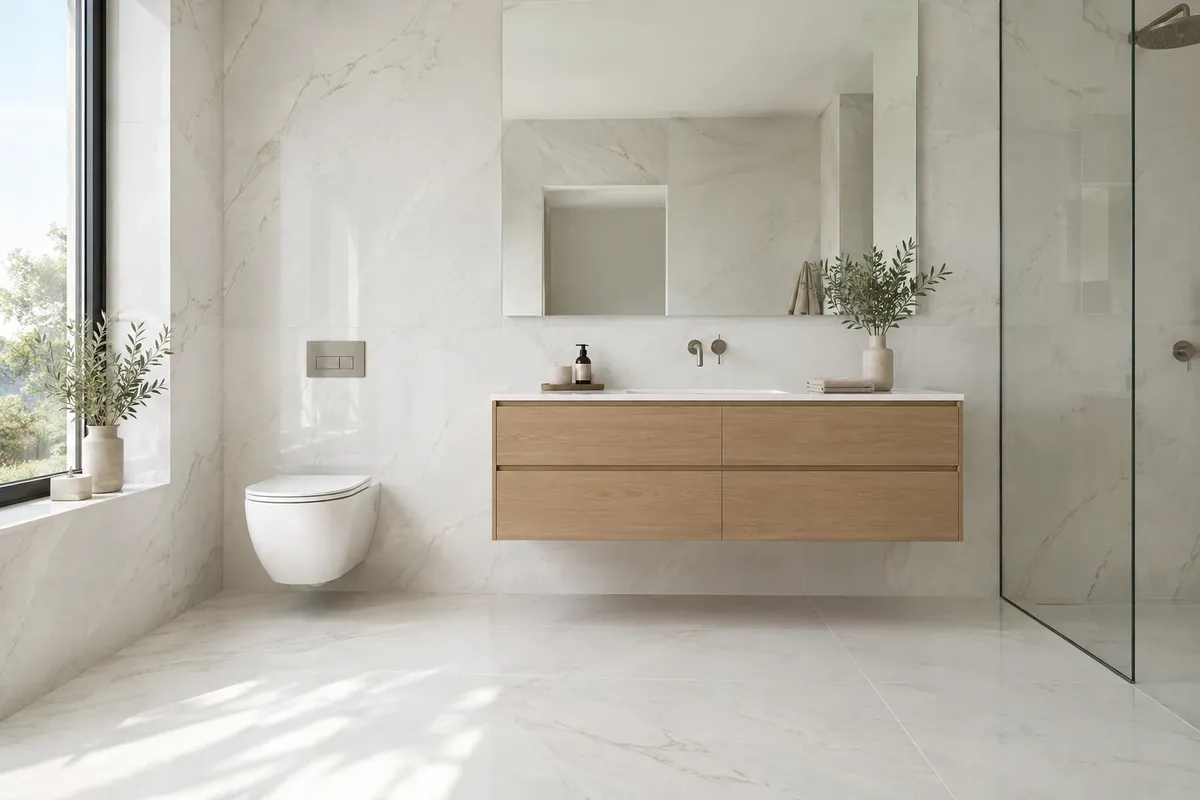
Illustrative image: modern bathroom with large ceramic slabs on the walls and floor, almost without visible joints
Joints in the bathroom are particularly troublesome during cleaning. Light joints in the shower darken over time, mould can appear in the corners, and on walls with small tiles, joints create a dense grid that disrupts the surface. Therefore, more and more people are asking about a bathroom without joints. However, completely joint-free solutions are limited, and each has its conditions. Below you will find an overview of options, their advantages and disadvantages, and a guide on how to minimise joints without risk.
Can a bathroom be made completely without grout joints?
Yes, but not with traditional tiles. Ceramics are always laid with joints because tiles need a small gap for minor dimensional differences and for substrate movement. Only screeds (such as microcement) and some systems of large panels can be joint-free. With ceramics, you can have very few joints – and in practice, this is the most common way to achieve a "joint-free" appearance.
| Solution | Joints | Advantages | What to consider |
|---|---|---|---|
| large ceramic slabs | very few, for example 1 to 2 joints on the wall | hard surface, resistant to water, steam, and cleaning agents | transport, cutting, and laying in pairs, flat substrate |
| rectified tiles 60 × 120 cm | narrow joint around 2 mm | affordable price, wide selection of designs | precise laying, grout in the colour of the tiles |
| epoxy grout | joints remain, but do not absorb water | do not discolour, easy to clean | more demanding work, higher price |
| microcement and other screeds | none | continuous surface even on the floor, bath, or sink | experienced craftsman, waterproofing under the screed, protective lacquer |
| large panels (SPC, glass, composite) | only panel joints | quick installation, often even on old tiles | sealing of joints according to the manufacturer, not every system is suitable for the shower |
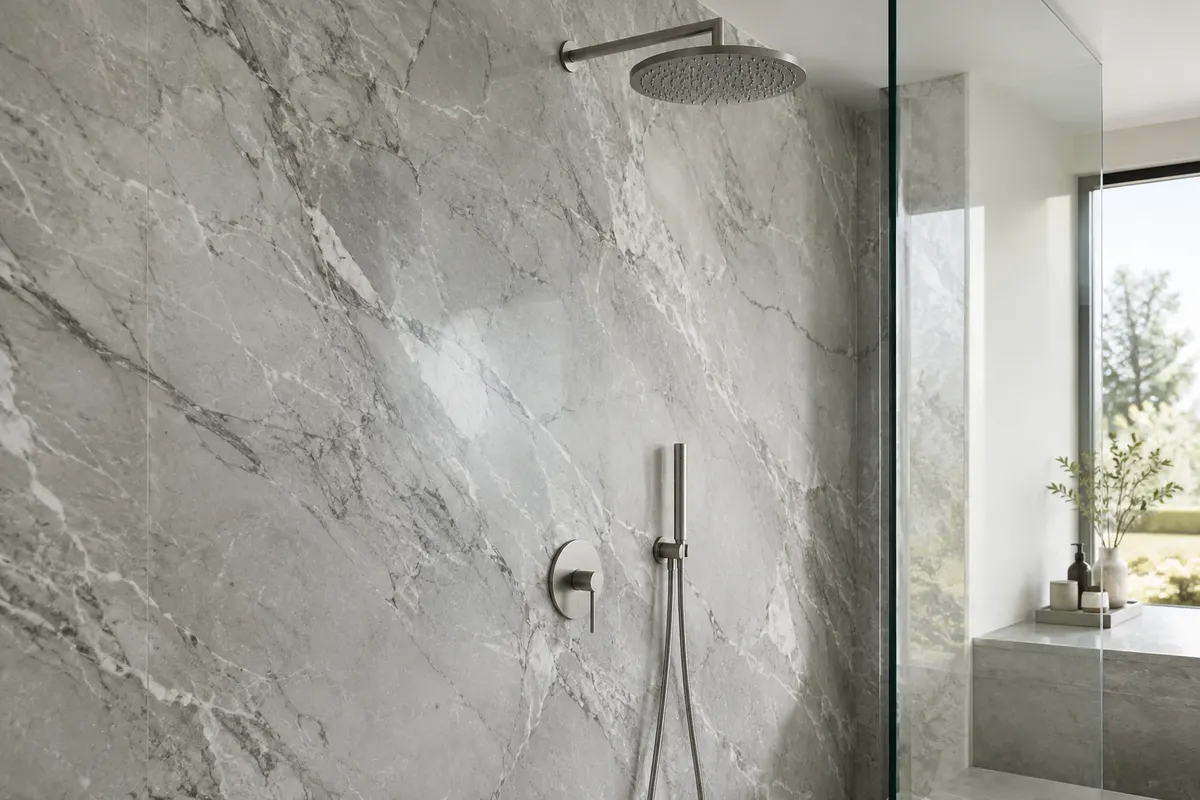
Large slabs: least joints with ceramics
The safest way to achieve a bathroom with minimal joints is with large-format ceramic slabs. They are produced in sizes of 120 × 240, 120 × 280 cm, and some manufacturers also offer 160 × 320 cm – for example, the Grande series from Marazzi with a thickness of only 6 mm. One slab can cover an entire shower wall from floor to ceiling, so instead of dozens of joints, you have one or two.
However, slabs require good preparation. They need to be transported into the apartment (watch out for the lift and stairs), cut and laid in pairs with special tools, and the substrate must be very flat. Holes for taps, outlets, and switches are cut precisely according to the plan, and mistakes are difficult to correct. Details can be found in the articles Large-format tiles for the bathroom and Large slabs 160 × 320 cm.
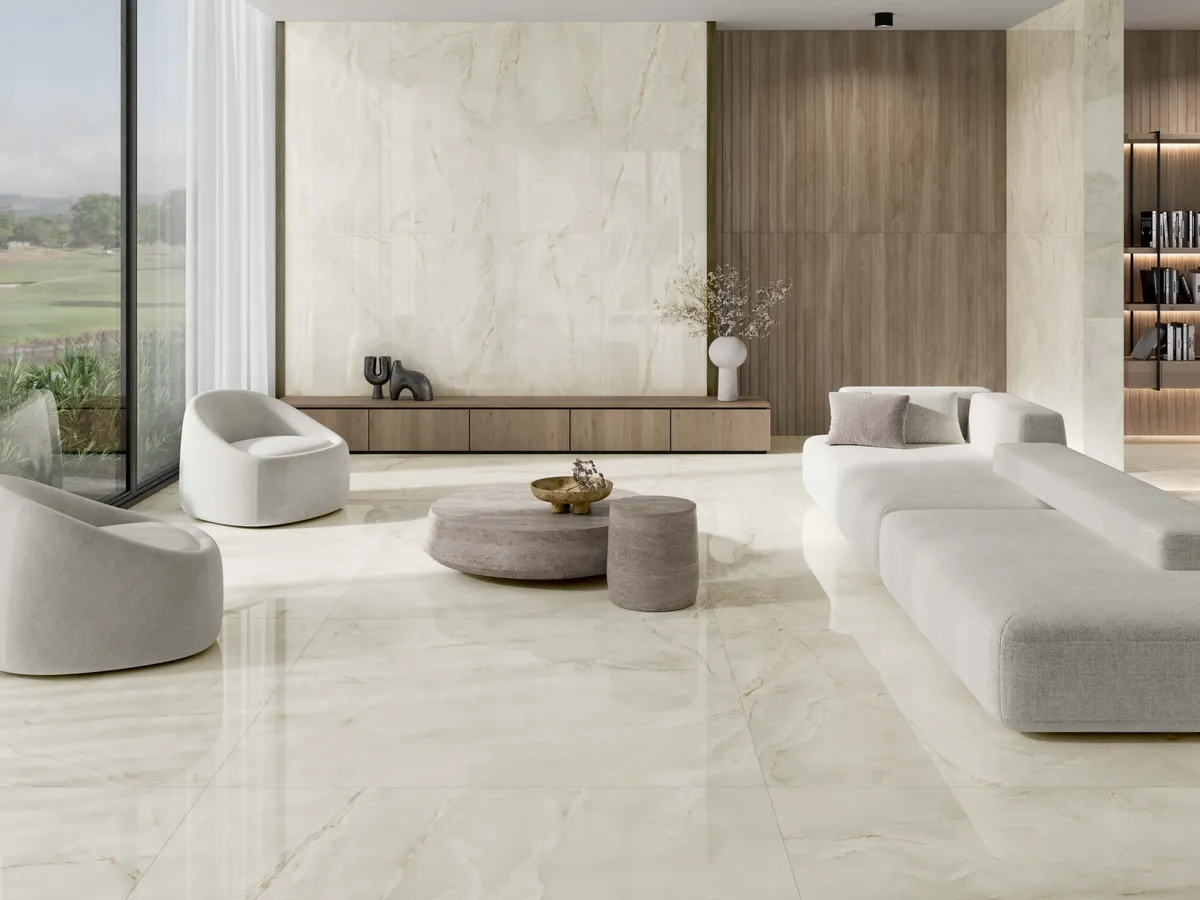
Narrow joint with rectified tiles
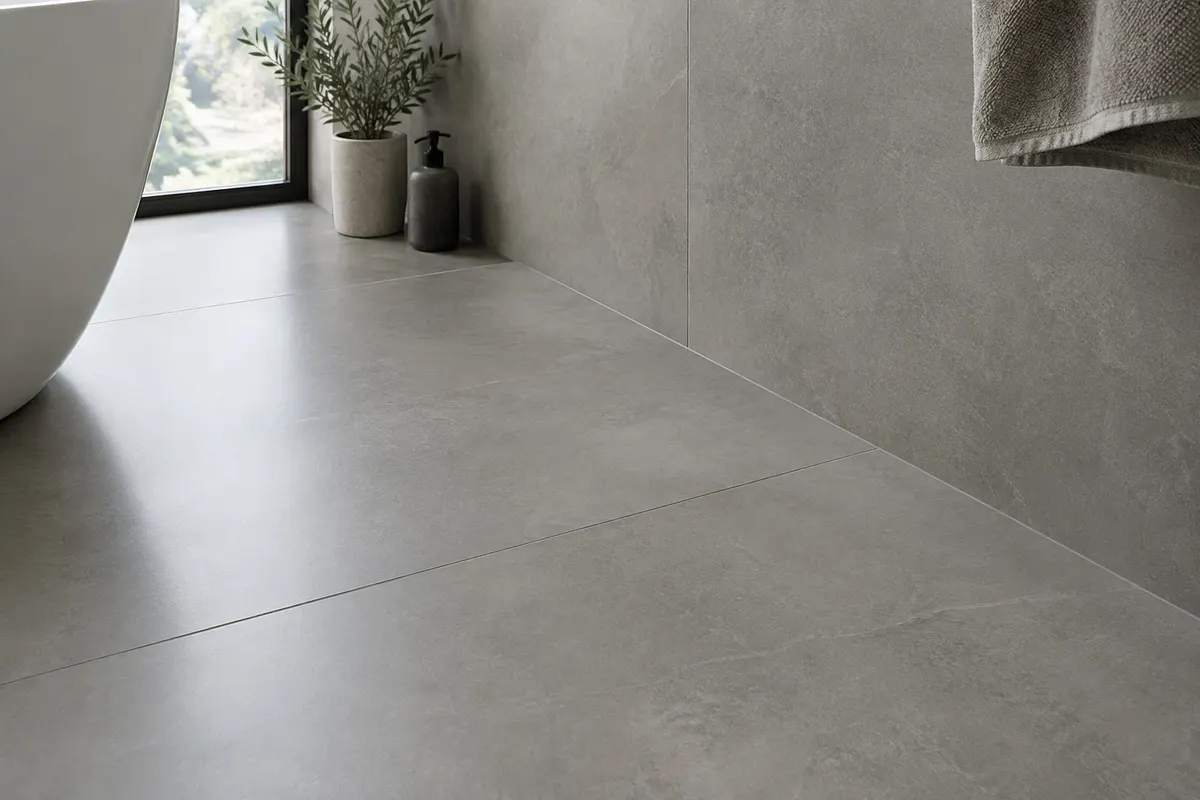
A cheaper and more common option is rectified tiles, such as 60 × 60 or 60 × 120 cm. Rectified tiles have ground edges and precise dimensions, allowing them to be laid with a narrow joint. RAKO and Tubądzin specify the smallest joint at around 2 mm. Laying "butted" without a joint is a mistake: the edges lean against each other, can chip, and the tiles have no room to move.
- Grout in the colour of the tiles – the narrow joint then almost disappears. A contrasting joint, on the other hand, highlights the grid.
- Same tiles on the floor and walls – the surface appears uniform and the joints align.
- Layout plan – when the joints on the wall continue into the floor and the cuts are in the corners, the bathroom feels calm.
- Underfloor heating and large surfaces – the joint can be slightly wider, and expansion joints must be adhered to according to the technical sheet.
More in the article Rectified tiles: what they are and what joint.
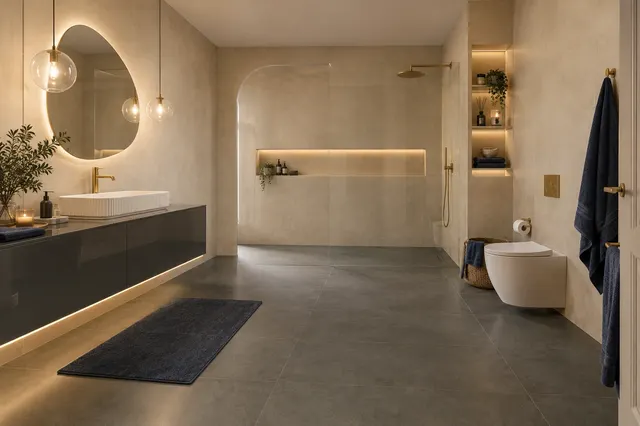
Epoxy grout: joints that do not discolour
If you find grout joints more of a maintenance issue than an aesthetic one, epoxy grout is the solution. It is nearly non-absorbent, so water and dirt do not penetrate it, and it retains its colour longer. It is particularly worthwhile in the shower and on the floor. It is more challenging to work with than cement grout – the tiler must work quickly and clean up any excess immediately, or else dull stains will remain on the floor tiles. We discuss the differences between cement and epoxy grout in the chapter Grout joints and silicone.
Regardless of which grout you choose, corners and joints with fixtures should be sealed with silicone, not grout. These are areas where the structure moves – in the corner of the shower, by the bath, around the sink, and at the floor. The sanitary silicone in the colour of the grout will need to be replaced after a few years, as shown in our guide Replacing silicone.

Microcement and other coatings
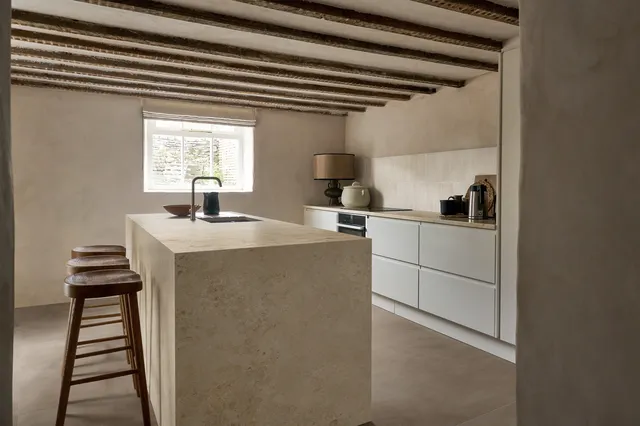
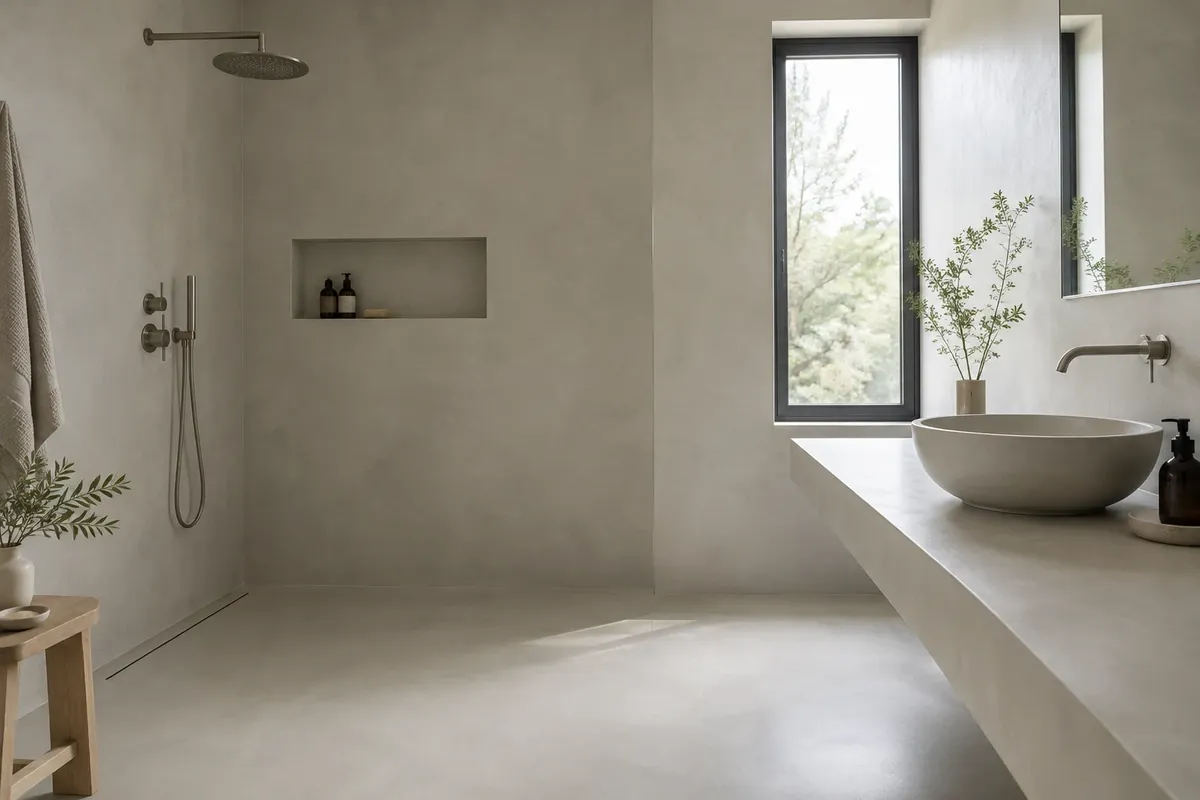
The coating, often referred to as microcement, is applied in thin layers directly onto the substrate. For example, the Mapei Ultratop Loft system is applied in individual layers no thicker than 2 mm and is finished with a protective varnish that seals the surface to prevent absorption. The result is a continuous surface without a single grout joint – on the floor, walls, in the shower, and around the bath surround.
- Advantages: no grout joints, continuous surface, can be applied to furniture or a bath, minimal thickness.
- Disadvantages: the result depends on the craftsman, each surface is slightly different, hairline cracks may appear on uneven substrates, and the varnish needs to be renewed after several years.
- In the shower, waterproofing is required under the coating just as it is under the wall tiles. The procedure, layers, and waiting times are specified in the technical data sheet of the specific system.
Microcement creates the appearance of concrete. If you like this look but want a hard ceramic surface, compare it with floor tiles in a concrete style in the Concrete and cement range.
Panels instead of wall tiles
Large panels made of SPC, composite, or glass are adhered to the wall and interlocked or profiled. This results in only a few joints on the wall, and installation is quick, often even over the existing wall tiles. The system is crucial: some panels are specified by the manufacturer for use in the shower, while others are only for dry walls. Joints, edges, and pipe penetrations must be sealed according to the instructions – if water gets behind the panel, the wall behind it will become damp and it won't be visible. More in the article PVC panels and self-adhesive tiles.
Where you cannot avoid grout joints
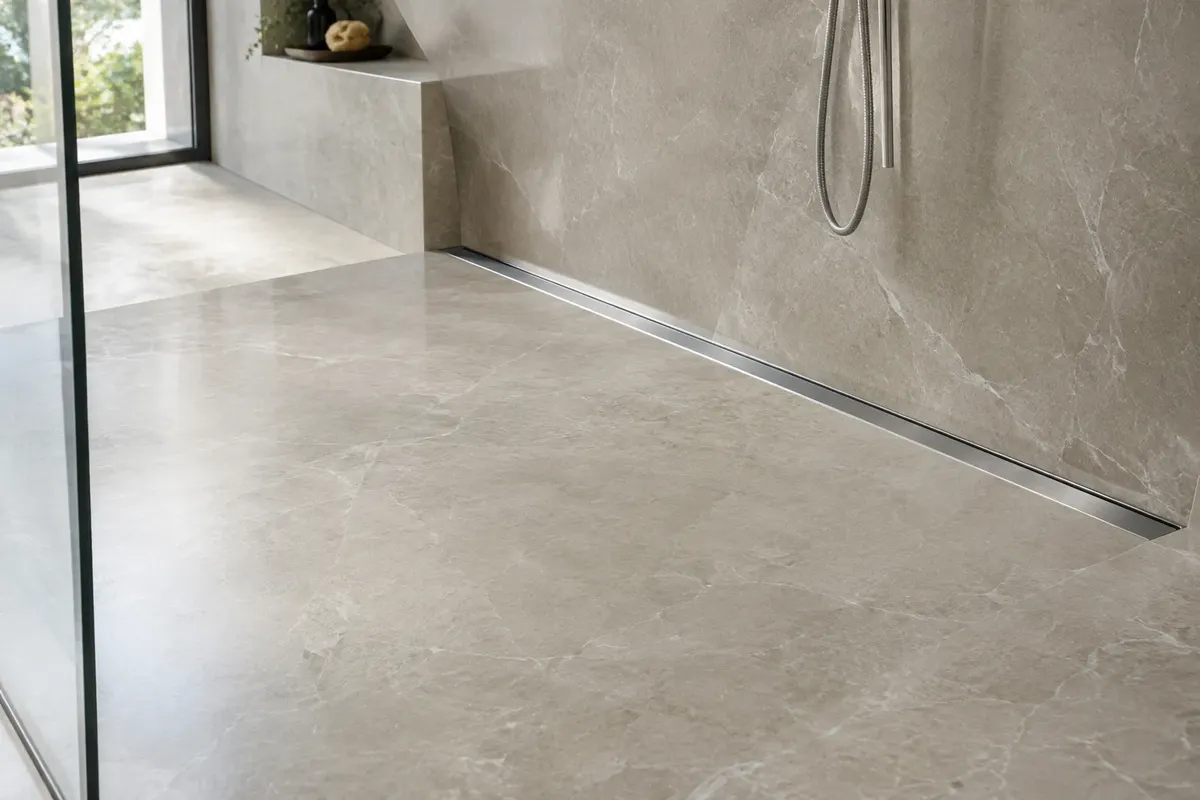
- Shower floor without a tray – needs a fall towards the drain or outlet. A large slab can only be sloped in one direction, so a linear drain at the wall is suitable. With a point drain, the floor is divided into smaller tiles or cuts. More in the article Drain or point outlet.
- Expansion joints – at the transition of the floor through doors, in large areas, and with underfloor heating. They are filled with a flexible material or silicone.
- Corners and edges – an internal corner is sealed with silicone, while an external edge is protected by a trim or a cut edge (known as a 'jolly').
Waterproofing is more important than the number of grout joints
A common misconception: fewer grout joints mean no need for waterproofing. This is not true. Neither ceramics nor coatings are waterproof layers – water can penetrate through a grout joint, connection, or micro-crack to the substrate. Therefore, in the shower and around the bath, waterproofing with tapes in the corners and sleeves around outlets is required under every surface. The procedure and heights can be found in the chapter Waterproofing.
Maintenance of surfaces with minimal grout joints
Fewer grout joints mean less work, but not none at all. Wipe large slabs and coatings with a squeegee after showering to prevent limescale buildup – every drop is visible on a large smooth surface. Clean with products recommended by the surface manufacturer, and for microcement, avoid acids and abrasives to protect the protective varnish. Check the silicone in the corners from time to time and replace it at the first signs of dark spots.
How to proceed
- Decide what bothers you about the grout joints – appearance (grid) or maintenance (darkening). Based on this, choose large slabs, narrow grout joints, or epoxy.
- Check the substrate – for large formats and coatings, both walls and floors must be level. Leveling should be done before tiling, not with a thicker layer of adhesive.
- Draw a laying plan – where the grout joints, cuts, fittings, and niches will be. This is essential for large slabs.
- Choose a craftsman experienced with the material – large slabs and coatings are a specialty.
- Test the appearance in the 3D bathroom planner or view our completed visualisations with large formats.
Waterproofing, plumbing, and drainage in the shower should be done by an experienced tiler and plumber – mistakes under the tiles can only be fixed by demolition. You can find large-format wall and floor tiles in the Large-format style and in the e-shop vkupelni.sk in the category Wall and floor tiles.
Sources: RAKO and Tubądzin – the smallest grout joint for rectified products is 2 mm (according to our article Rectified tiles), Marazzi Grande – slabs 160 × 320 cm with a thickness of 6 mm, Mapei – technical data for the Ultratop Loft system (layers up to 2 mm, protective varnish Mapefloor Finish), our chapters on Waterproofing and Grout joints and silicone.
Terms in the dictionary: Microcement · Rectified tiles · Grout · Epoxy grout (RG) · Waterproofing · Large-format tiles
Frequently Asked Questions
Can a bathroom be made completely without grout joints?
Yes, with a screed, such as microcement, or with large panels. With ceramics, you can't avoid grout joints, but with large slabs or a narrow grout joint, there will be very few.
What is the smallest grout joint for rectified floor tiles?
Manufacturers like RAKO or Tubądzin state the smallest grout joint is around 2 mm. Laying without a grout joint is a mistake; edges can chip.
Is epoxy grout worth it?
Yes, in the shower and on the floor. It is almost non-absorbent, does not discolour, and is easy to clean. It is more challenging to work with and costs more than cement grout.
Is microcement suitable for the shower?
Yes, if there is waterproofing underneath and the surface is treated with a protective lacquer according to the manufacturer's technical sheet. The result greatly depends on the craftsman.
Do I need waterproofing if I have large slabs?
Yes. Neither large slabs nor screed are waterproof layers. In the shower and by the bath, waterproofing belongs under every surface.
What to fill corners with if I don't want grout joints?
Internal corners and joints with fixtures are always sealed with sanitary silicone in the colour of the grout or floor tiles. External corners are protected by a trim or cut edge.
AI Advisor
Have a question on the topic? Ask the advisor – they will respond based on TGB Kúpeľne articles.
AI advisor – answers are generated by artificial intelligence from TGB Kúpeľne articles and may contain errors.
Bathroom design
These are tips. We will draw your bathroom for you.
In the 3D bathroom planner, you can design your bathroom yourself – for free and without registration. If you want assurance, we will prepare a photorealistic custom visualisation based on actual dimensions and specific tiles in the studio. It's free with a purchase.
Online design for free Custom visualisation
TGB Kúpeľne Studio · Bratislavská 71, Senec · Mon–Fri 8:00–12:00 and 12:30–17:00, Sat 9:00–12:00 · Map