Planning and design
Drywall in the bathroom: what boards, profiles for wall tiles and waterproofing
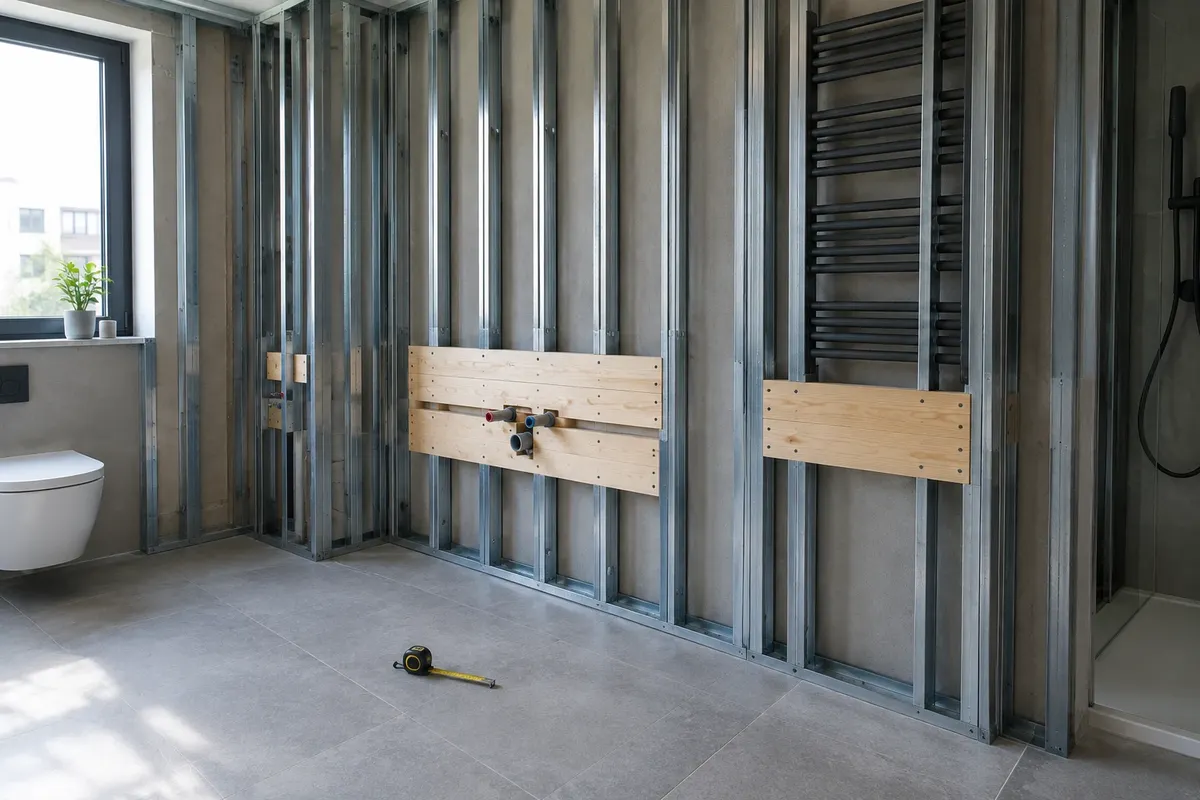
In the bathroom, moisture-resistant plasterboard (green, type H2) is used, which can withstand increased air humidity. However, it cannot withstand water – in the shower and by the bath, there must always be waterproofing on the plasterboard. According to Knauf, place at least 18 mm cladding under ceramic tiles, for example, two 12.5 mm boards, with profiles every 625 mm, or one board with profiles no more than every 417 mm. The toilet, sink, cabinets, and seat need a module or reinforcement prepared before cladding.
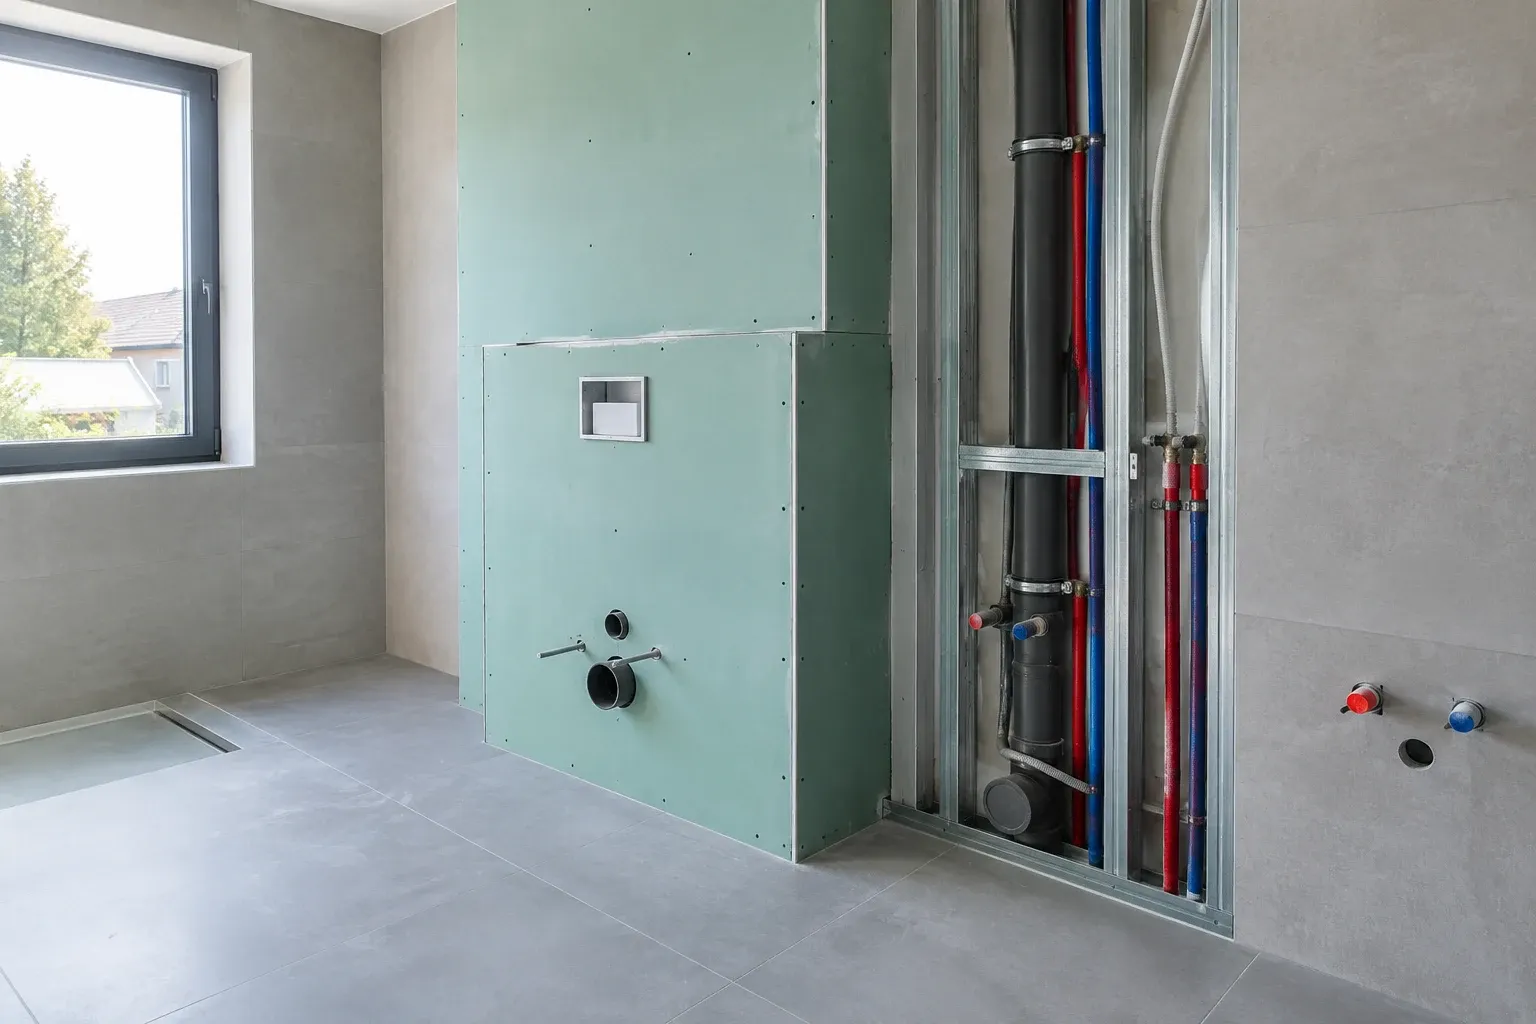
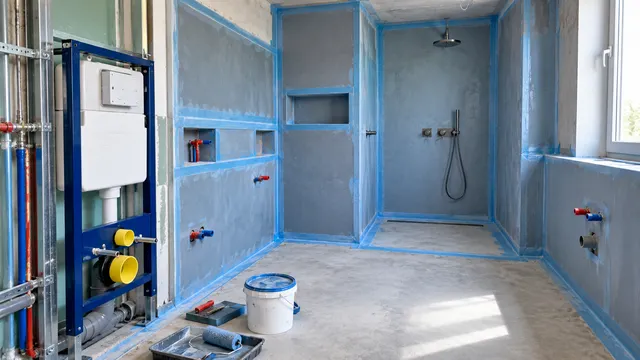
Illustrative image: Under-construction bathroom with moisture-resistant plasterboard installation wall made of green boards and WC module
Plasterboard is common in the bathroom. It is used for installation walls with built-in toilets, for partitions, ceilings, niches, bath cladding and as a replacement for umakart cores in prefab blocks of flats. It is quick, lightweight and conceals installations. However, to last in the bathroom, three things must be followed: the correct type of board, a sufficiently strong structure under the tiles, and waterproofing in wet zones. Below you will find how to do it and what to check before tiling.
Where plasterboard is used in the bathroom
- Installation wall – conceals the module of the wall-hung toilet, water and waste installations, creating a shelf.
- Partition – divides the bathroom and toilet or replaces the umakart core in a prefab block of flats. More in the article Bathroom in a prefab block of flats.
- Ceiling – lowers the ceiling, conceals the fan and pipes, and allows for recessed lighting.
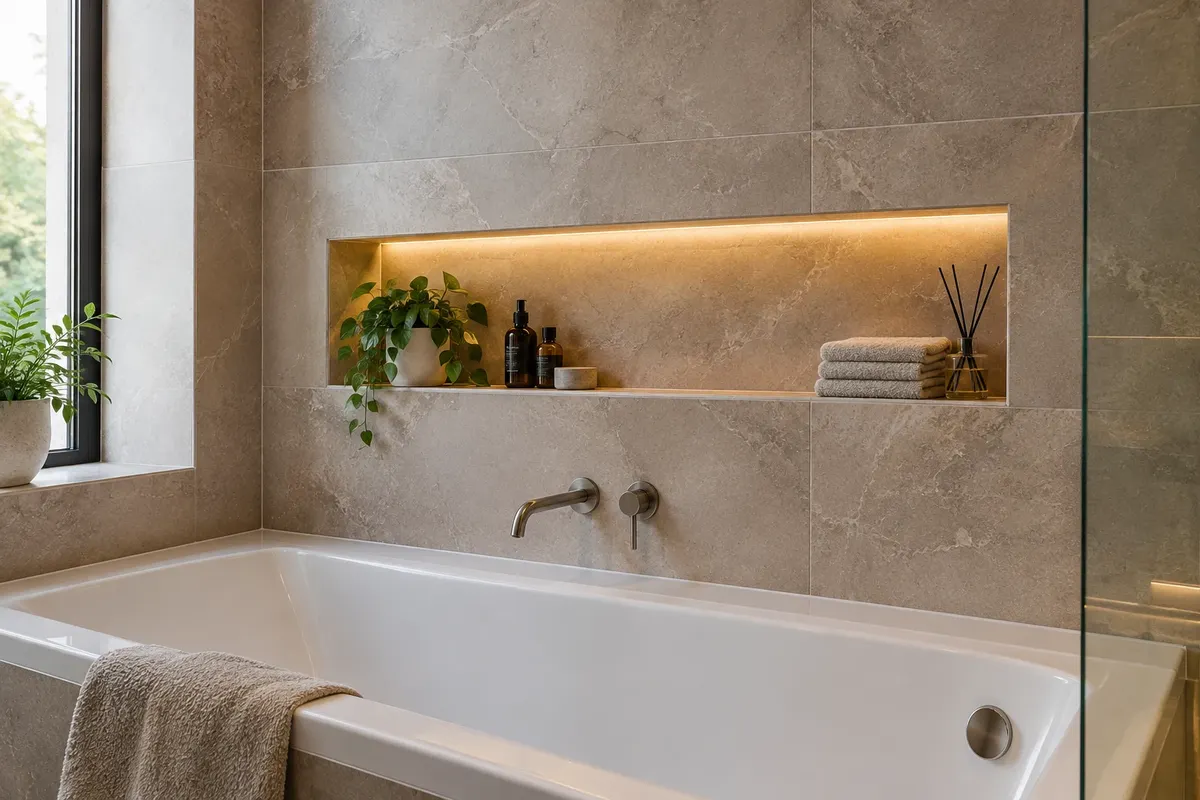
- Niche and bath surround – niches in the installation wall and bath cladding, if not tiled. More in the article Tiled bath surround and niches.
- Wall leveling – when the original wall is crooked, the installation wall creates a flat base for large formats.
What boards for the bathroom
| Countertop | Designation | Where in the bathroom |
|---|---|---|
| standard white | GKB, type A | not for bathrooms, only for dry rooms |
| impregnated green | GKBI, type H2 | installation walls, partitions and ceilings in the bathroom, under wall tiles and waterproofing |
| impregnated with increased strength | according to the manufacturer (e.g., Rigips Habito H, Knauf Diamant) | when you want to hang more on the wall and under large formats |
| cement or cement-bonded board, XPS panels | according to the manufacturer | shower, bench, bath surround – where the system manufacturer allows wet environments |
Impregnated boards can withstand increased humidity levels found in bathrooms, but not constant water. Rigips explicitly warns that areas exposed to splashing water must be treated with a waterproof coating for any type of plasterboard. Manufacturers also offer profiles with enhanced corrosion protection for wet areas, such as Knauf CW in class C3.
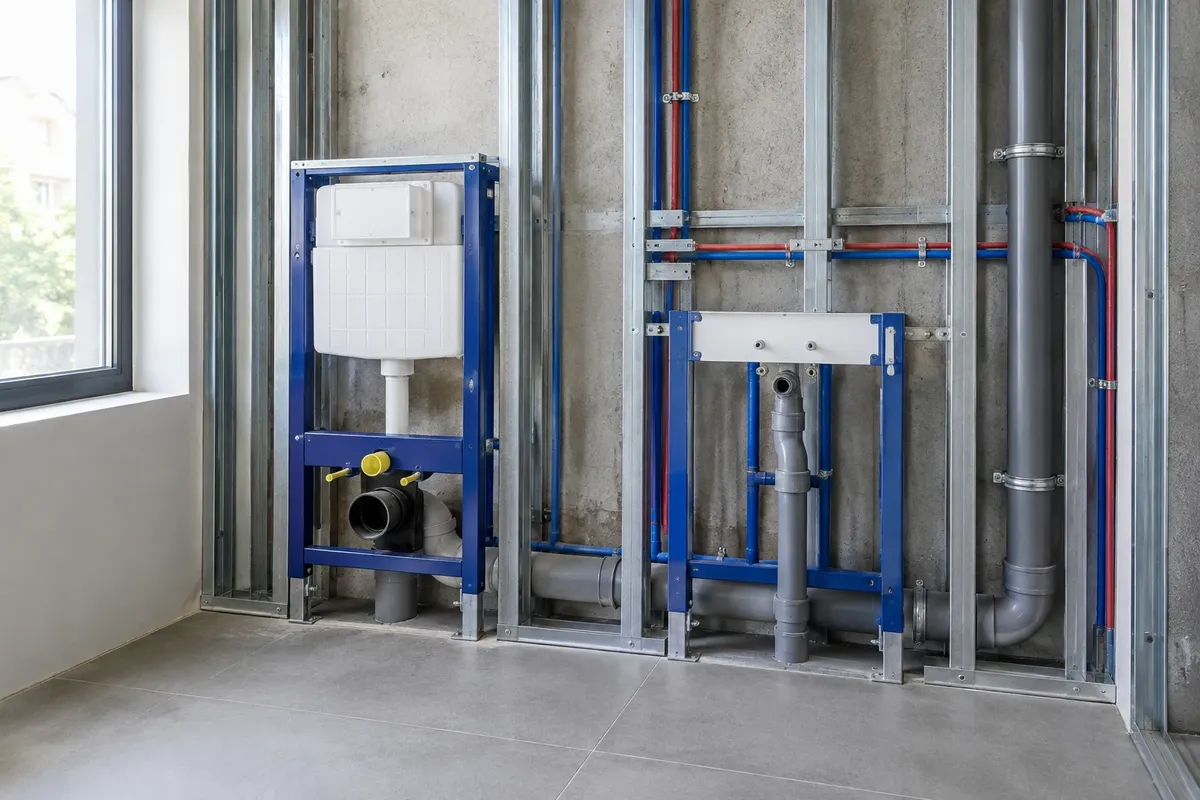
Construction under the tiles: profiles and thickness of the cladding
Ceramic wall tiles are heavy and the substrate must not move underneath. Therefore, the wall under the tiles has a sturdier construction than a wall that is just painted. Knauf states in its technical sheets:
| Cladding | Distance between CW profiles for ceramic wall tiles |
|---|---|
| 2 × 12,5 mm (total 25 mm) | maximum 625 mm |
| one board 18 mm or Diamant 15 mm | maximum 625 mm |
| 1 × 12,5 mm | maximum 417 mm |
For large format panels and heavy tiles, double cladding is more secure – the wall is stiffer and holds its plane better. The weight of the tiles including adhesive must correspond to the system permitted by the manufacturer. For example, Rigips specifies a tile weight of up to 50 kg/m² for its moisture-resistant partitions if the profiles are spaced at 400 mm. Always verify specific values in the technical sheet of the system being used.
Additionally, the construction must be firmly anchored to the floor, ceiling, and surrounding walls, with board joints staggered and the entire surface level. Any unevenness will show with large formats. More in the article Large format tiles for the bathroom.
Waterproofing on plasterboard
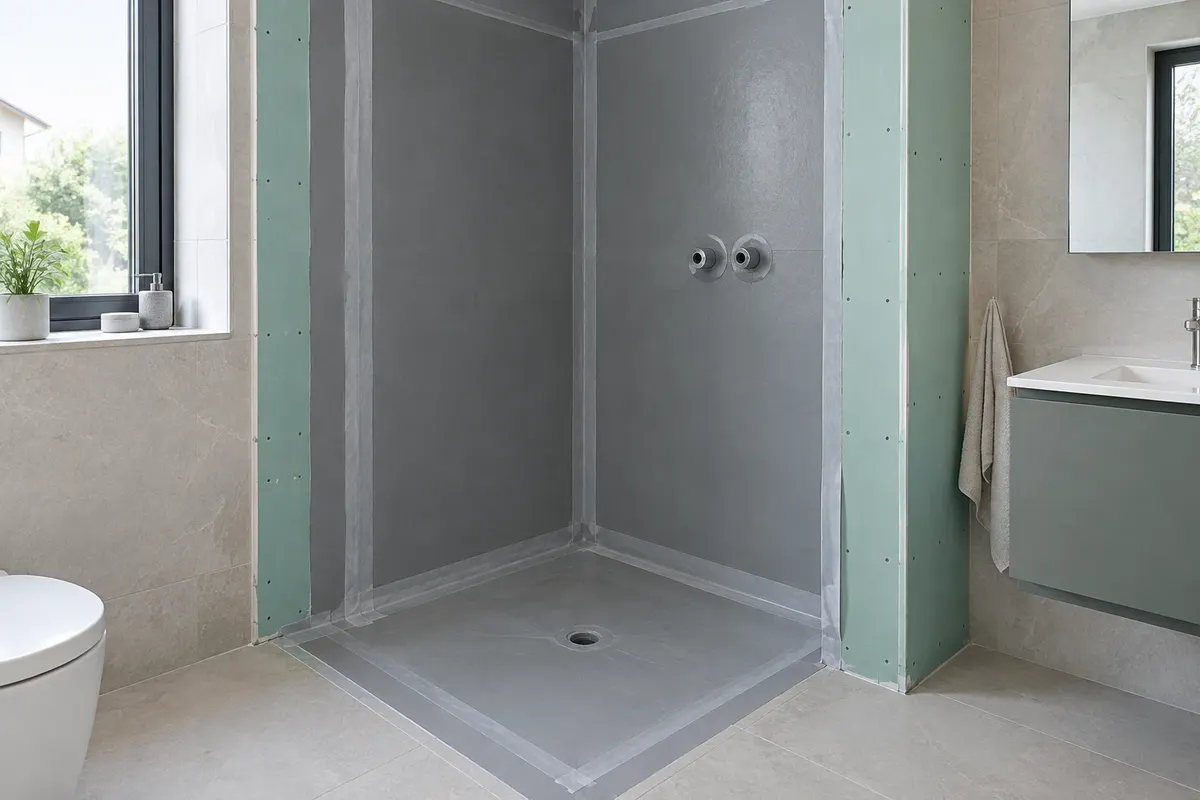
In the shower, by the bath and sink, a liquid waterproofing membrane in two layers is required on plasterboard. In corners, at the junction of the wall and floor, and at the joints of boards in wet zones, sealing tape is inserted, and around water outlets, sleeves. In a level-access shower, the entire floor and walls should be insulated at least to the height of the shower. The procedure, heights, and zones can be found in the chapter Waterproofing.
- Before the membrane – primer according to the waterproofing manufacturer, sealed joints and screws.
- Tile adhesive – flexible, designed for plasterboard and liquid waterproofing membrane.
- Corners and joints – silicone, not grout.
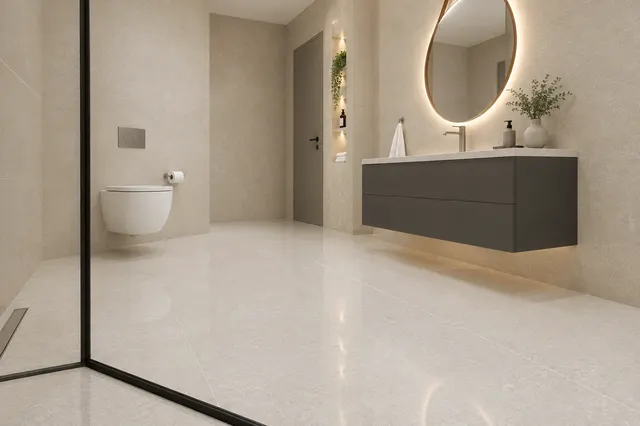
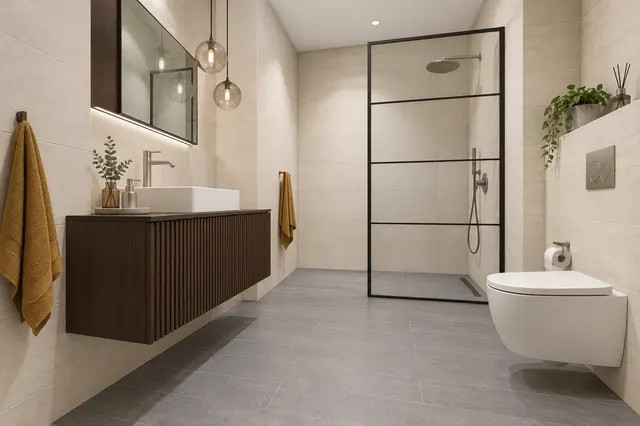
Toilet, sink, cabinets and seat: what plasterboard can support
The plasterboard itself only supports light items. Knauf specifies a cantilever load for installation walls, for example, a cabinet, up to 0.4 kN per meter of wall length (approximately 40 kg per meter) with cladding of at least 12.5 mm and with dowels for hollow walls. Everything heavier and anything that someone leans on or sits on requires a load-bearing structure:
| Item | What it holds onto |
|---|---|
| wall-hung toilet and bidet | installation frame anchored to the floor and wall |
| sink | frame for sink or reinforcement (load-bearing board, beam) |
| cabinet with sink, tall cabinet | reinforcement at the anchoring point |
| heated towel rail | reinforcement at the bracket points |
| foldable seat and grab bars | reinforcement that can support a person's weight |
| mirror, shelves, hooks | board with suitable dowels |
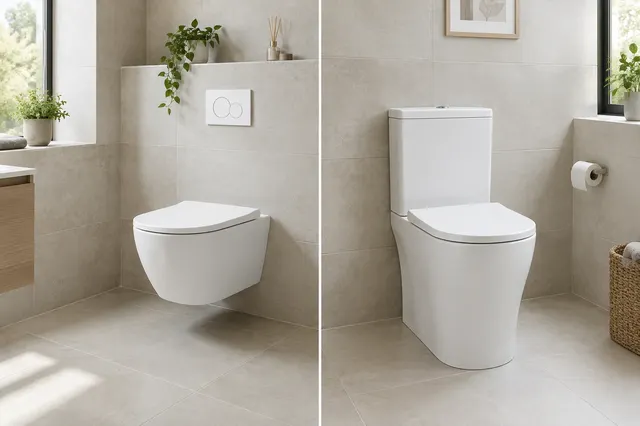
Modules for plasterboard are available at vkupelni.sk, for example, from Mereo for €168 and the concealed cistern Geberit Duofix Sigma 12 cm for €233.40 (as of November 2026). More about modules in the article Wall-hung or close-coupled toilets.
Reinforcements are inserted before cladding. Before closing the wall, take photos of everything and note the distances from the corner and from the floor – later you will know where to drill.
Installations in a drywall
- Water and waste – the pipes are secured to the structure to prevent rattling. Passages through the board are sealed with sleeves under the waterproofing.
- Electricity – boxes designed for drywall are installed in hollow walls. Sockets and switches in the bathroom must be located outside the zones near the bath and shower.
- Access panels – near valves and the toilet cistern. The toilet button also serves as an access panel to the cistern.
- Fan in the ceiling – with access for cleaning and replacement.
Ceiling in the bathroom
A drywall ceiling reduces a high ceiling, conceals the fan duct, and can house lights. In the bathroom, the following applies:
- impregnated boards even in the ceiling, above the shower the ceiling must not get wet directly,
- ventilation – the fan duct runs in the ceiling to the shaft or outside, with access for cleaning,
- lights with protection according to the zone above the bath and shower, designed by an electrician,
- access panel near the fan, junction boxes, and devices that need access.
How to ventilate a bathroom is described in the article Fan for the bathroom, lighting in the article Bathroom lighting.
Common mistakes
- White board in the bathroom instead of impregnated.
- Drywall in the shower without waterproofing – water will penetrate through the joints and the board will soften.
- One board 12.5 mm with profiles every 625 mm under the tiles – the wall flexes and the tiles crack.
- Missing reinforcements – the sink or cabinet will loosen over time.
- Board down to the floor in the shower – the bottom edge absorbs water. Boards should not be placed directly on the floor and the joint should be sealed with tape.
- Unsealed penetrations of pipes and screws for seats or grab bars through the waterproofing.
Drywall or masonry?
Drywall is quick, lightweight, and conceals installations, making it ideal for installation walls, ceilings, and partitions in a prefab block of flats. Masonry made of aerated concrete or bricks is sturdier, better holds heavy objects, and is safer in the shower during impact. Often, both are combined: an installation wall with drywall and a masonry bench or bath surround. The procedure for the entire renovation is described in the article Bathroom renovation: procedure.
Drywall instead of a chipboard core
In a prefab block of flats, the original chipboard core is often removed during renovation, and new partitions between the bathroom, toilet, and hallway are built from drywall. It is a quick and lightweight solution that does not burden the ceiling. The soil stack is enclosed with a shaft with an access panel near the water shut-off valves and meters. Before demolishing the core, consult with the building manager, as the soil stacks and their shut-off valves are common parts of the building. The entire procedure can be found in the article Bathroom in a prefab block of flats.
Before tiling, check
- Are there impregnated boards everywhere and waterproofing with tapes in wet zones?
- Does the distance between profiles correspond to the thickness of the cladding and tiles?
- Are there reinforcements where the sink, cabinets, radiator, seat, and grab bars will be?
- Are the installations photographed and recorded?
- Is the wall flat for the format of tiles you have chosen?
Drywall constructions, water and electrical installations should be done by a professional company, plumber, and electrician with qualifications. You can try how the finished bathroom will look in the 3D bathroom planner, and find inspiration in completed visualizations. Installation materials can be found at vkupelni.sk in the Installation Materials category.
Sources: Knauf – technical sheets W61 and W62 (ceramic wall tiles: cladding at least 18 mm with profiles 625 mm, with thinner cladding profiles at most 417 mm; cantilever load up to 0.4 kN/m), Knauf – GKBI/Green type H2 boards and CW C3 profiles, Rigips – waterproofing on areas exposed to water and tiling up to 50 kg/m² with profiles 400 mm (moisture-resistant partitions), e-shop vkupelni.sk – Mereo and Geberit Duofix modules (prices, November 2026).
Terms in the dictionary: Moisture-resistant plasterboard · Installation wall · Prefabricated bathroom core (fibreboard core) · Waterproofing · Wall-hung toilet · Tiled bath surround
Frequently Asked Questions
What plasterboard for the bathroom?
Moisture-resistant green (GKBI, type H2). Regular white GKB board is not suitable for the bathroom.
Can plasterboard be used in the shower?
Yes, but only with a liquid waterproofing membrane and tape in the corners. Sealing protects against air moisture, not water.
What is the distance between profiles under the tiles?
According to Knauf, a maximum of 625 mm with a cladding of at least 18 mm, for example, 2 × 12.5 mm. With a single 12.5 mm board, a maximum of 417 mm.
Can plasterboard support a sink or cabinet?
Light items yes, but sinks, cabinets, radiators or seats need reinforcement or a module that is installed before cladding.
Can large-format tiles be placed on plasterboard?
Yes, if the structure is solid – double cladding, correct distance between profiles and a flat surface. The weight of the tiles must correspond to the manufacturer's system.
Should plasterboard be primed before tiling?
Follow the manufacturer's instructions for adhesive and waterproofing. In wet areas, a liquid waterproofing membrane is applied to the board, outside of it adhesive suitable for plasterboard.
AI Advisor
Have a question on the topic? Ask the advisor – they will respond based on TGB Kúpeľne articles.
AI advisor – answers are generated by artificial intelligence from TGB Kúpeľne articles and may contain errors.
Bathroom design
These are tips. We will draw your bathroom for you.
In the 3D bathroom planner, you can design your bathroom yourself – for free and without registration. If you want assurance, we will prepare a photorealistic custom visualisation based on actual dimensions and specific tiles in the studio. It's free with a purchase.
Online design for free Custom visualisation
TGB Kúpeľne Studio · Bratislavská 71, Senec · Mon–Fri 8:00–12:00 and 12:30–17:00, Sat 9:00–12:00 · Map